There will be new iterations of the board and more chances for doodles. I came up with the idea and didn’t have a lot of time to wait (24 hrs actually) on this round. I would have put more but vectorizing and fitting the doodles on the graphics took time.
1 Like
Just fyi @Pharap : i did not get the replacement sent yesterday, was too busy. but it left today and is on its way
extra set of screws and bonus backcover included. all keys tested
1 Like
Thank you. I appreciate that you have many other jobs that need doing so a small delay is no concern.
When my replacement board arrives I will most likely ask about the procedure for sending my old board back so I can make sure I do it correctly.
(Perhaps it would even make a good wiki article, undoubtedly someone else will have to do the same at some point in the future.)
After the board arrives you can check the board over whenever it is convinient to do so. As nice as it would be to know the cause, there’s no rush to find out what the problem is as I suspect you will have more urgent problems to solve.
Totally agree. We shall do so.
Btw, you are getting a backcover color nobody else has! (proto series)
1 Like
Ooh, I get to be a guineapig.
(Hopefully it’ll be a colour I like.)

No actually that color was in the machine when we began testing the molds. I needed to put the PCB in the back cover to protect it when shipping - so I took the first back cover at hand.
So it is a color that will never see production 
1 Like
Joke’s on you, I’d quite like brown :P.
A brown Pokitto would look very steampunk, or together with the green it could look like army-camo.
Makes sense.
Even better.
@jonne
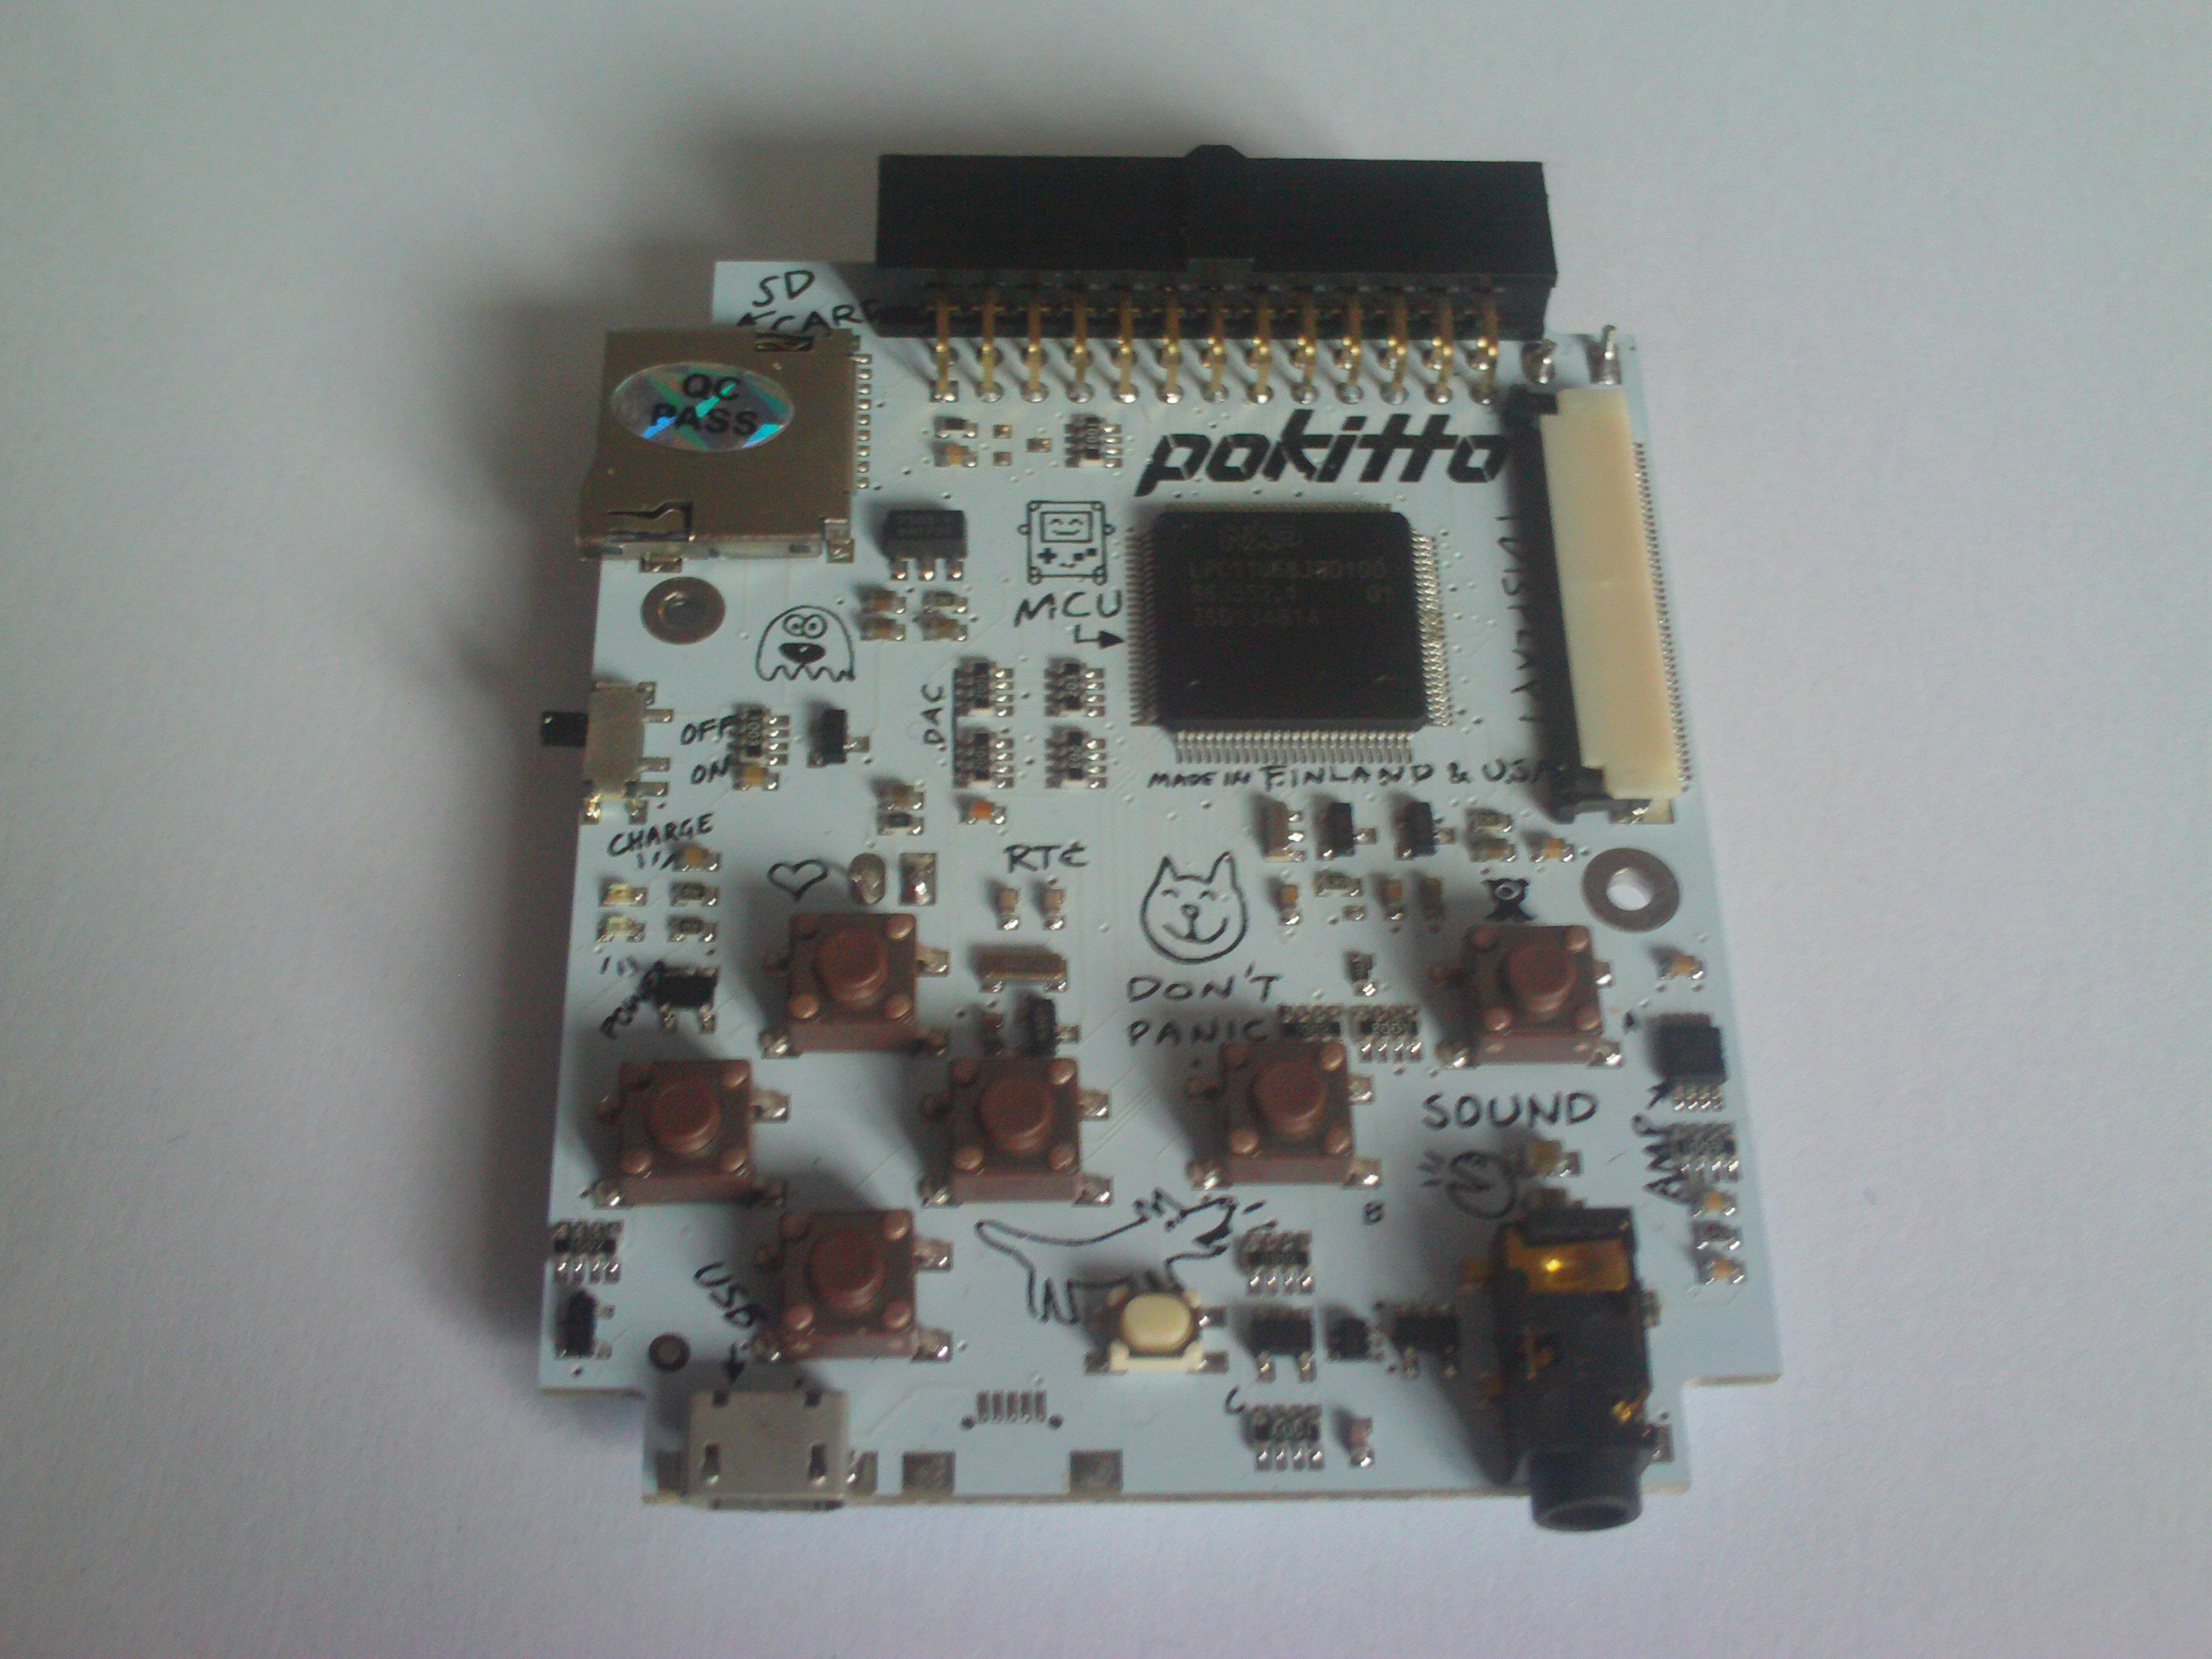
My replacement board arrived today (technically yesterday now, the 19th). 2 days - very fast delivery.
It took some effort to get into it because it was very well taped down (presumably so the extra screw didn’t go missing), but I managed to get into it without damaging the box much.
The tape holding the screw itself to the box was still in place when I opened the box, so it’s pretty good tape.
I’ll update further when the sun comes back around and there’s a bit more daylight to work with, but so far it all seems to be working fine.
I haven’t tested the sound or the C button yet, but all the main buttons work fine and it managed to load and run Pixonia so it’s looking good so far.
It’s a shame this back cover colour will never see production, I quite like it.
1 Like
Could we have pictures, plz? 
1 Like
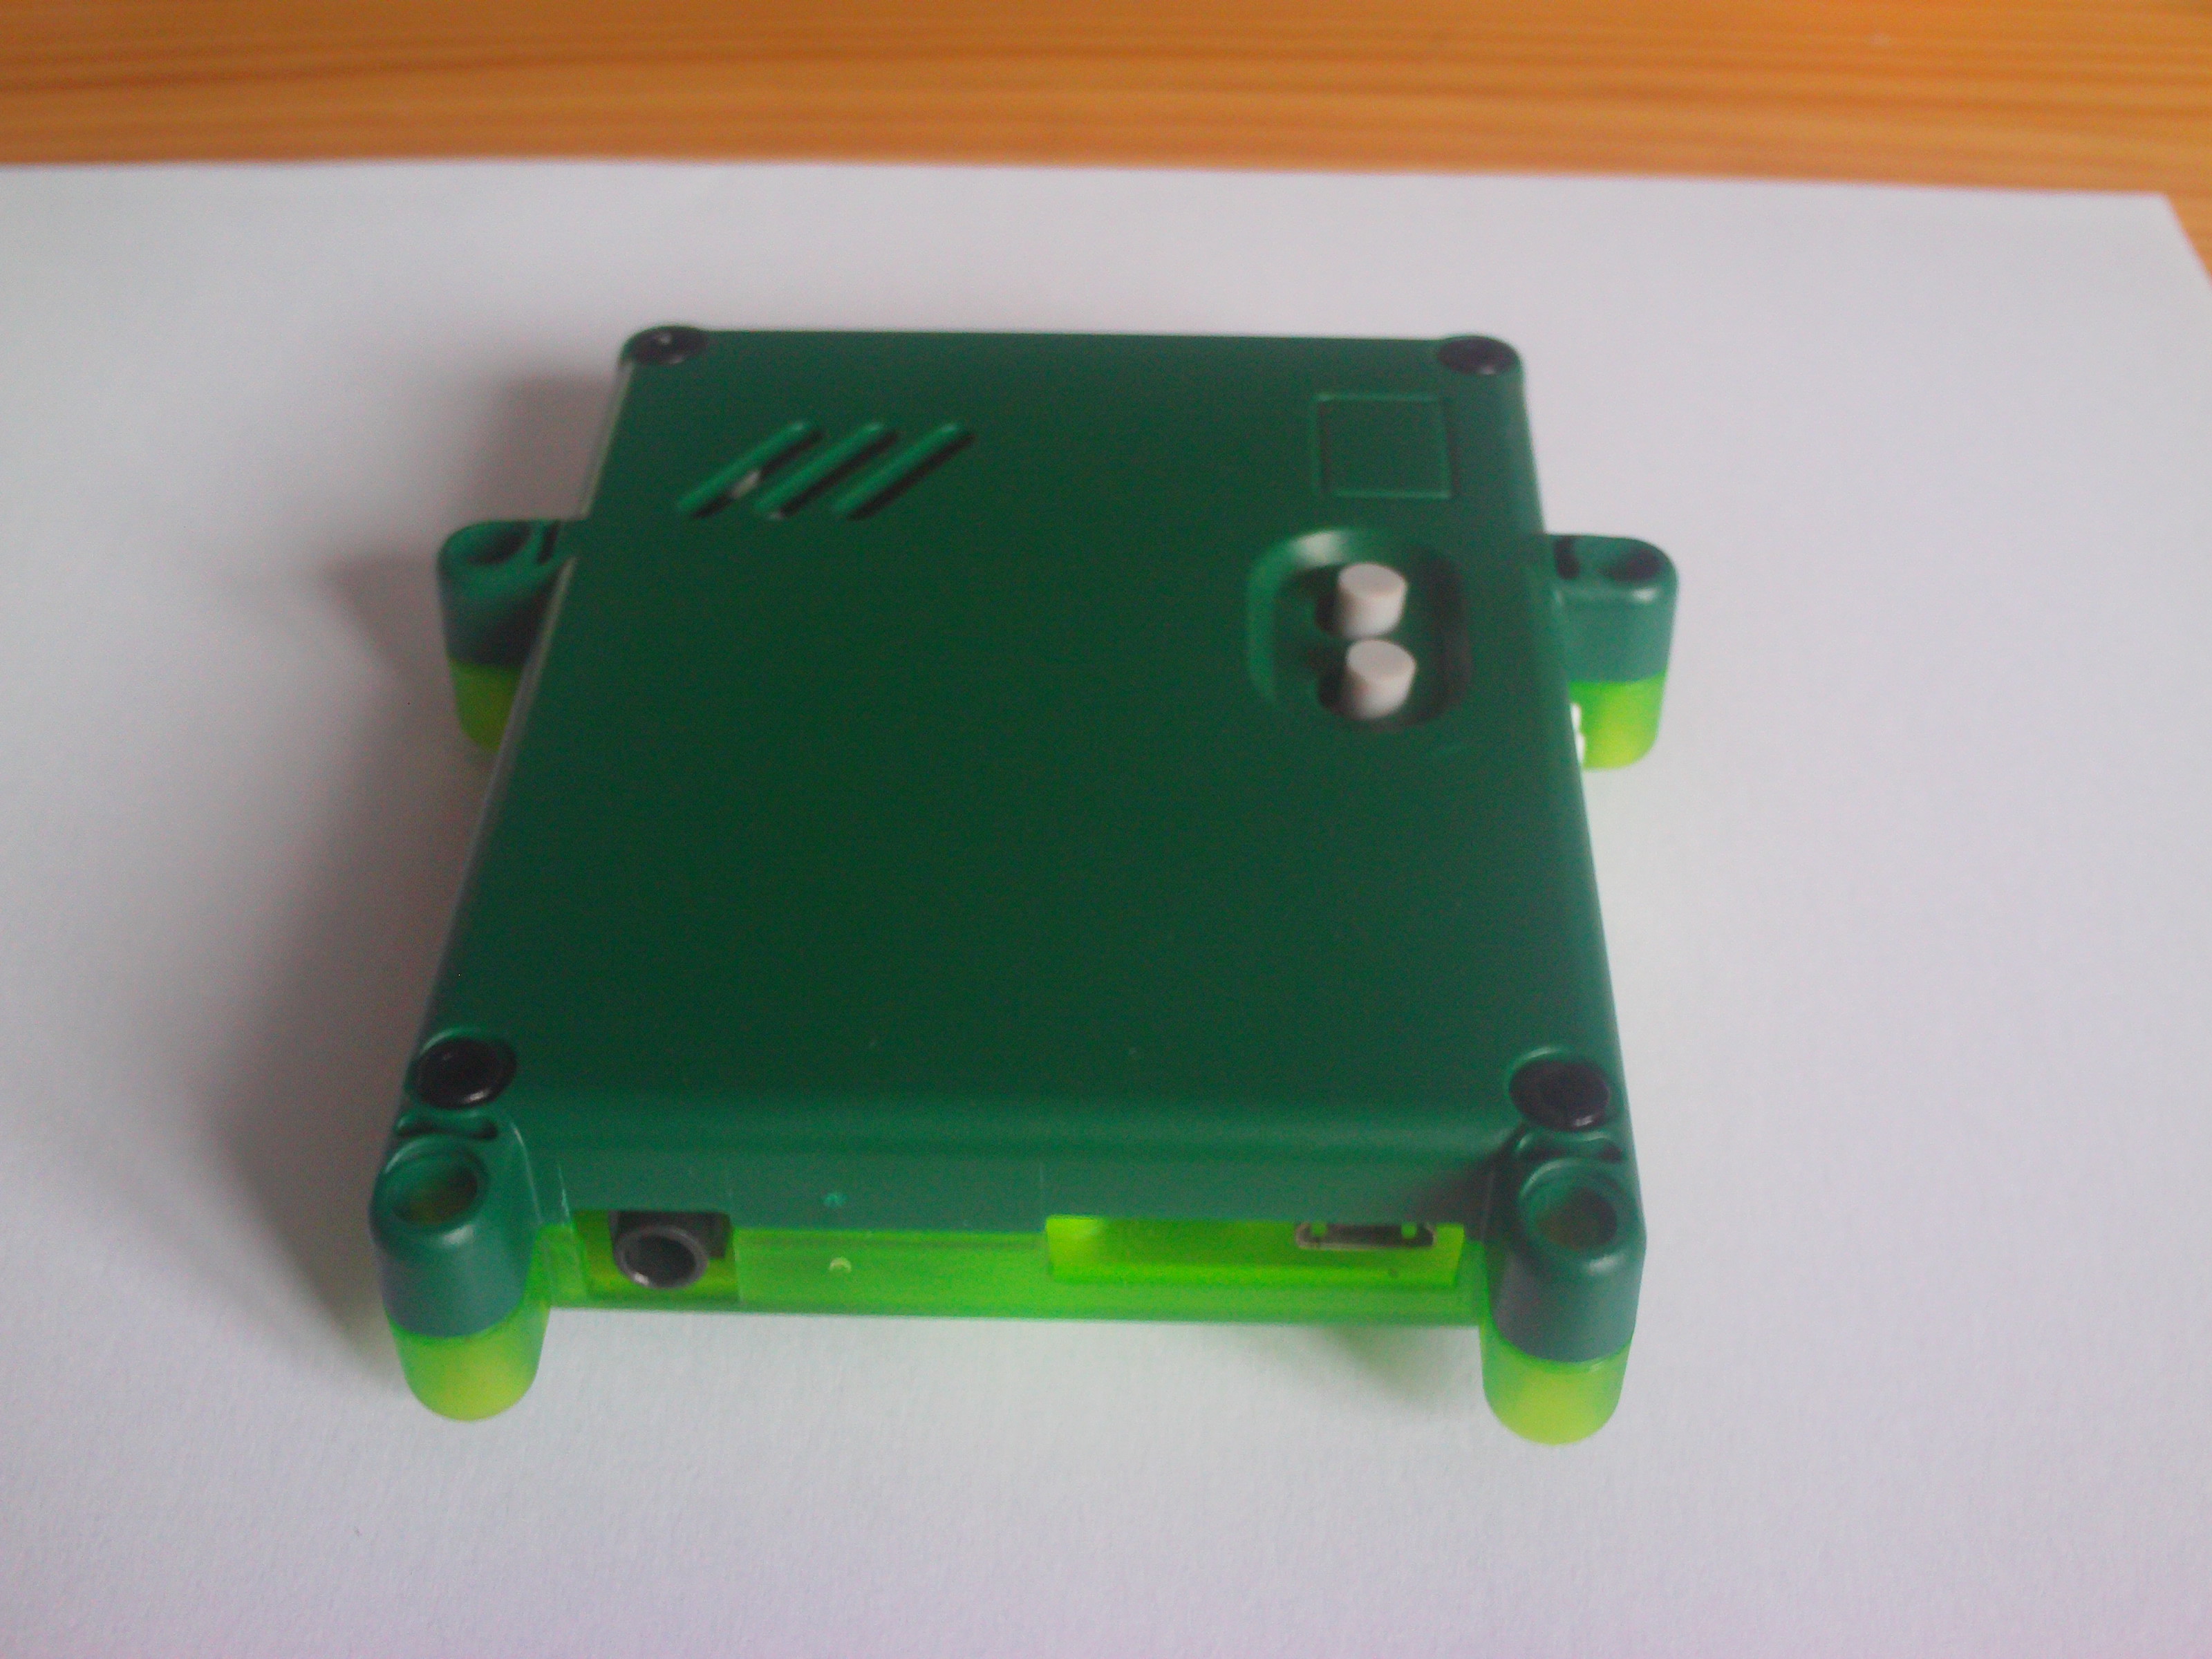
Sure. I was going to add some yesterday but I was out all day and the light had faded by the time I got back.
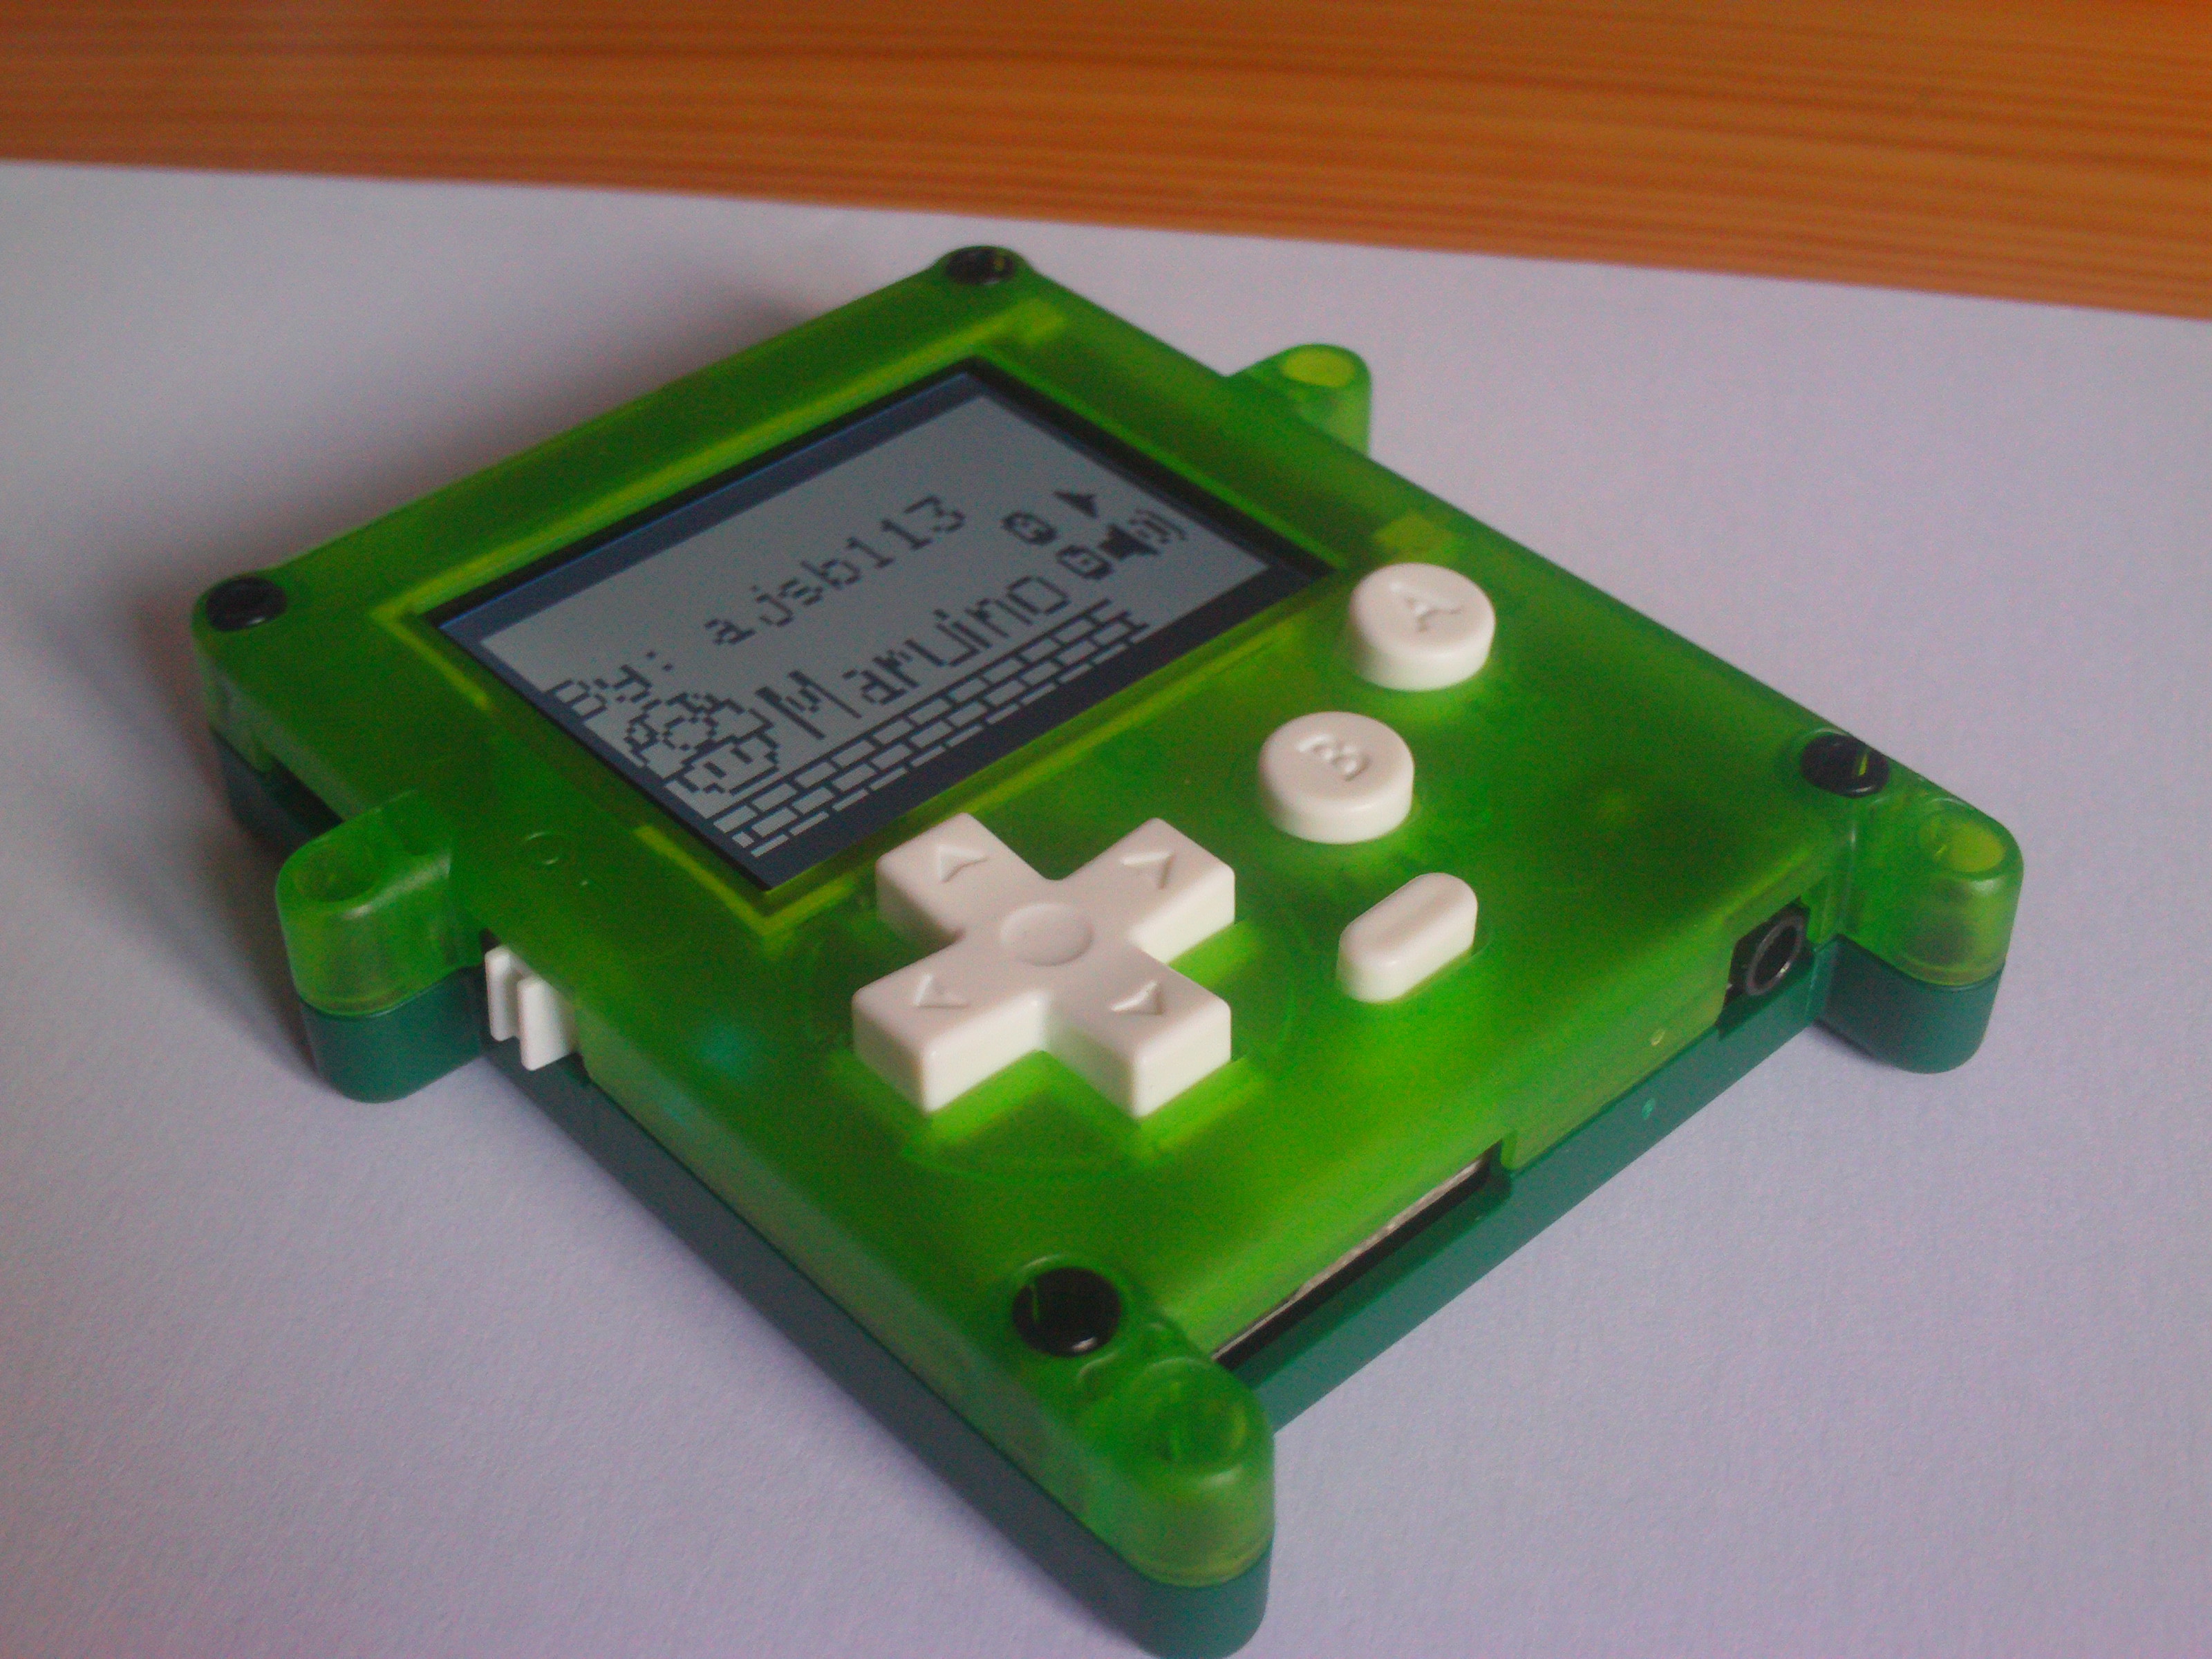
(Running @ajsb133’s Maruino.)
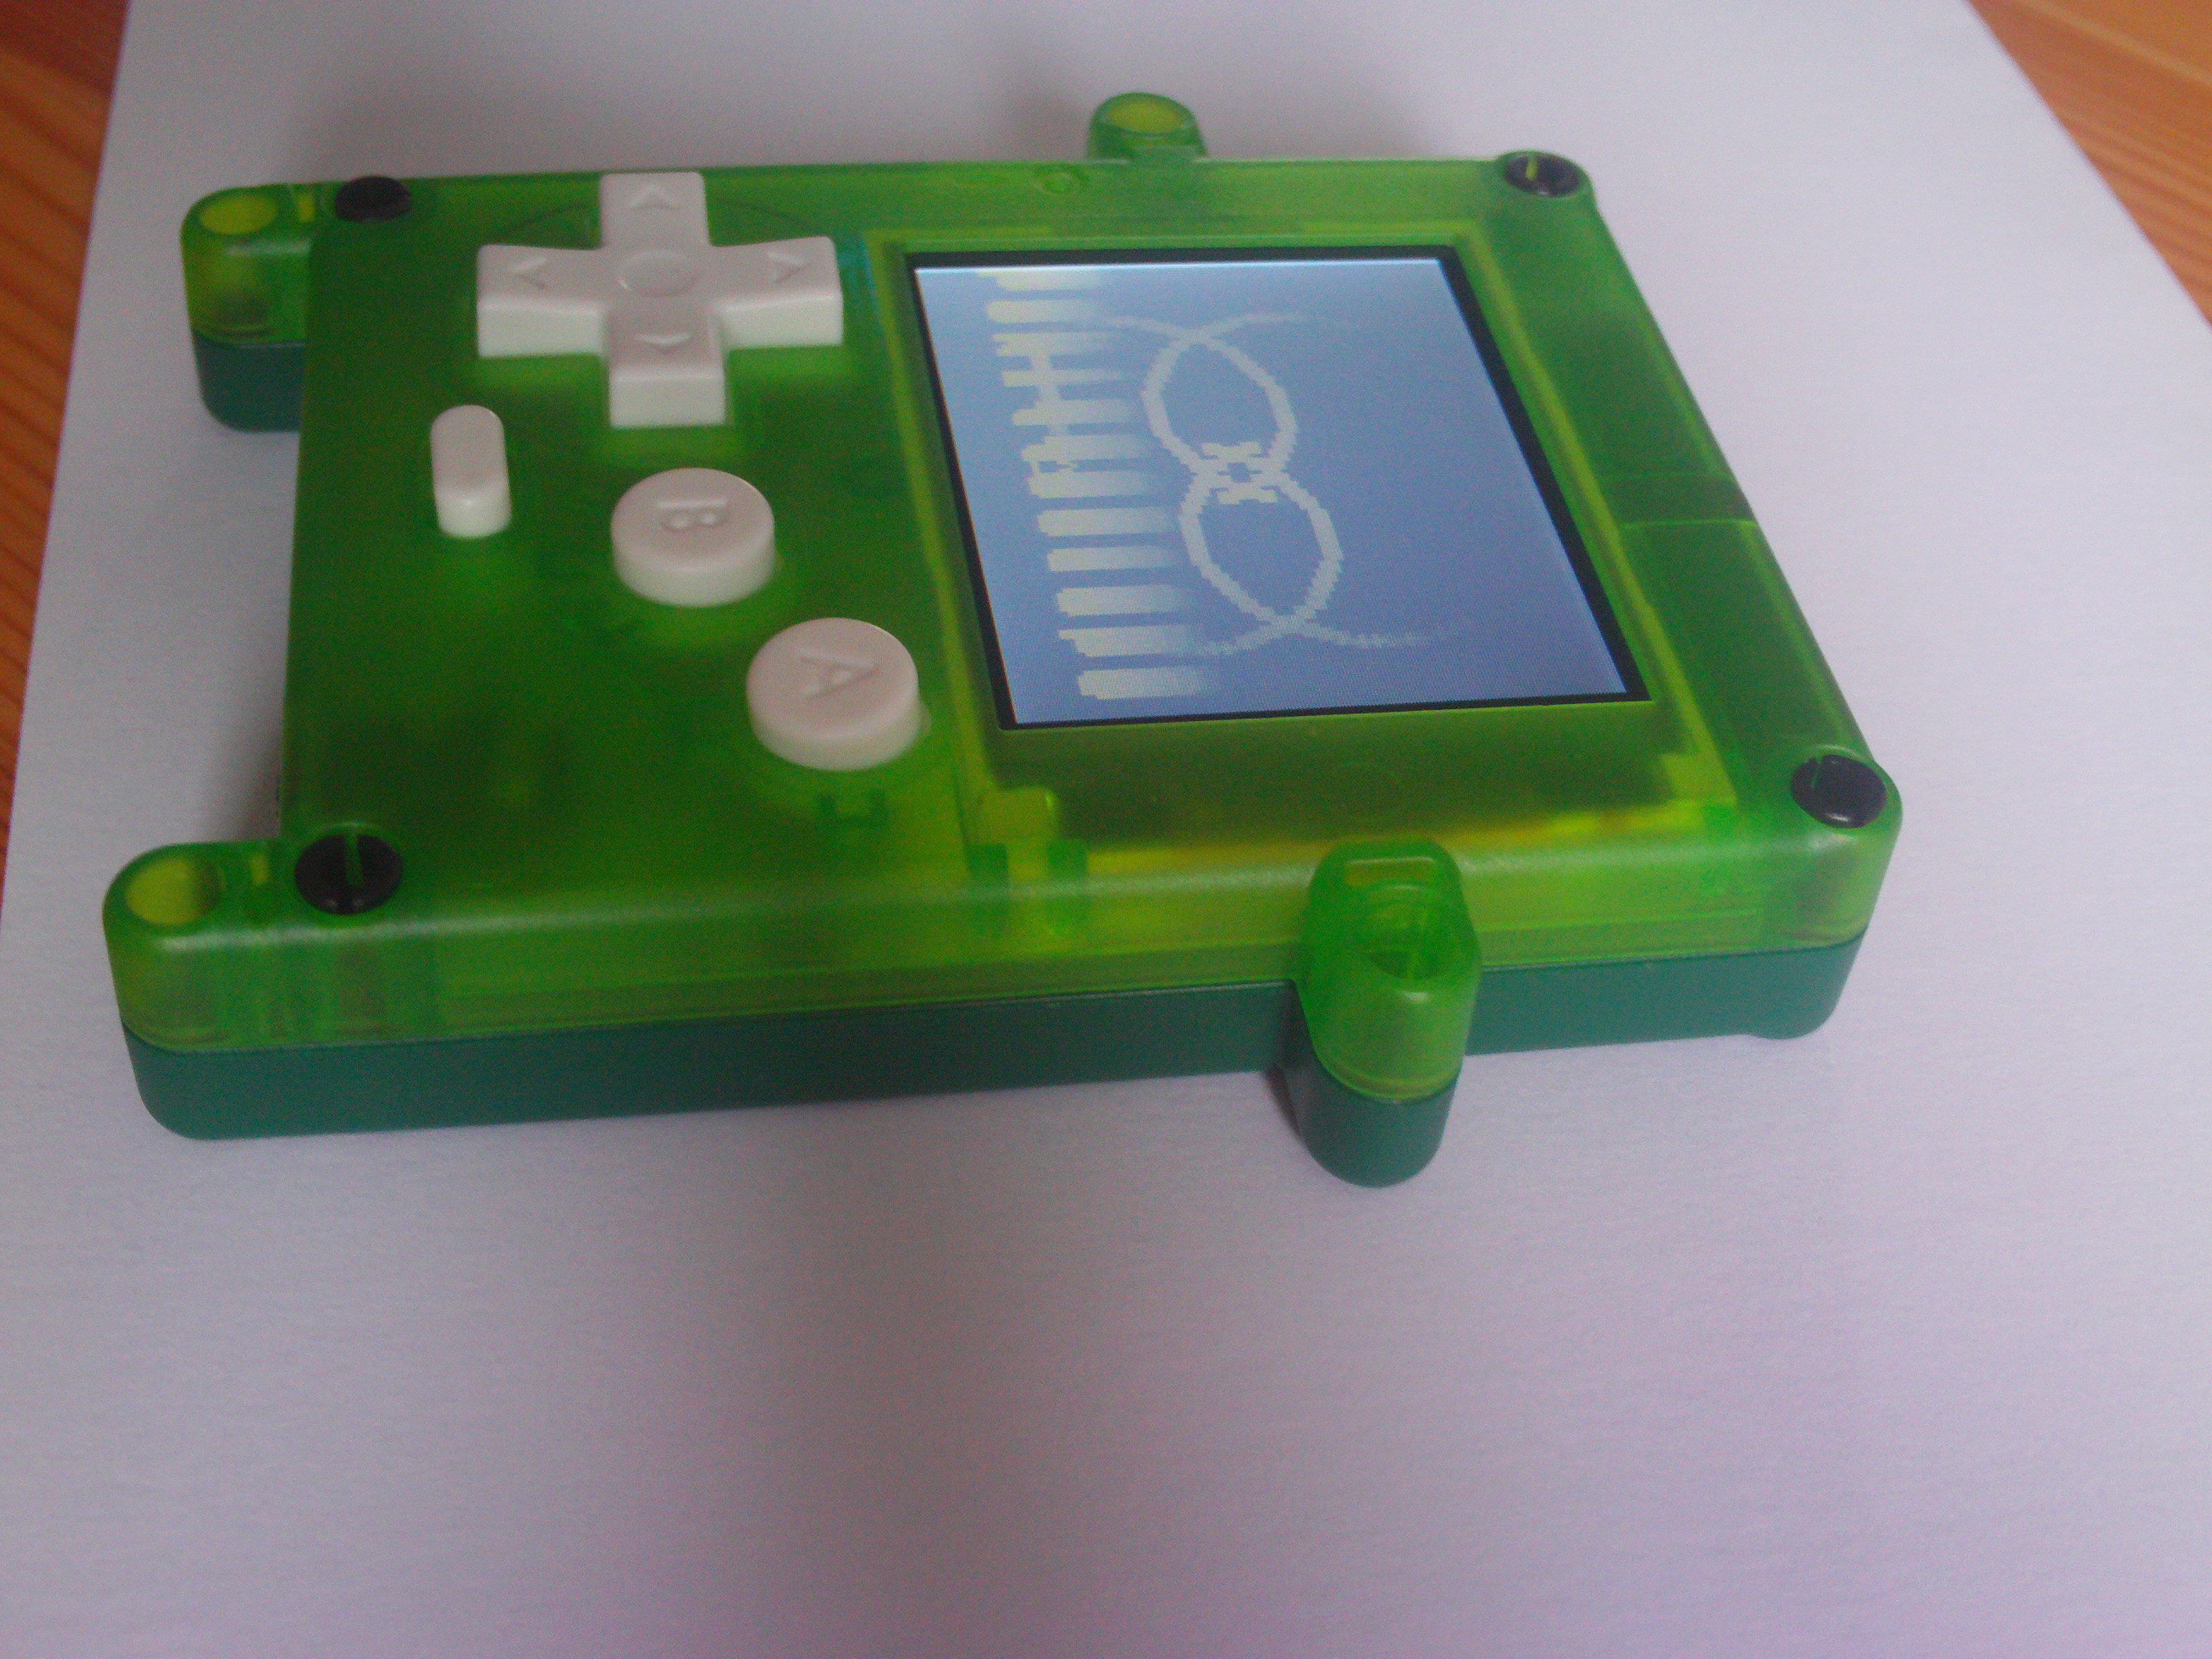
(Running @Hanski’s Pokitto Scope.)
5 Likes
Actually… that green combo is not bad at all…
1 Like
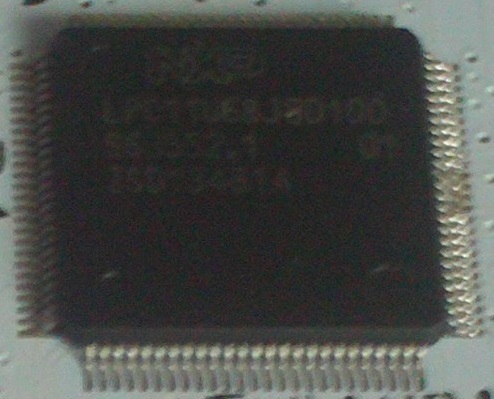
I found out what was wrong with your board @Pharap. I came across another while testing today
Apparently we have some small issues with solder paste & stencil. A buildup of paste in the corners of the mcu pads of the stencil may cause shorts in left top & bottom corners.
Pin 100 & pin 99 are side by side, 100 is left button and 99 is … you guessed it… wake up signal.
So with 99% certainty, there is your culprit
3 Likes
If it’s an issue around the MCU area that would explain why none of my photos helped - I was only looking at and taking pictures of the area around the buttons, I wasn’t looking at the MCU.
Would there be any visible indication of this on the board?
Whereabouts are pins 99 and 100?
Are they on the right hand side by any chance?
Left bottom corner
It’s hard to see and even harder to photograph, but I can just about see some solder connecting the bottom two pins on the left hand side of the MCU:
Before:
I took a very fine sewing needle and gently scraped the solder off, and although it took quite a bit of scraping I managed to scrape it all off and now the left button no longer turns the board on (and the power switch does).
After:
So it seems like that was indeed the same problem I was having.
Later I might try reconnecting the board to test that the left button is now being picked up by the software, but given that the left button no longer causes the power to go on it looks like the board is fixed.
(I can still send it back if you want, but unless you’re intending to sell it on as a ‘pre-owned’ board I’m not sure there will be much point.)
Good work!
I want you to save the money, buy yourself a soldering iron and start experimenting with electronics! Now you have a “spare” Pokitto for experiments, next task is to learn how to blink a led using the PEX extension connector.
Hint: you need an LED and a resistor in series, also google “mbed digitalout blinky”
1 Like
Even though it was the result of a product fault, this is exactly the DIY spirit I hope to cultivate in Pokitto users over time.
1 Like
Thank you for the support in solving the problem, I’m glad there’s now a fix as that’s one less problem to deal with.
I have edited my original post to discuss the cause and solution of the problem in case anyone else encounters it.
In a way it’s a shame the problem wasn’t discovered sooner, it would have saved you having to send me a new board.
Though I’m kind of glad it got discovered before I got round to shipping my board over since it now means I have a spare.
It seems luck was on my side this time.
Ultimately the important thing is that you know about the problem so it can be prevented in future, or at least rectified in cases where it does happen.
Also I’m glad it happened to me rather than someone who might have been put off by the experience.
Coincidentally a few days ago I ordered an Arduino starter kit (which I should receive sometime this week) precisely because I intend to branch out more into electronics.
(I guess I’ll retroactively say it was bought with some of the money I would have used to ship the board over.)
It’s got jumper wires and a bread board rather than a soldering iron but jumper wires should still work with the PEX and I can always move on to getting a soldering iron when I’ve got a better grip on things.
If (and when) I get a light blinking using the PEX I’ll make a post about it, perhaps it’ll encourage others to join in on the ‘DIY spirit’.
I will collaborate with you to make that a tutorial if you want
1 Like