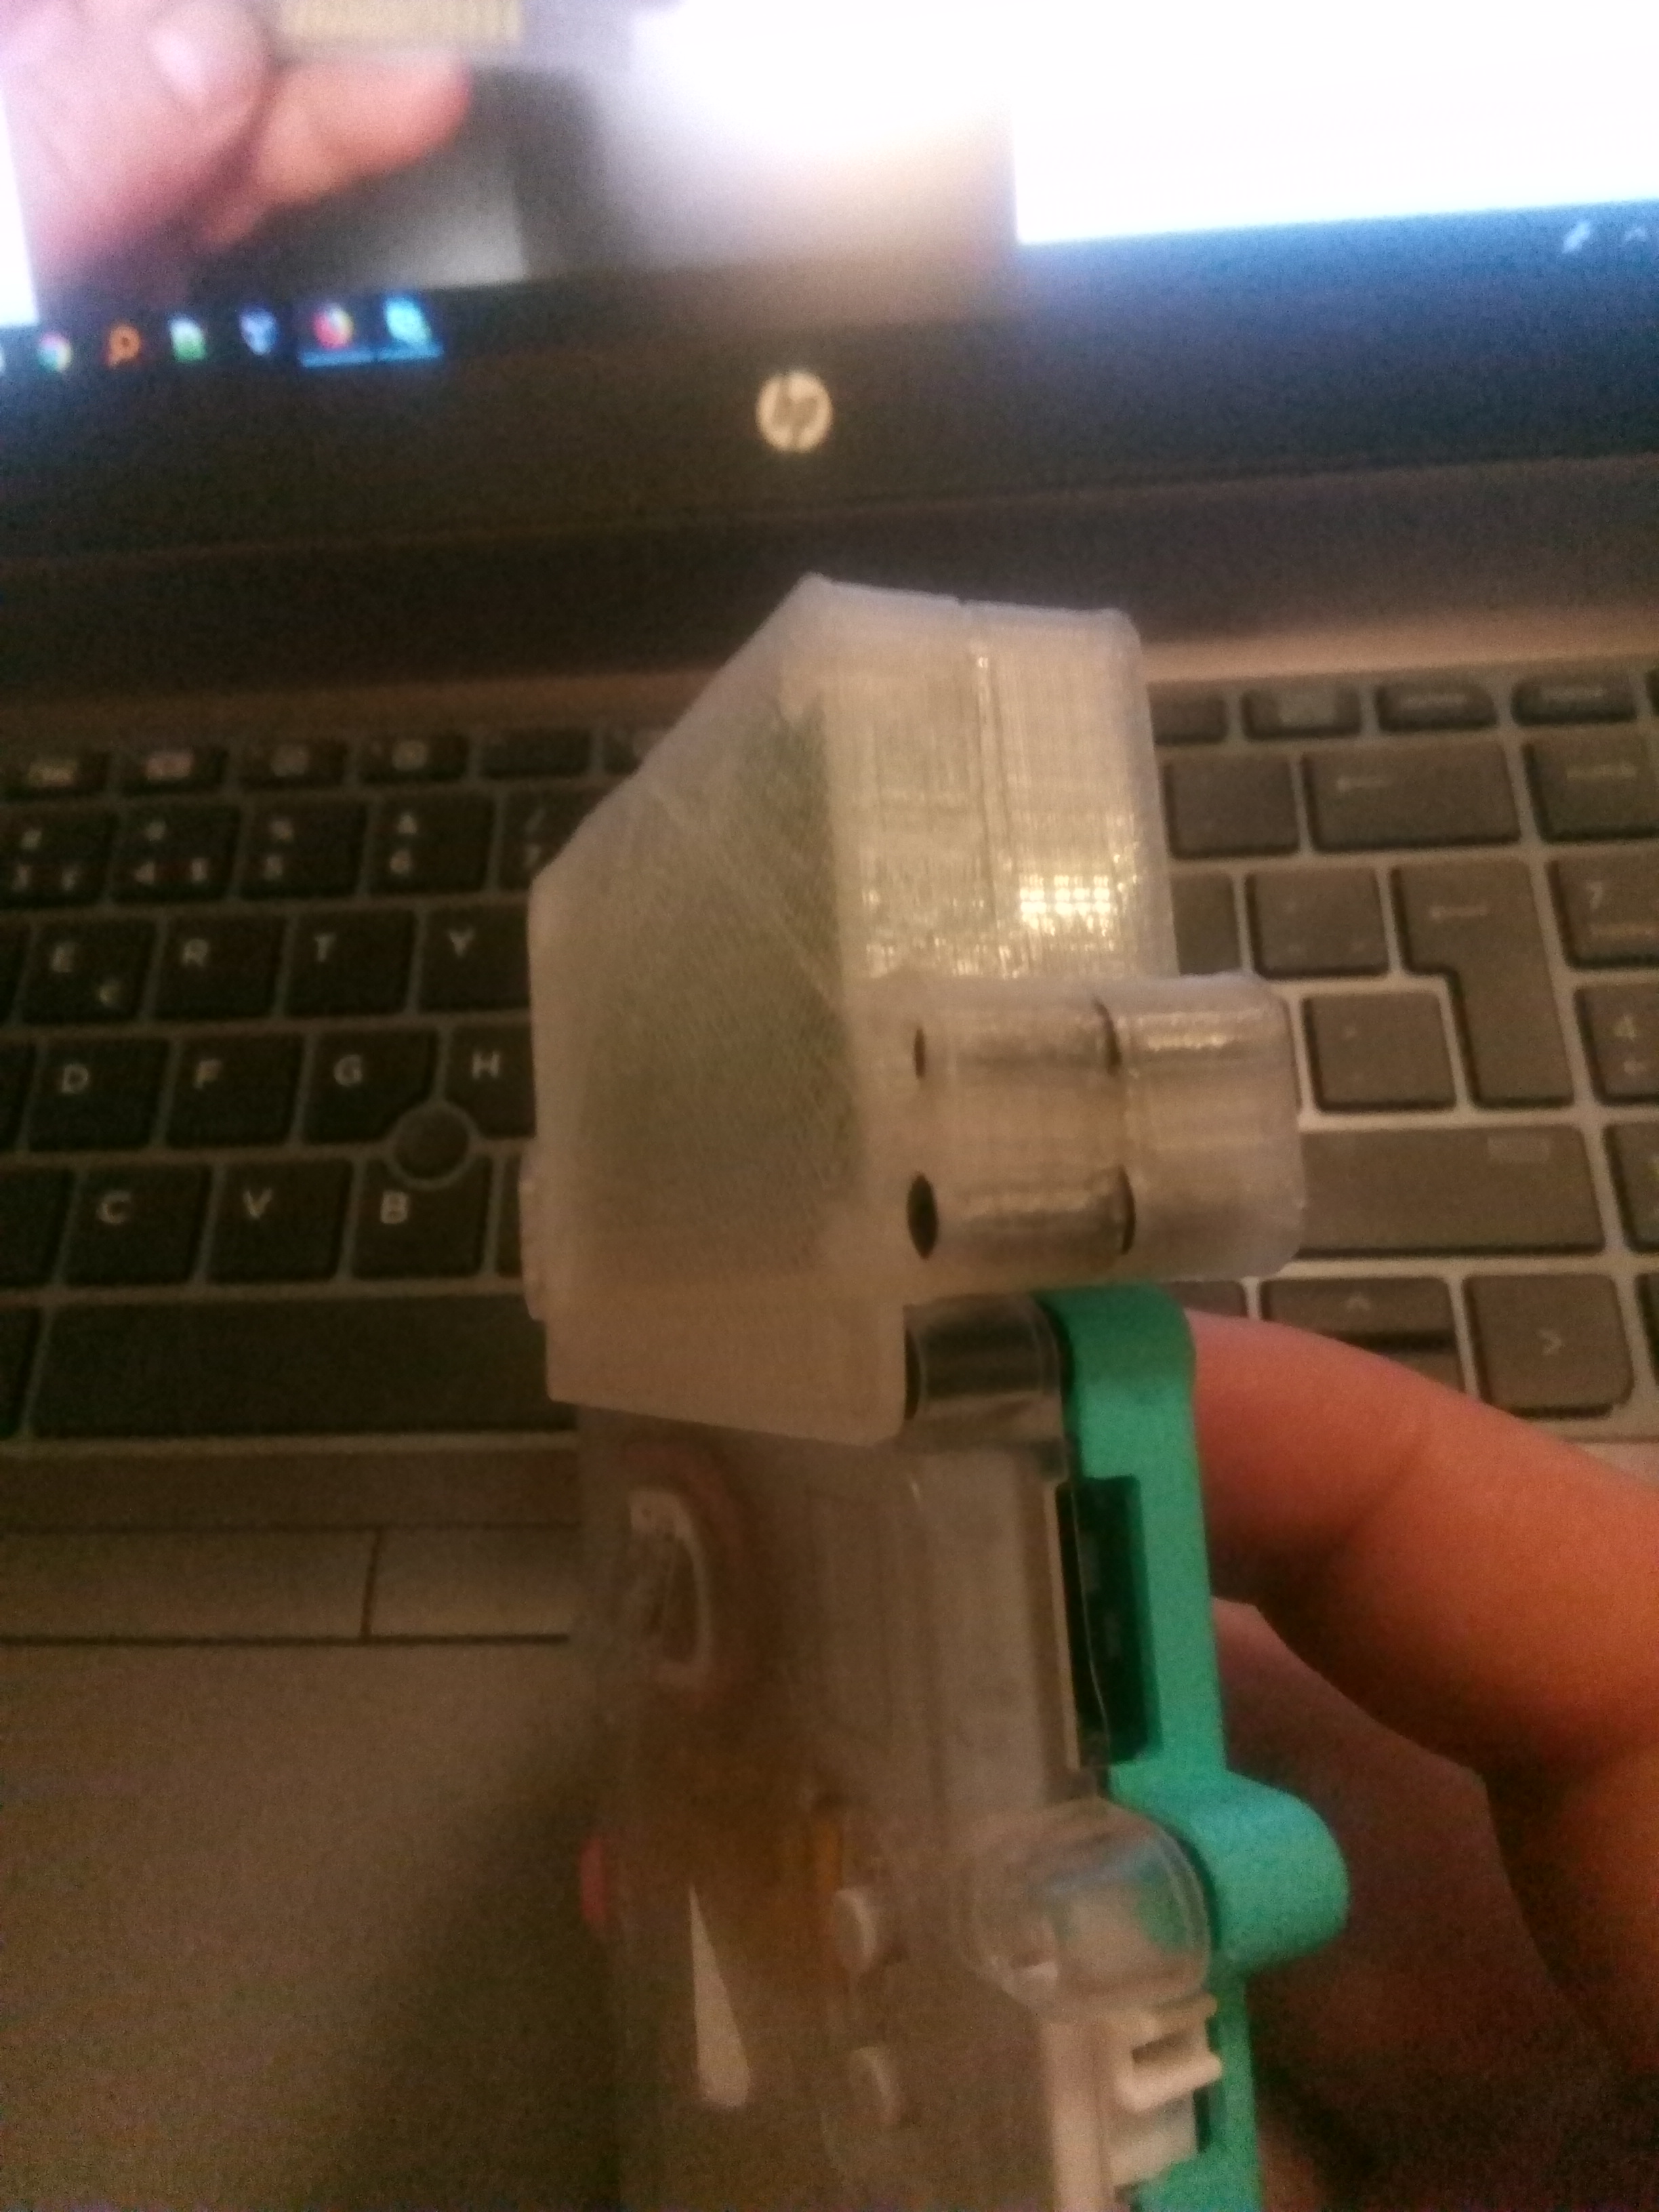
The “trick” are these bumps: they lock at the back into the “eyes” of the Lego pegs. And even though the bumps are just 2.5mm high, due to the rigidity of the connector and the PCB, the result is that you can not pull the hat off Pokitto anymore - unless you want to break the whole thing.
It’s looking very good at the moment, we will have the case design and the JoyHat finalized soon!
Do not be concerned with the quality of the 3D print in the picture. This is my crappy XYZ printer, PLA and fastest mode. Once I get my Ultimaker/Prusa and ABS it’ll be a a whole lot better
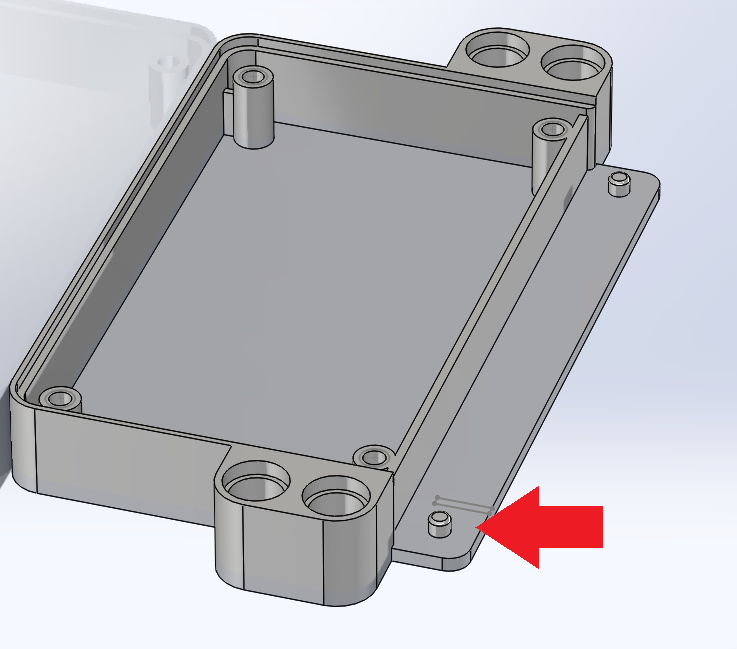
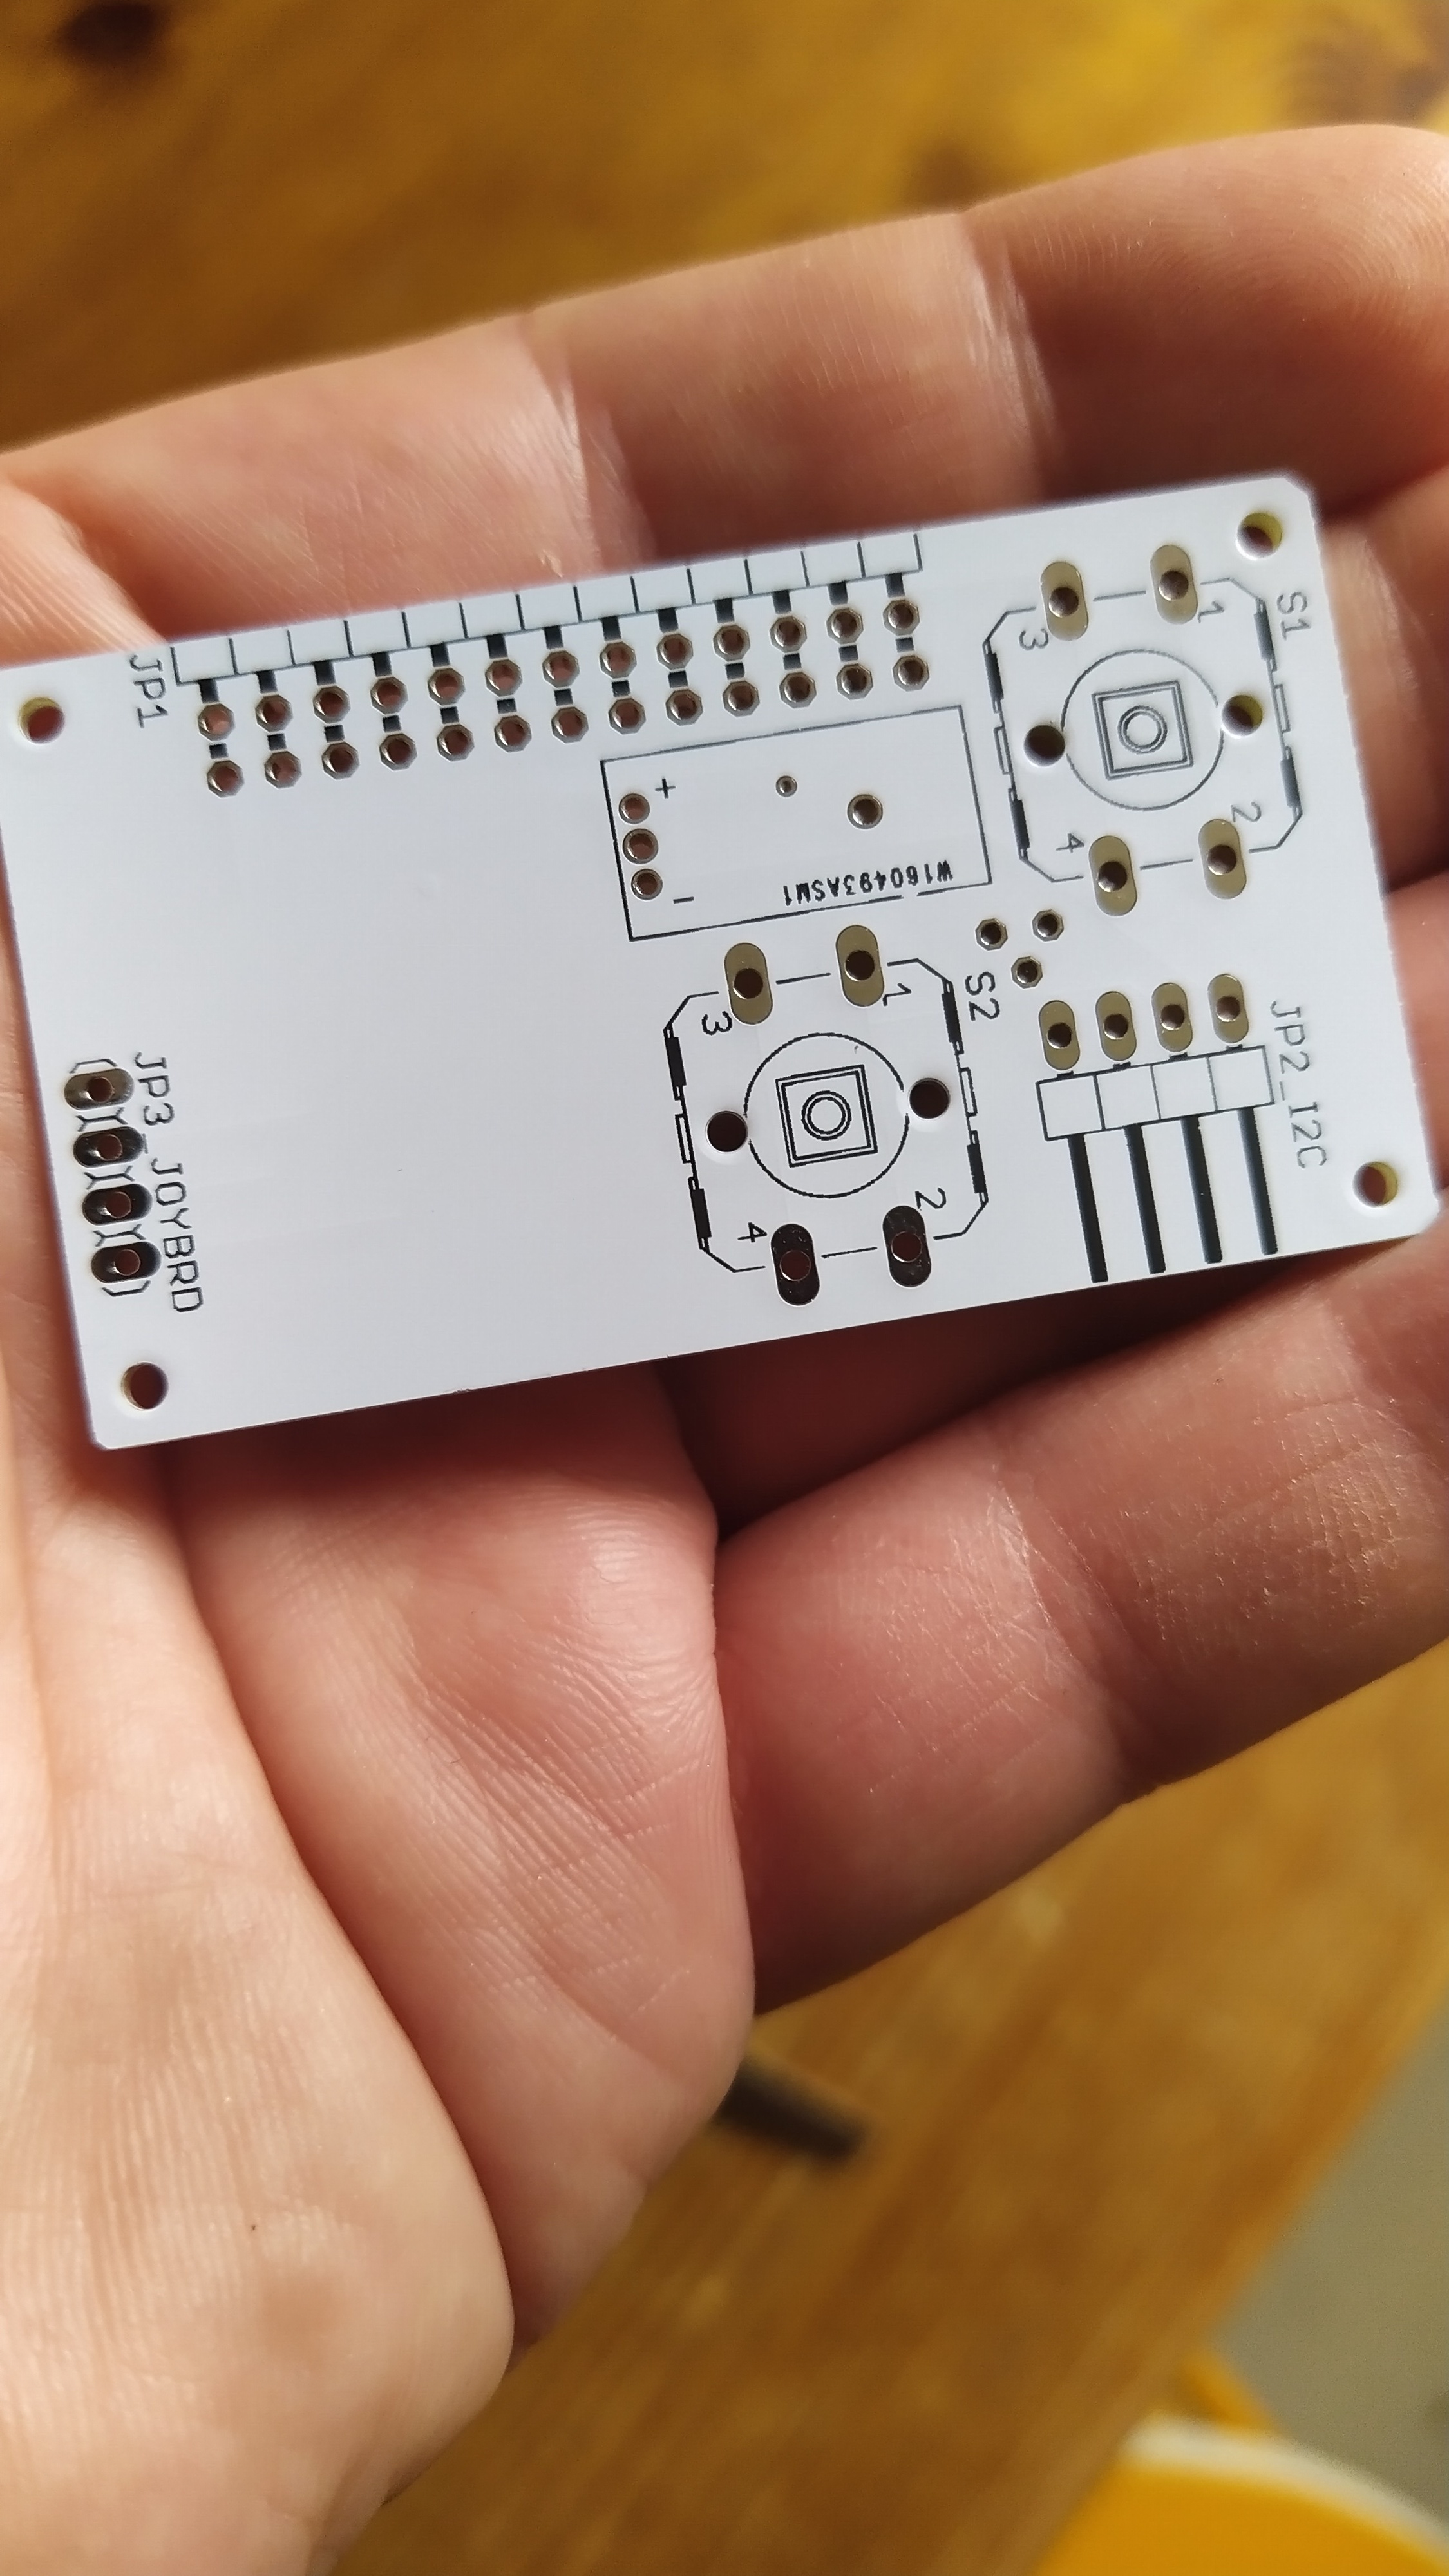
Explanation of locking mechanism
There is a flexible “lip” at the back of the hat that has “studs” that lock into the eyes of the lego pegs in the corners.
The tension between the lip and the connector provides more than enough locking power to keep the hat in place
Additional possibility for even harder locking:
If I put a similar “lip” and pegs on the top surface (removed in these pictures) the hat is locked so tight its like solid wood. You cant remove it anymore without disassembling the hat itself. But that, in my opinion, defeats the purpose.
Now that the Joystick Hat is ready, its time to turn to the next important thing: the backstory of my “SpyHunter” clone
You are Markku “Turbo” Tanabe of the Tokyo Highway Police. Son of a Finnish air stewardess and a Japanese Formula 1 driver, you have turned your natural driving abilities and your Sültzburger Porsche 928 to combatting traffic violations… with extreme force!
This is a joke ofcourse
Back to serious business.
(I need to doodle this stuff out of my system at times)
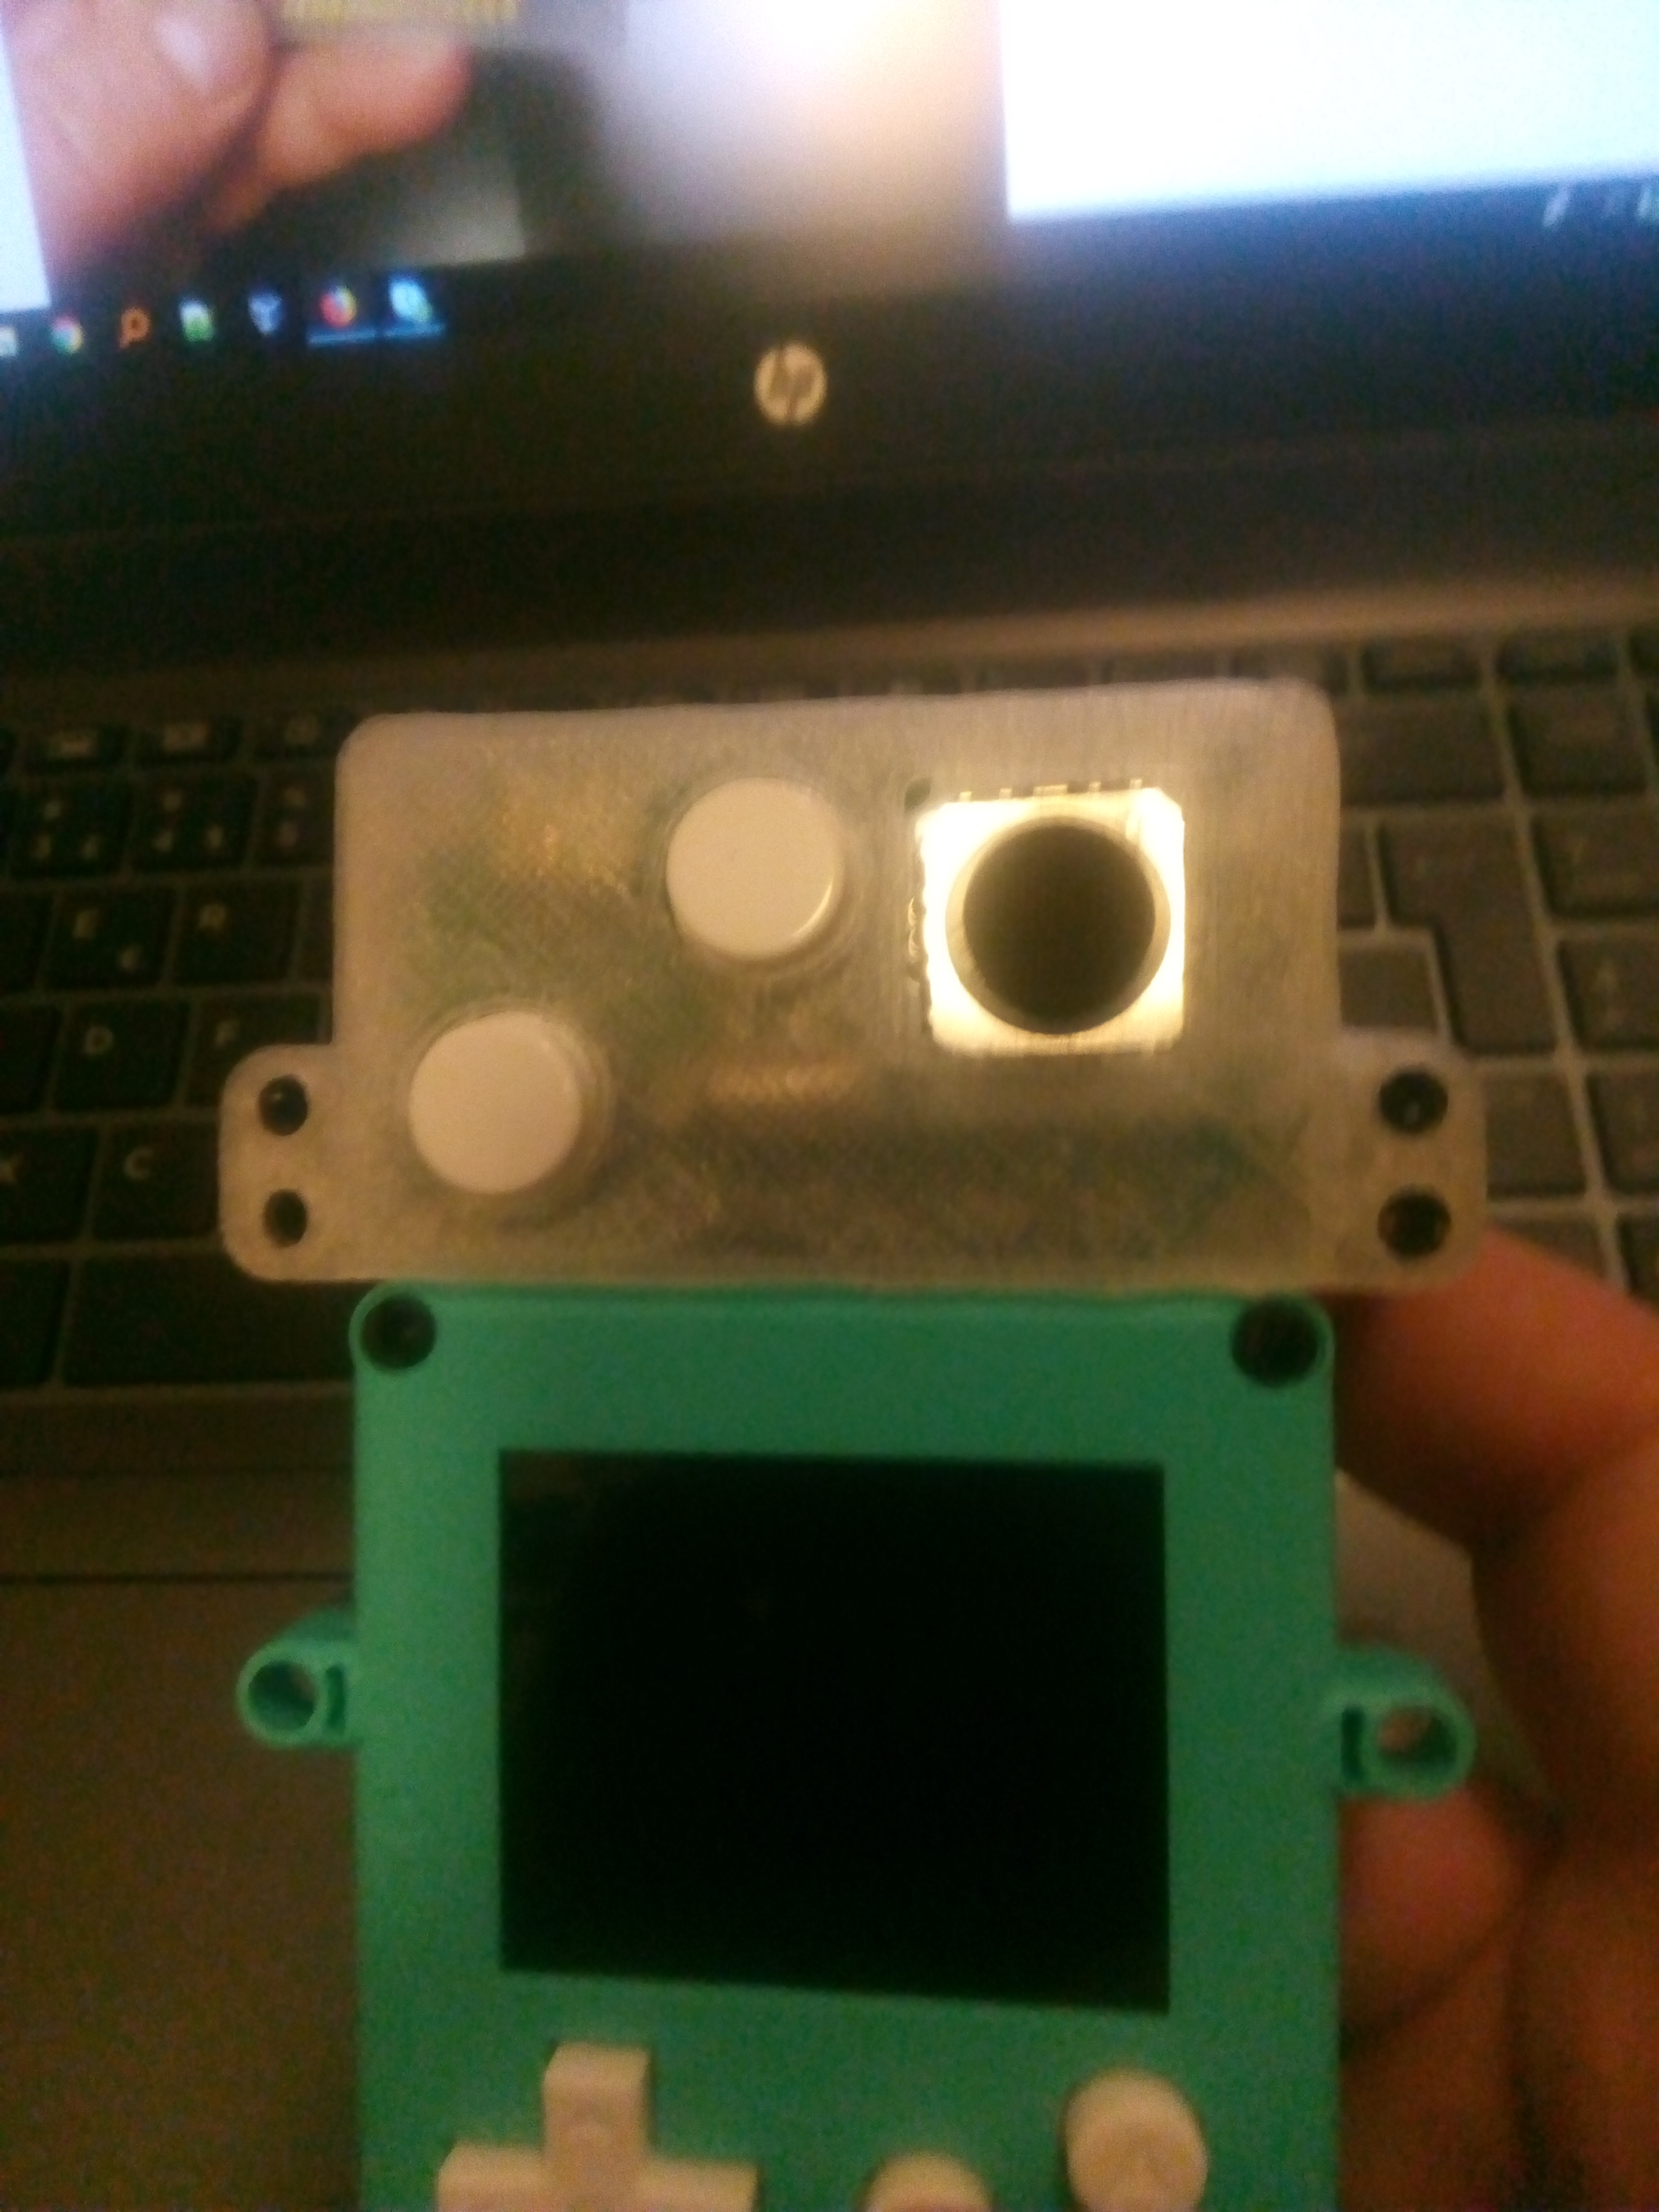
I wanted to make sure everything worked before going to the trouble of polishing it.
I’ll make that clearer when I get round to the polishing stage.
I aim to offer joyhat gameplay as a runtime option rather than a compile-time option.
I’m glad it works at least, that means we already have 3-4 joyhat compatible games and the joyhat isn’t even finalised yet.
Hopefully the pins won’t change, otherwise I’m going to need a more complex options menu.
マーック・「ターボー」・たなべ
(I might have transliterated that incorrectly, my Japanese is better than my Finnish.)
(Tangentally related: I installed the Japanese IME earlier today.)
I love how the katakana contains smiley faces. (I became kinda satisfied with my Japanese as soon as I learned how to say “that cat just ate an apple”. No need to learn more for a while.)