Femto and VSCode work beautifully together.
Follow these steps to create a new project in FemtoIDE and then switch to VSCode.
Step 1: Install VSCode following these instructions for your platform:
Step 2: Create a new project in Femto by clicking
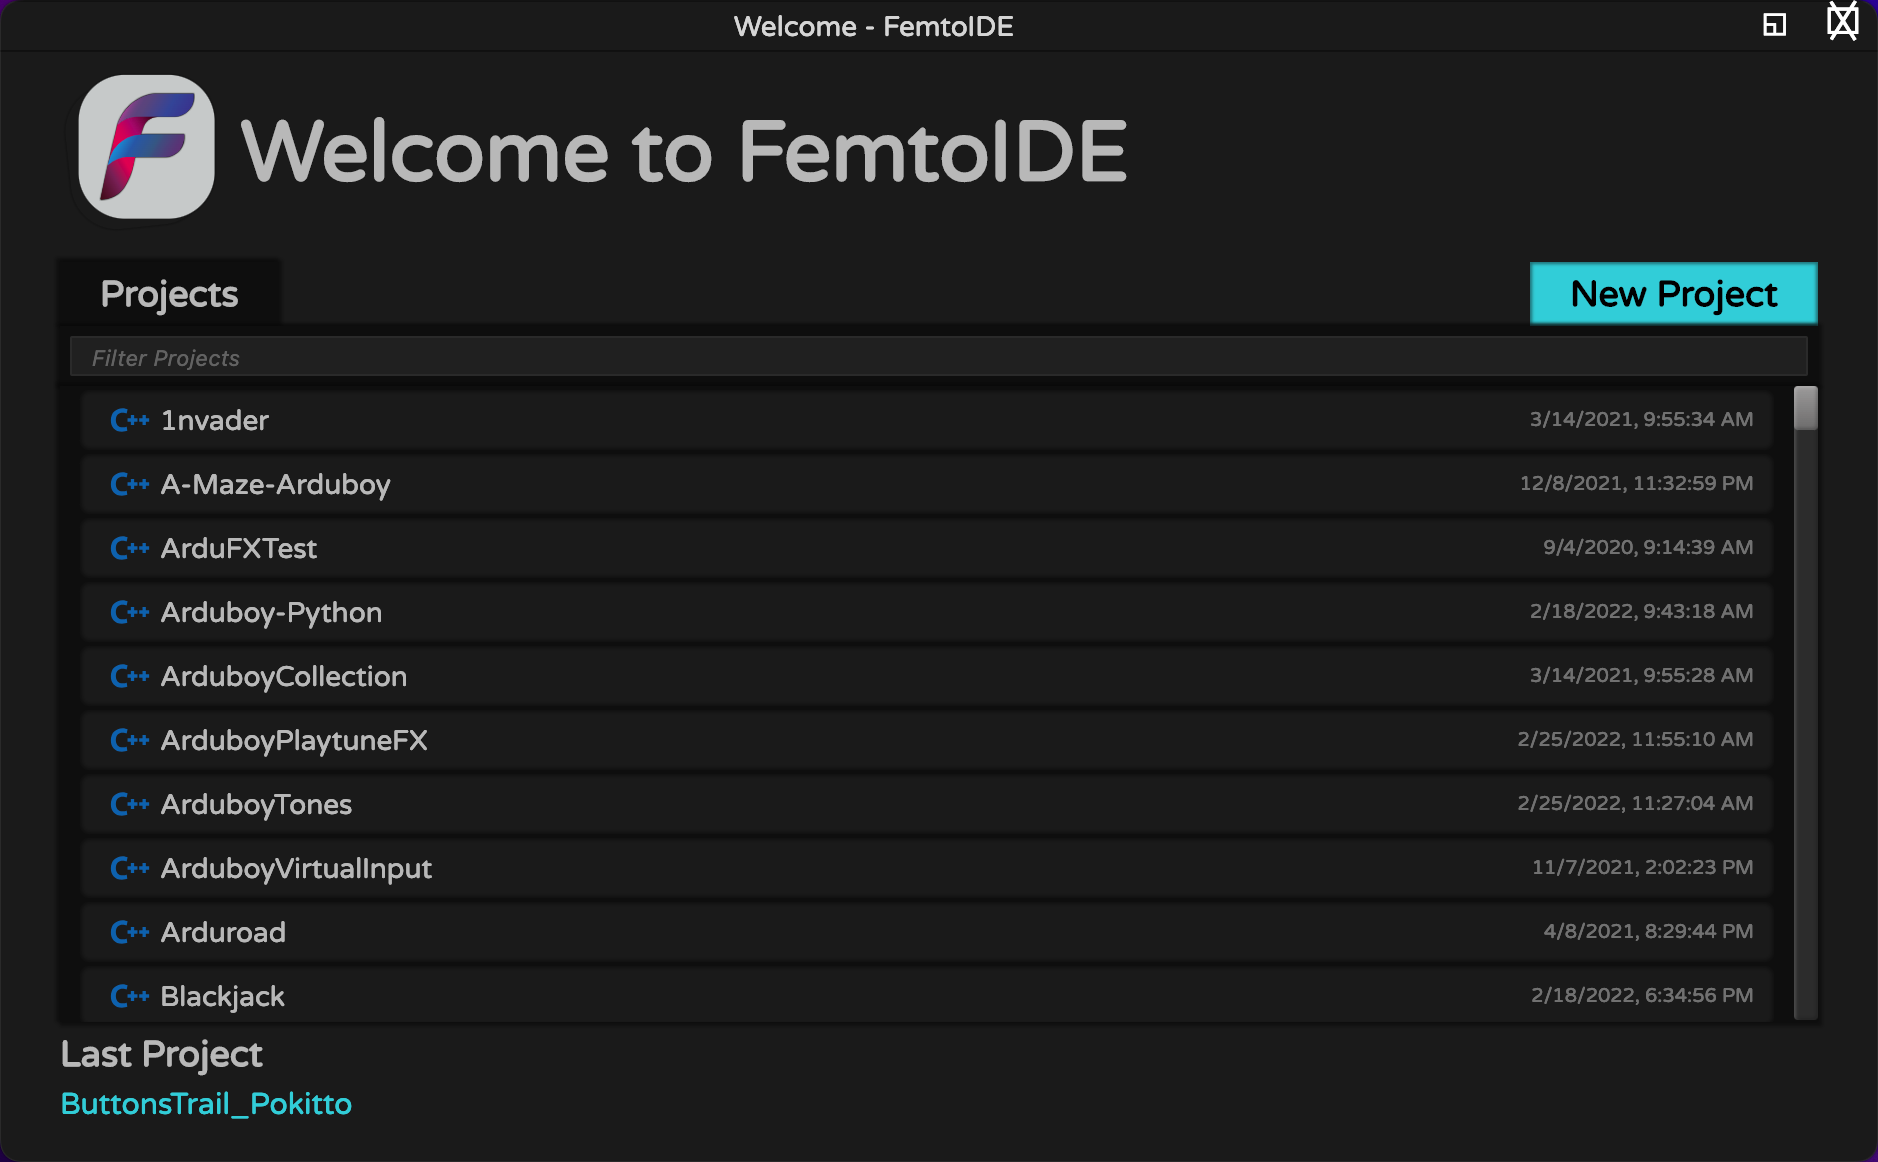
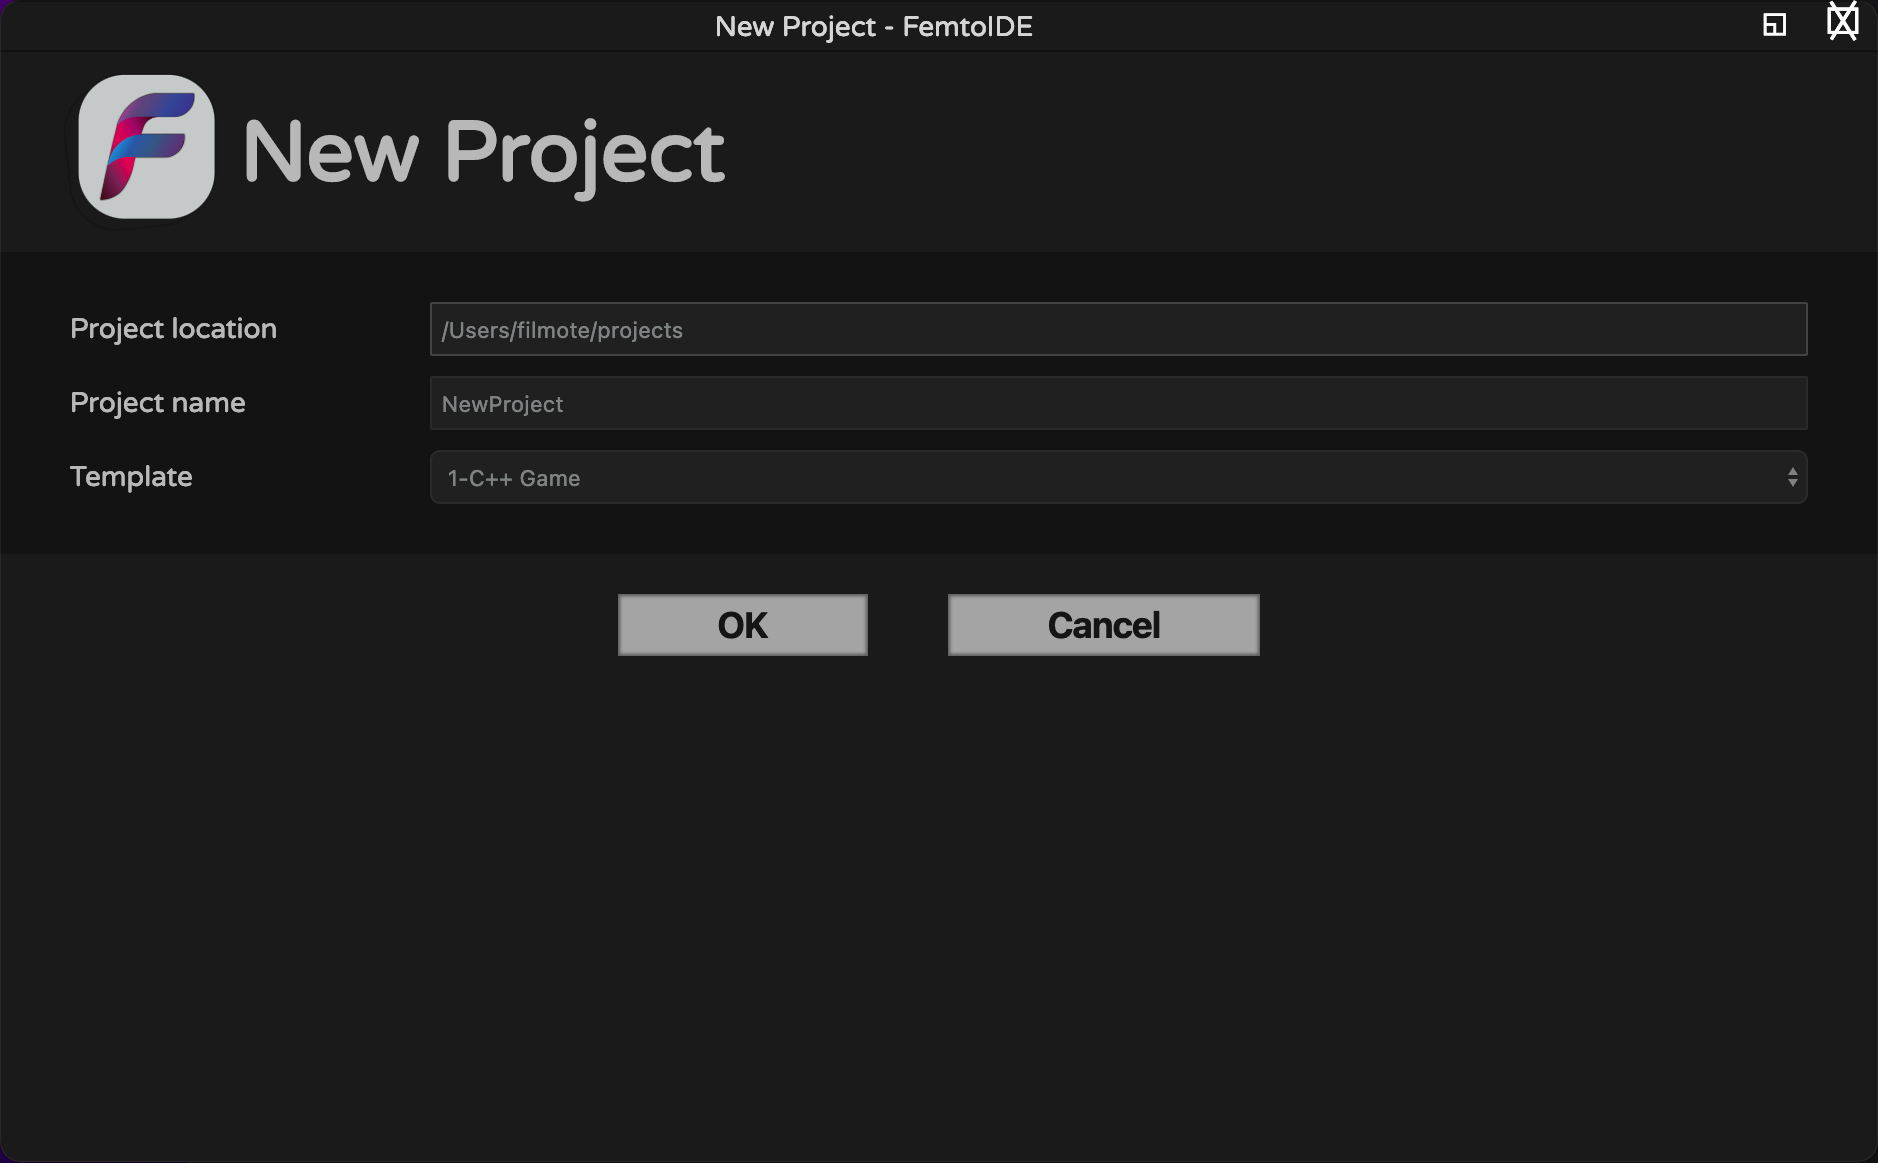
Step 3: Create a new project in Femto (note the location as you will need this later)
Step 4: Click the Femto icon in the top- left corner and select ‘Init VSCode Project’

The existing program will compile and the VSCode tasks and other configuration options will be added to the project.

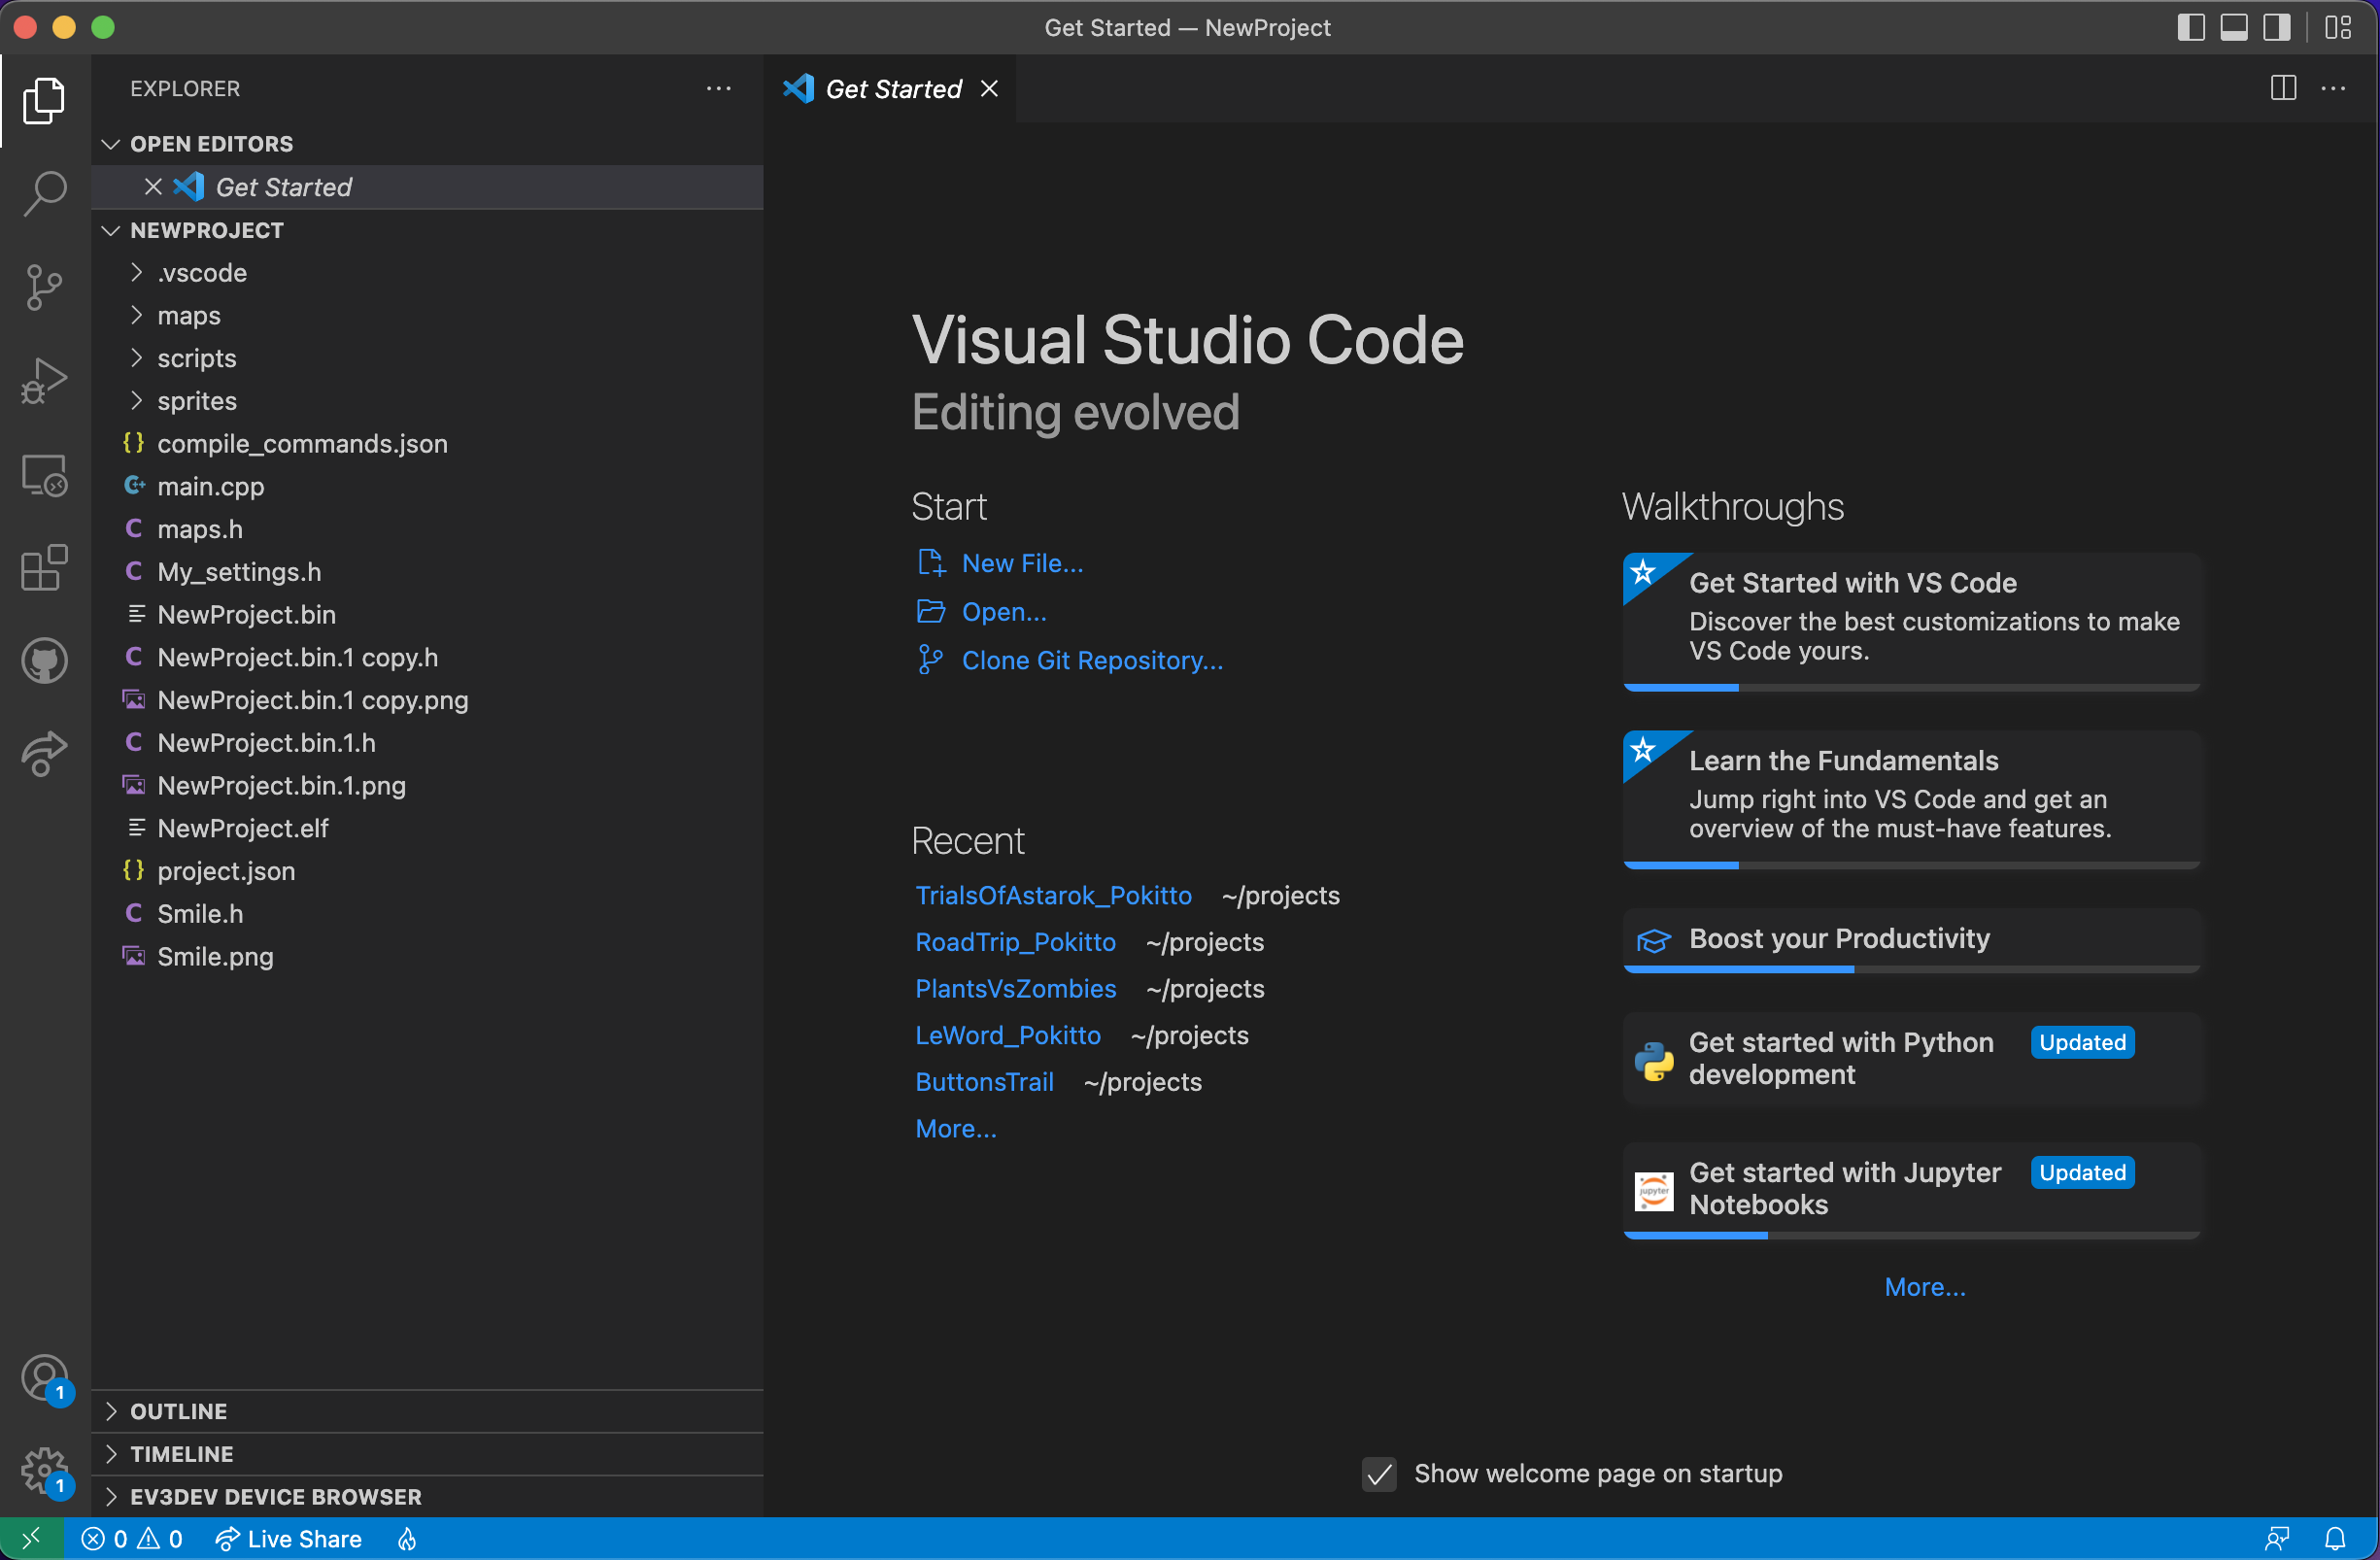
Step 5: Close Femto and open VSCode and select Open Folder from the File menu. Find the folder created by Femto.

Complete
You are ready to program!
Compiling
On Windows, the program can be compiled using Control-Shift-B.
On a Mac, the program can be compiled using Command-Shift-B.
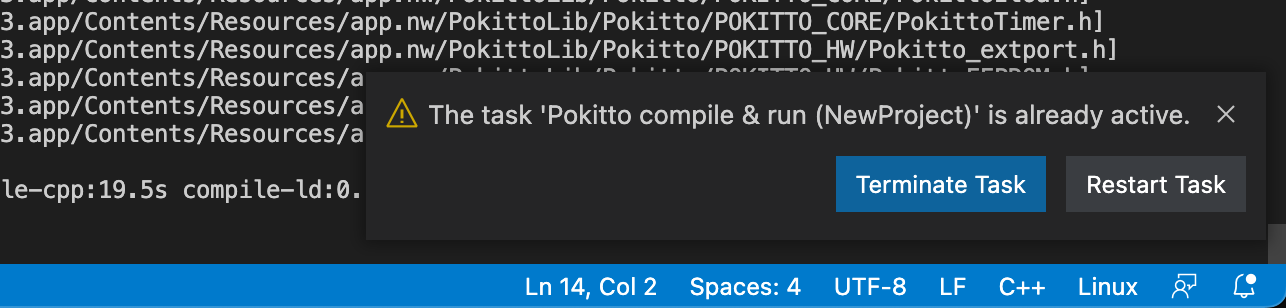
It will compile and automatically launch the Femto emulator. If you attempt to compile again with the emulator window open, it will complain that the task is already active. Either click ‘Terminate Task’ or close the emulator screen before compiling again.
Clean Compile
If you change any of the project.json file properties, you will probably need to do a clean compile.
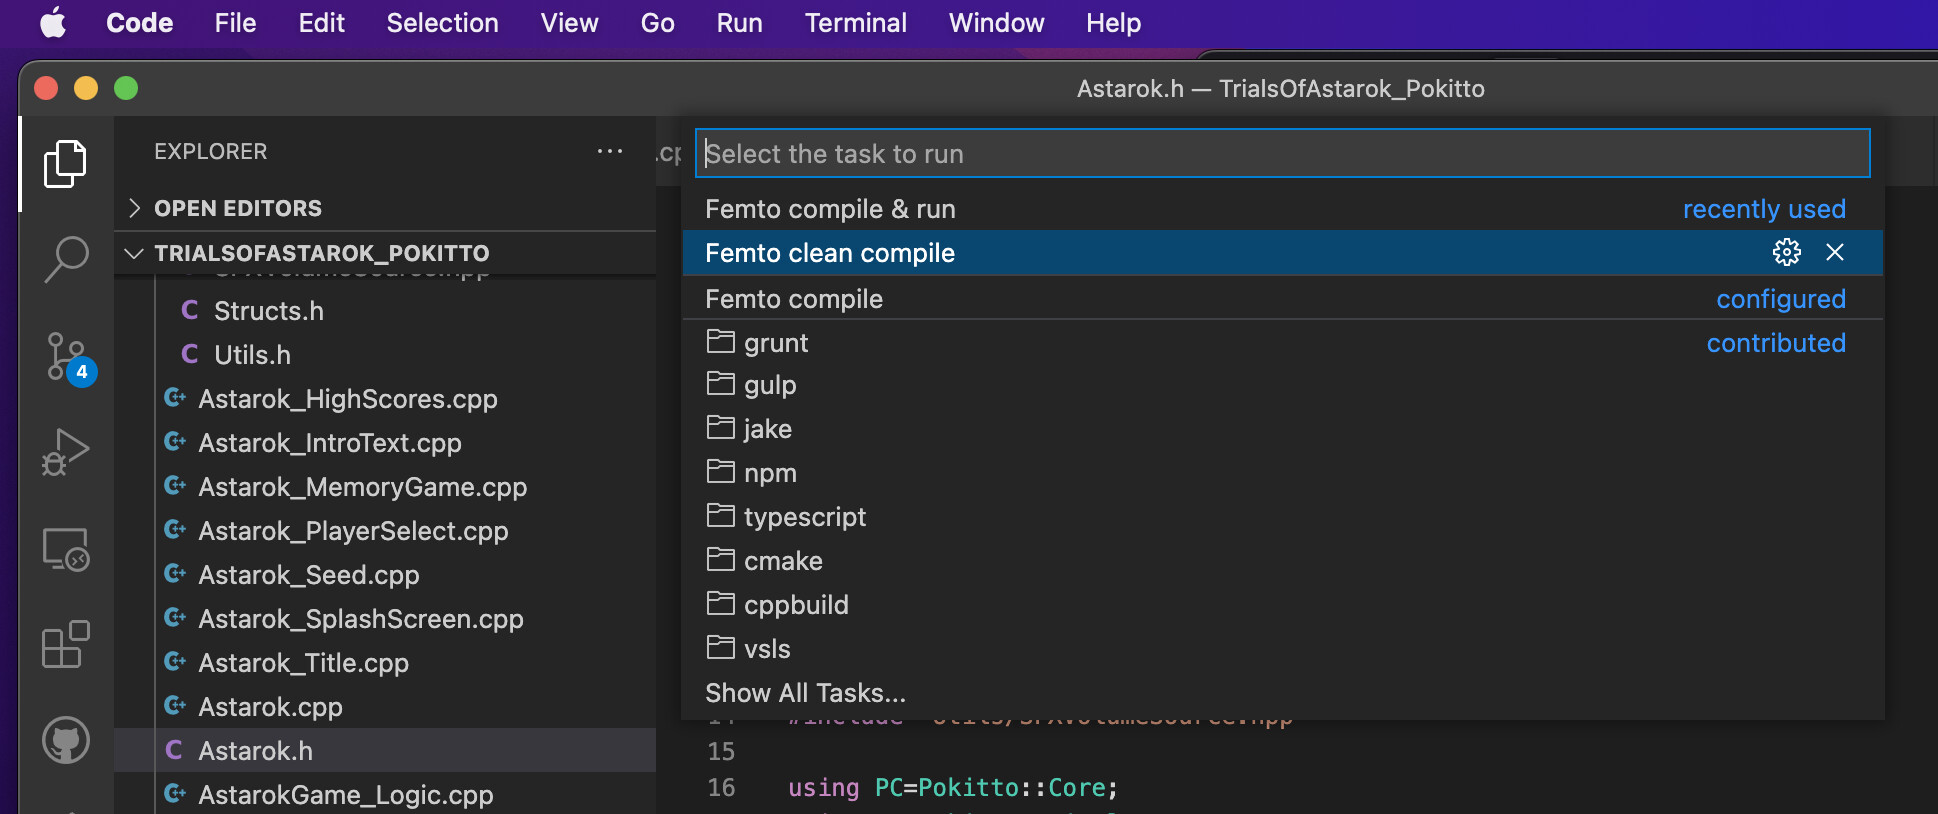
Step 1: Select Terminal and Run Task... from the main menu.

Step 2: Select Femto clean compile from the menu.
Other Addins
As you use VSCode, it will detect that you are using C++ and will prompt you to install some additional packages, such as C++ IntelliSense and the like. Its up to you if you want to install these - they are all free and you can always uninstall them if you do not like them.
I have installed the following and they work for me:

There are also many more plugins available - have a look at them via the extensions view.
If you like useless extensions, then consider this one:

