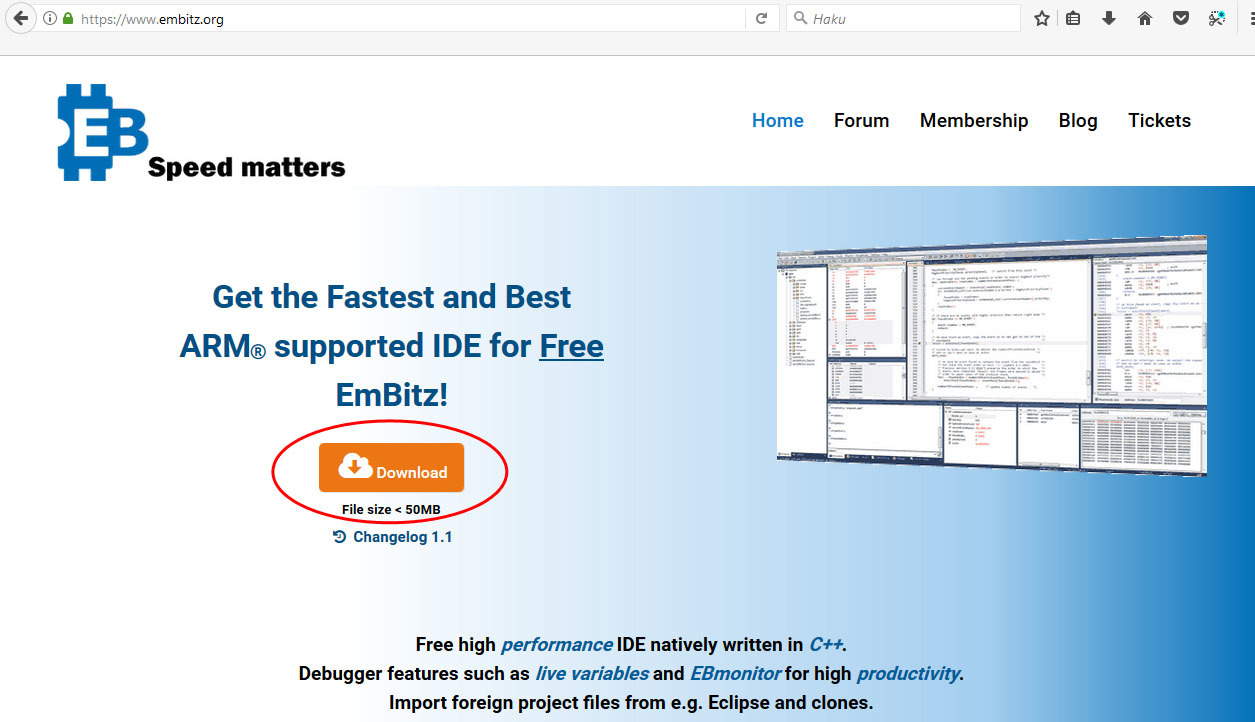
Step 1: download and install EmBitz IDE
EmBitz is an “offline IDE” you can use to program Pokitto on your computer. That means you can make Pokitto-compatible binaries without the need to go to the mbed.com cloud tools.
EmBitz is an open-source IDE that is free, fast and relatively easy to learn. EmBitz was originally a fork of Code::Blocks. So if you have used the simulator, you will notice it works pretty much the same way.
Download from:
EmBitz server is down
Temporary alternative:
Step 2. get the PokittoLib library from Pokitto Github
Go to the Pokitto Github repository and either download as .zip file or “clone” with Git. You should learn to use Git instead of downloading as a zip, because then you are easily able to update your code to the latest version available on github.

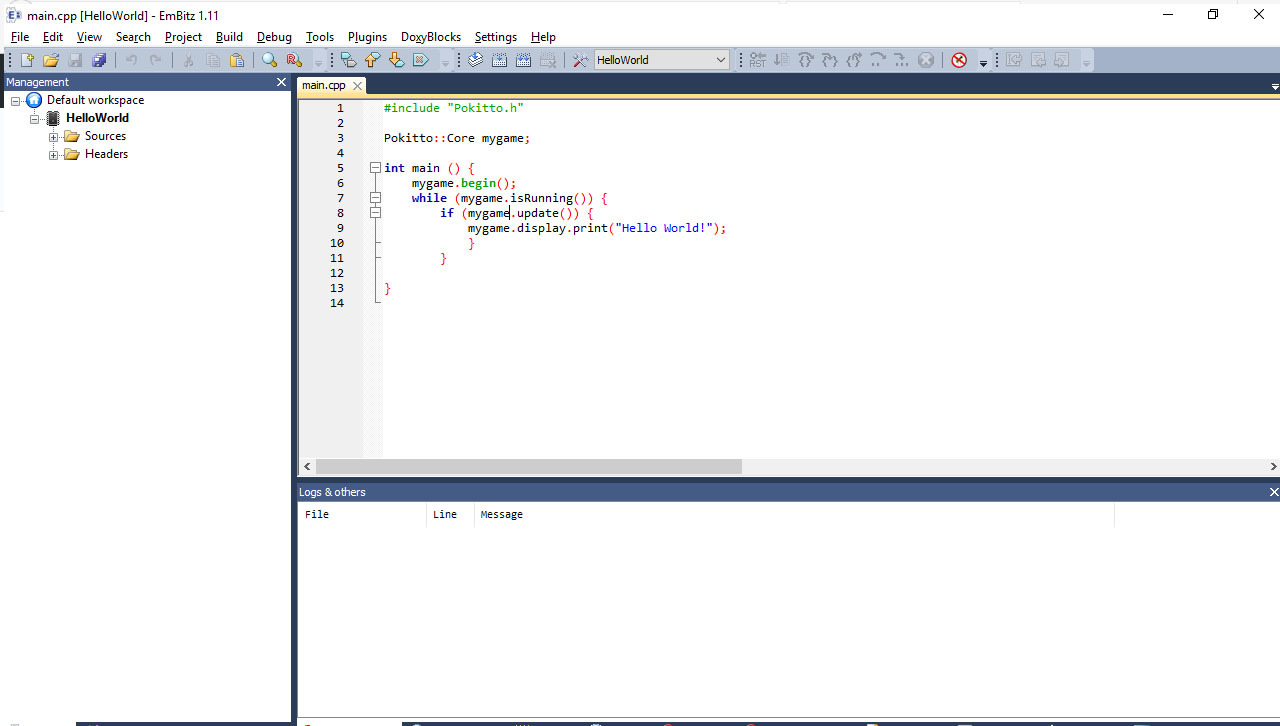
Step 3. Start EmBitz and open “PokittoEmBitz.ebp”
Step 4. Check what is the “.elf” name of the target, and that “generate .hex” file option is ON
Now comes an important step about naming your target, so pay attention.
By default, the ARMGCC compilation produces an “.elf” image (ELF = Executable and Linkable Format)
By itself, the .elf file can be used with a hardware debugger to program Pokitto. But, if you do not use a hardware debugger, we need to generate a HEX file and convert that to the BIN format
This is why you need to know/set the name of the .elf file that is being output by the compiler,
and check that “Generate Hex file” option is turned on
To see the name of the .elf target, go to menu Project->Properties and select tab Build targets

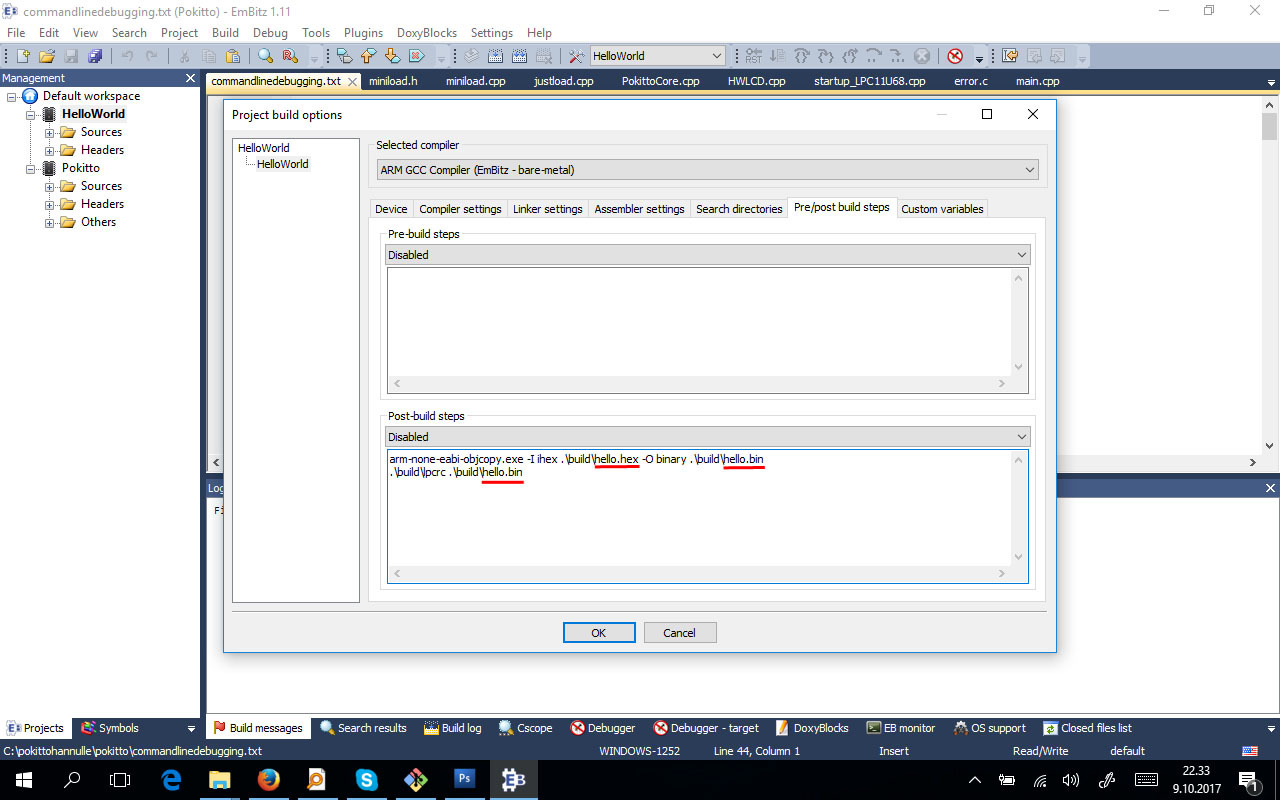
Step 5. See that “post build steps” are correct
Remember we need to do something with the .elf file?
Our project has something calles “post build steps”. As the name implies, these are commands that are run after the compiler has made the .elf file
Go to menu Project->Build options and select tab “Pre/post build steps”
Now, verify that the name of the .elf file is the same as the name of the .hex file and the .bin file
Let’s look at the commands to understand what happens here:
arm-none-eabi-objcopy.exe -I ihex .\build\hello.hex -O binary .\build\hello.bin
.\build\lpcrc .\build\hello.bin
arm-none-eabi-objcopy is a tool provided along with EmBitz that I’ve copied to the /build/ directory for your convenience. This tool takes the .hex file and turns it into a .bin binary file
.\build\lpcrc is a tool provided by NXP. It injects the correct CRC checksum into the binary. Without this checksum, your program will never run!
Final step 6: compile, get binary and put it on Pokitto, reset
To compile your program, press the build button shown below.
Immediately on the right side of the “buld” button is the “rebuild” button.
Remember to rebuild completely if you change the project #defines or stuff inside My_settings.h. If you do not, the changes in graphics mode etc will not be done, because only a rebuild will recompile them
Your bin binary file will now appear in the /build folder. Put Pokitto in to USB mass storage mode. When in USB mass storage mode, the Pokitto appears as a storage device with the name CRP_DISABLED (this funny name only means that the device is not write-protected).
Finally delete existing “firmware.bin” and copy the new bin you just made into the Pokitto. Reset to run your program.
Happy coding!


