Recap
In the last article we enabled the multi-level game play and the game is almost finished – all it needs is some polish to make it look a little professional. In this article, we will add some animation to the splash screen and some sound effects before packaging the application ready for publication.
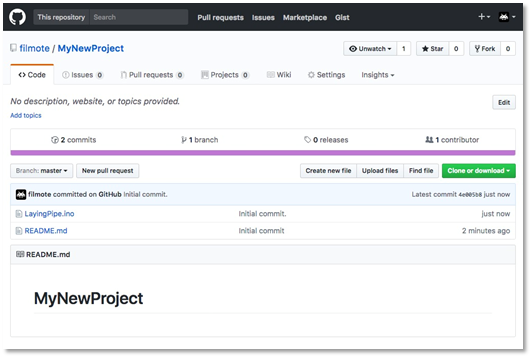
You can download the code for this article from my repo at https://github.com/filmote/Pipes_Article4_Pokitto
Splash Screen Animation
When I originally designed the artwork for the splash screen, I made individual sprites for each of the pipe pieces rather than one large graphic allowing me to ‘animate’ the pipes being laid.
In the previous article, the renderBackground() routine clears the screen and renders all of the pipes in one action.
void Game::renderBackground() {

  PD::fillScreen(11);

  PD::drawBitmap(112,  0, Pipe_Straight_TB_NoFlange);
  PD::drawBitmap(112, 16, Pipe_Corner_TL);
  PD::drawBitmap(96,  16, Pipe_Corner_TR_NoFlange);
  PD::drawBitmap(96,   0, Pipe_Corner_BL);
  PD::drawBitmap(80,   0, Pipe_Straight_LR_NoFlange);
  …
The code below shows the modified version of the renderBackground() routine. It is similar to that original except it accepts a parameter, counter, to render the pipes individually.
void Game::renderBackground(uint8_t counter) {

  PD::fillScreen(11);

  if (counter >= 1) PD::drawBitmap(112,  0, Pipe_Straight_TB_NoFlange);
  if (counter >= 2) PD::drawBitmap(112, 16, Pipe_Corner_TL);
  if (counter >= 3) PD::drawBitmap(96,  16, Pipe_Corner_TR_NoFlange);
  if (counter >= 4) PD::drawBitmap(96,   0, Pipe_Corner_BL);
  …
The renderSplash() function that controls the display of the splash screen pipes using a counter that is incremented every 12 frames of the game. The counter continues to be increased until it all pipes are shown at which point the heading is displayed.
void Game::renderSplash() {

  if (splash_counter < SPLASH_MAX && (PC::frameCount % 12) == 0) {
    splash_counter++;
  }

  renderBackground(counter);

  if (splash_counter >= SPLASH_MAX) {

    PD::setColor(0);
    PD::fillRect(9, 25, 92, 37);
    PD::drawBitmap(10, 26, Heading);

  }

  if (PC::buttons.pressed(BTN_A)) {
    gameState = STATE_LEVEL_SELECT;
  }

}
After seeing the animation once or twice, most players will be happy to skip straight to the game play.
Adding Sound Effects
Adding sound effects to any game really livens it up. You can find literally thousands of free sounds online and these are typically provided in WAV or MP3 format. The following instructions detail how to convert the file into a .RAW format for use with the Pokitto.
I have used an open source tool called Audacity which is available for Windows, Macintosh and GNU/Linux and can be downloaded from Download | Audacity ®
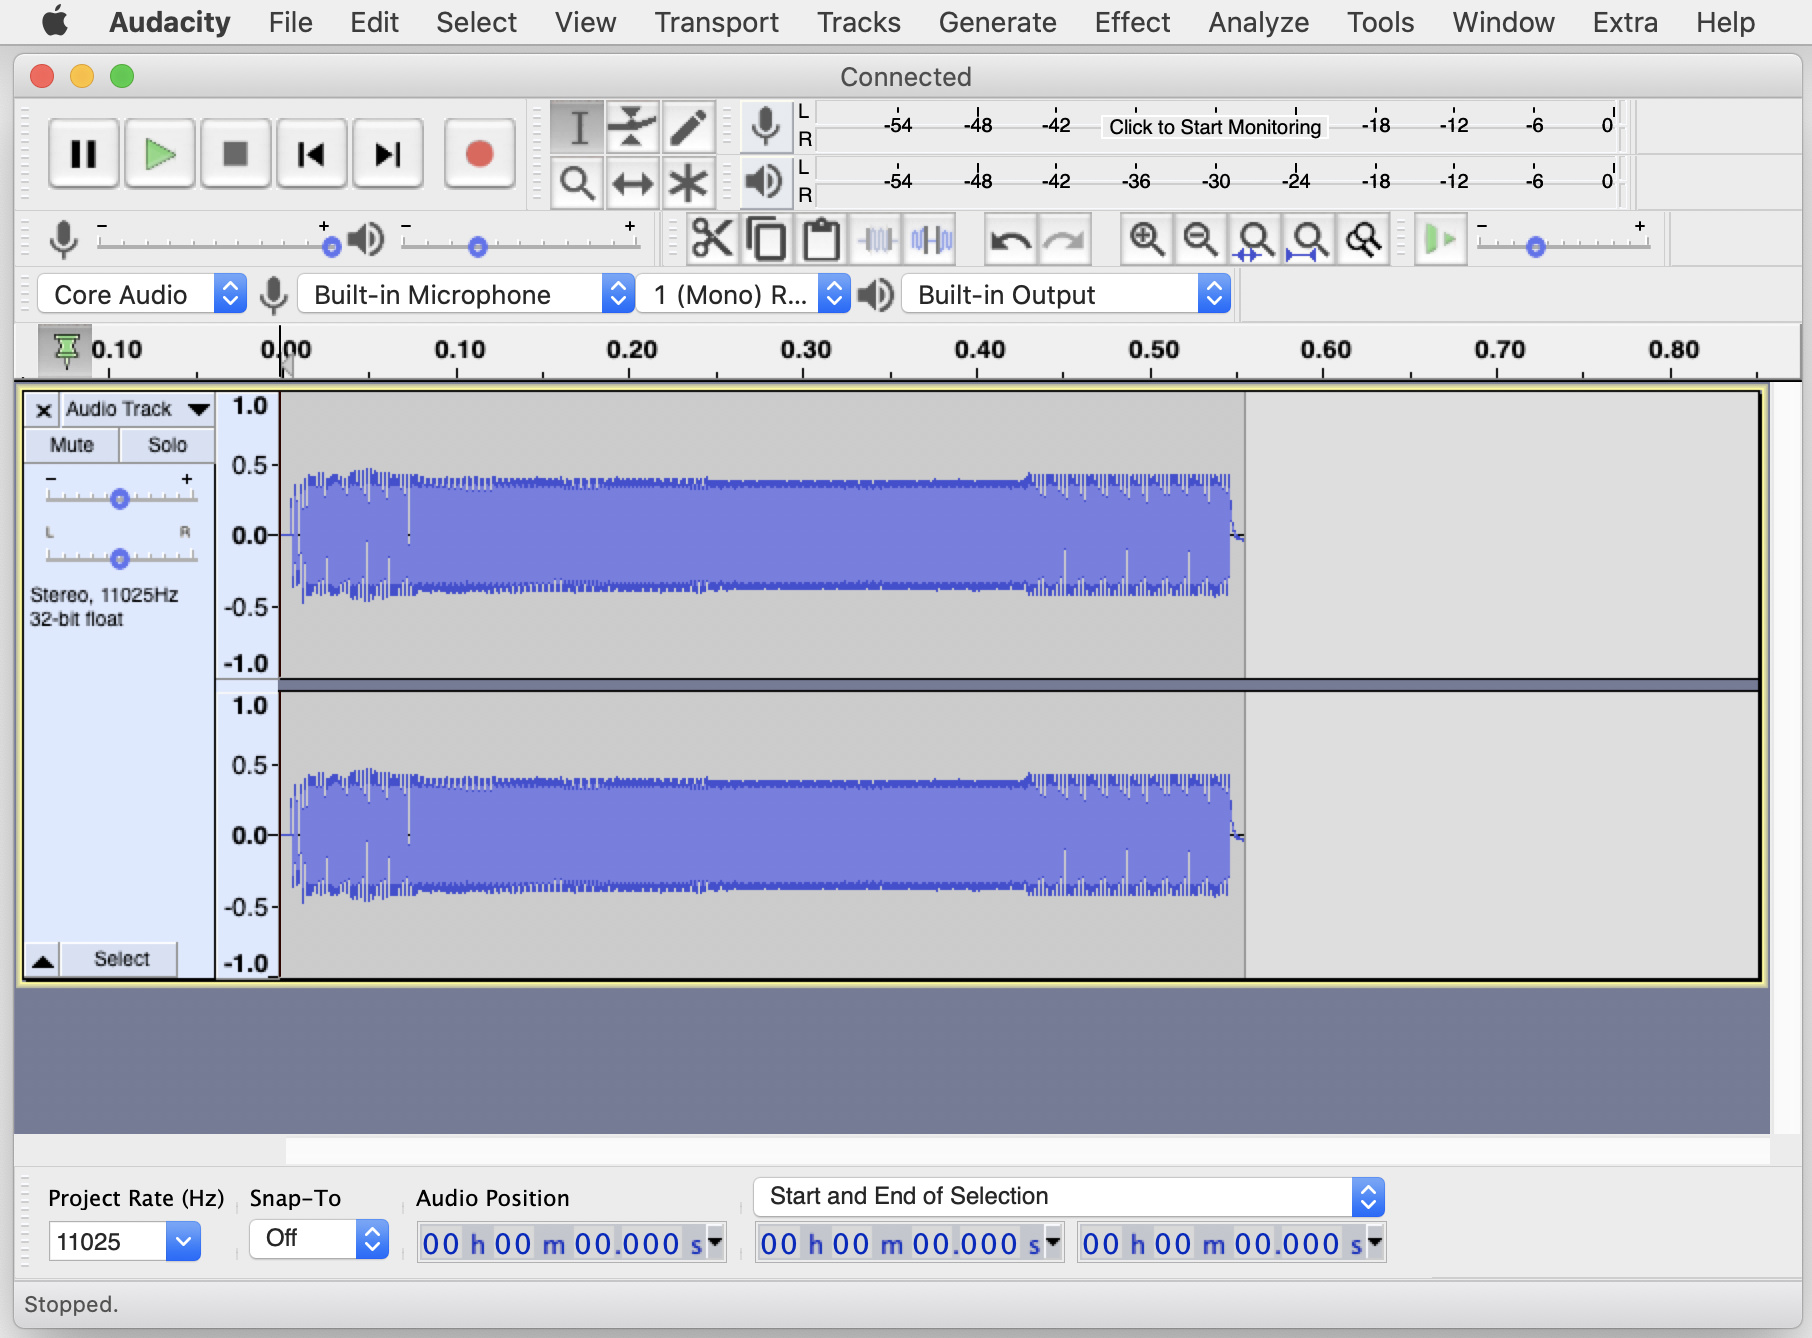
After downloading and installing Audacity, open the sound effect file you wish to convert. As mentioned, sound effects can be found freely on the internet but you should look for simple, short sound effects as the converted sounds can be extremely large and cause memory issues with you program. Depending on the sound you chose, you may see one or two tracks (mono or stereo) as shown below.
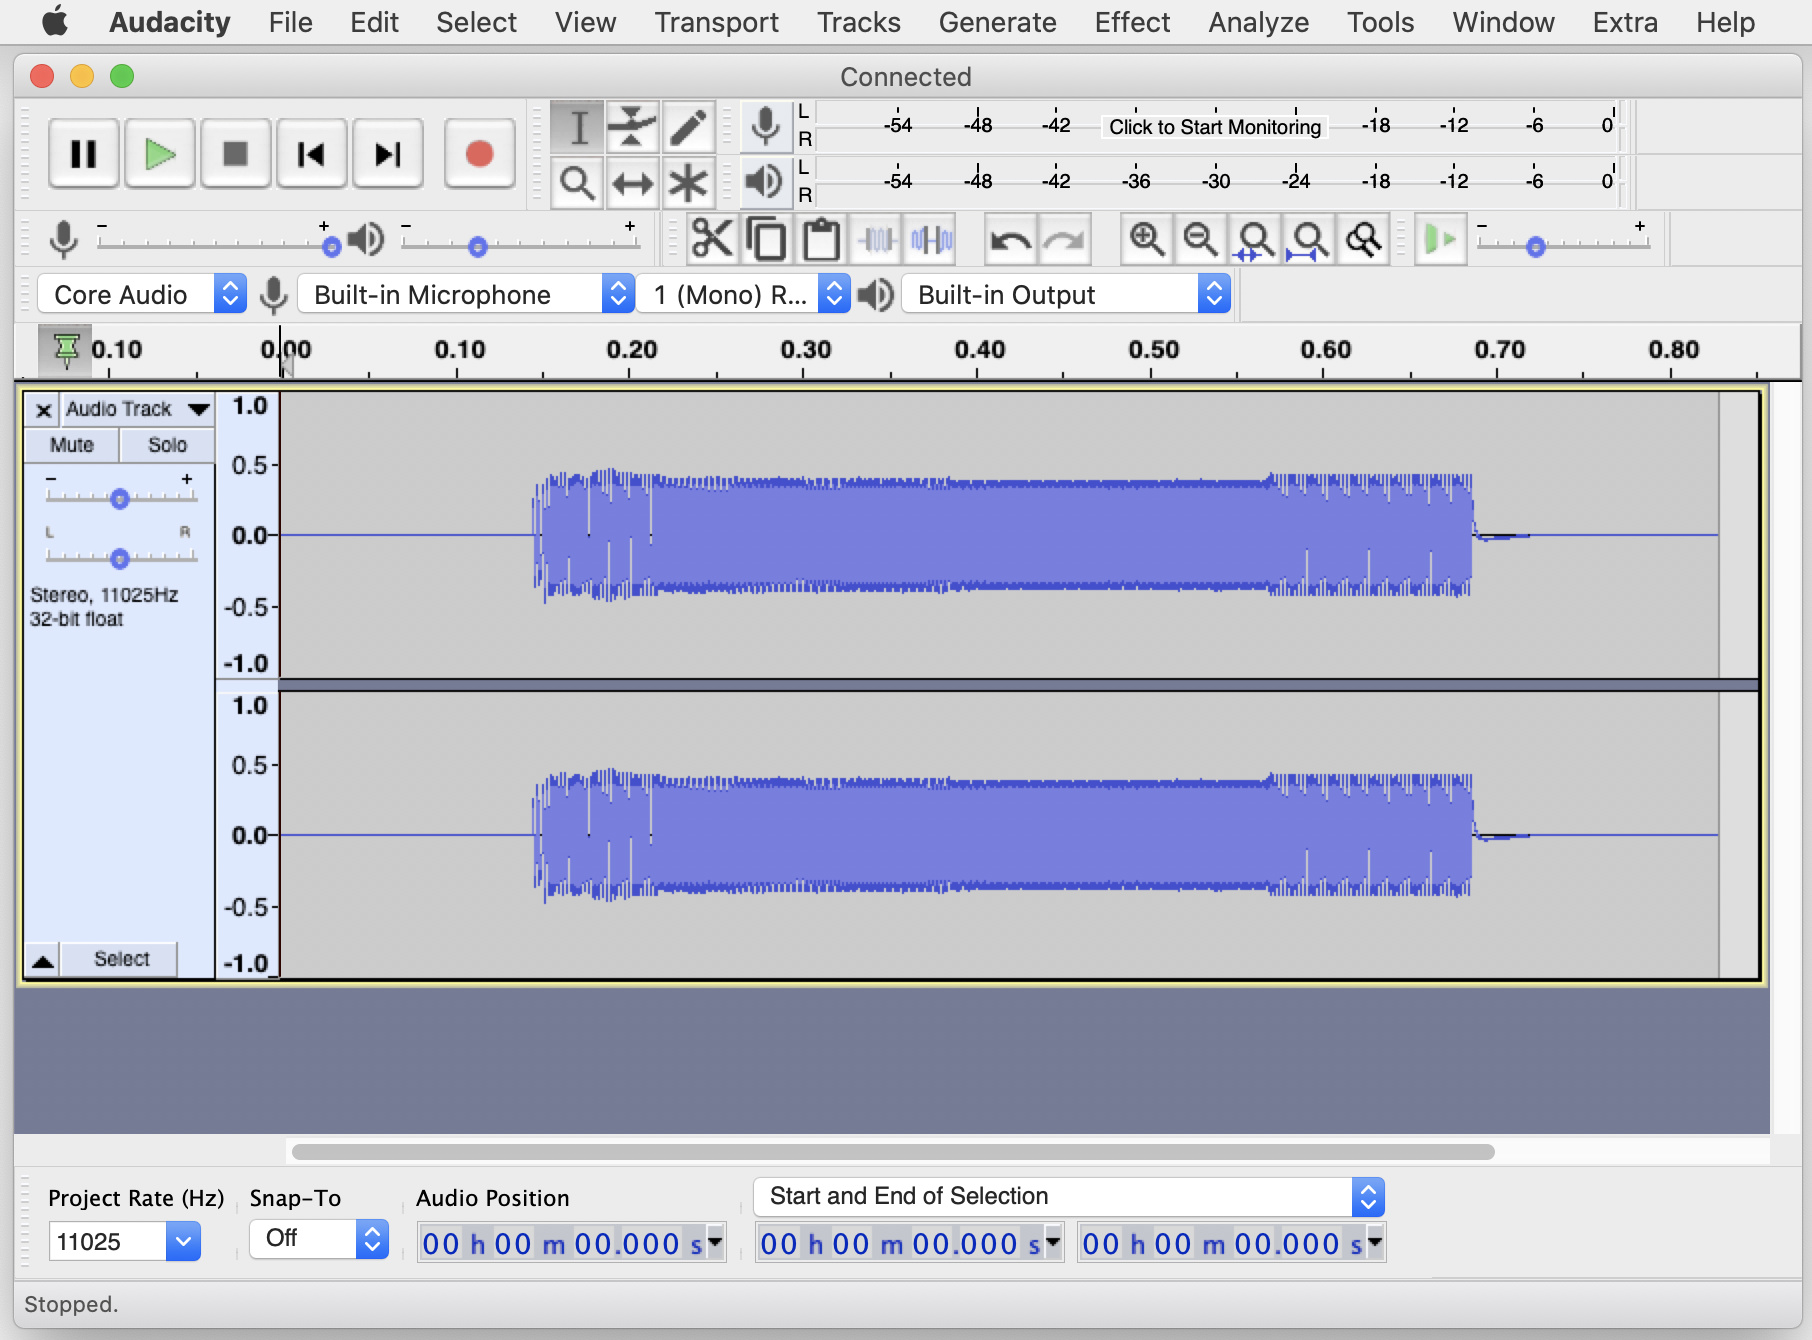
You may notice that there is a second or two of silence at the start and end of the sound effect. The .RAW format does not have any compression so silence takes up just as much memory in a sound effect as the actual sound itself. Highlight the silent areas and delete them via the Edit / Delete menu option, as shown below.

Trim the silence from either end of the sound effect if necessary to shorten the track to a minimum, as shown below.
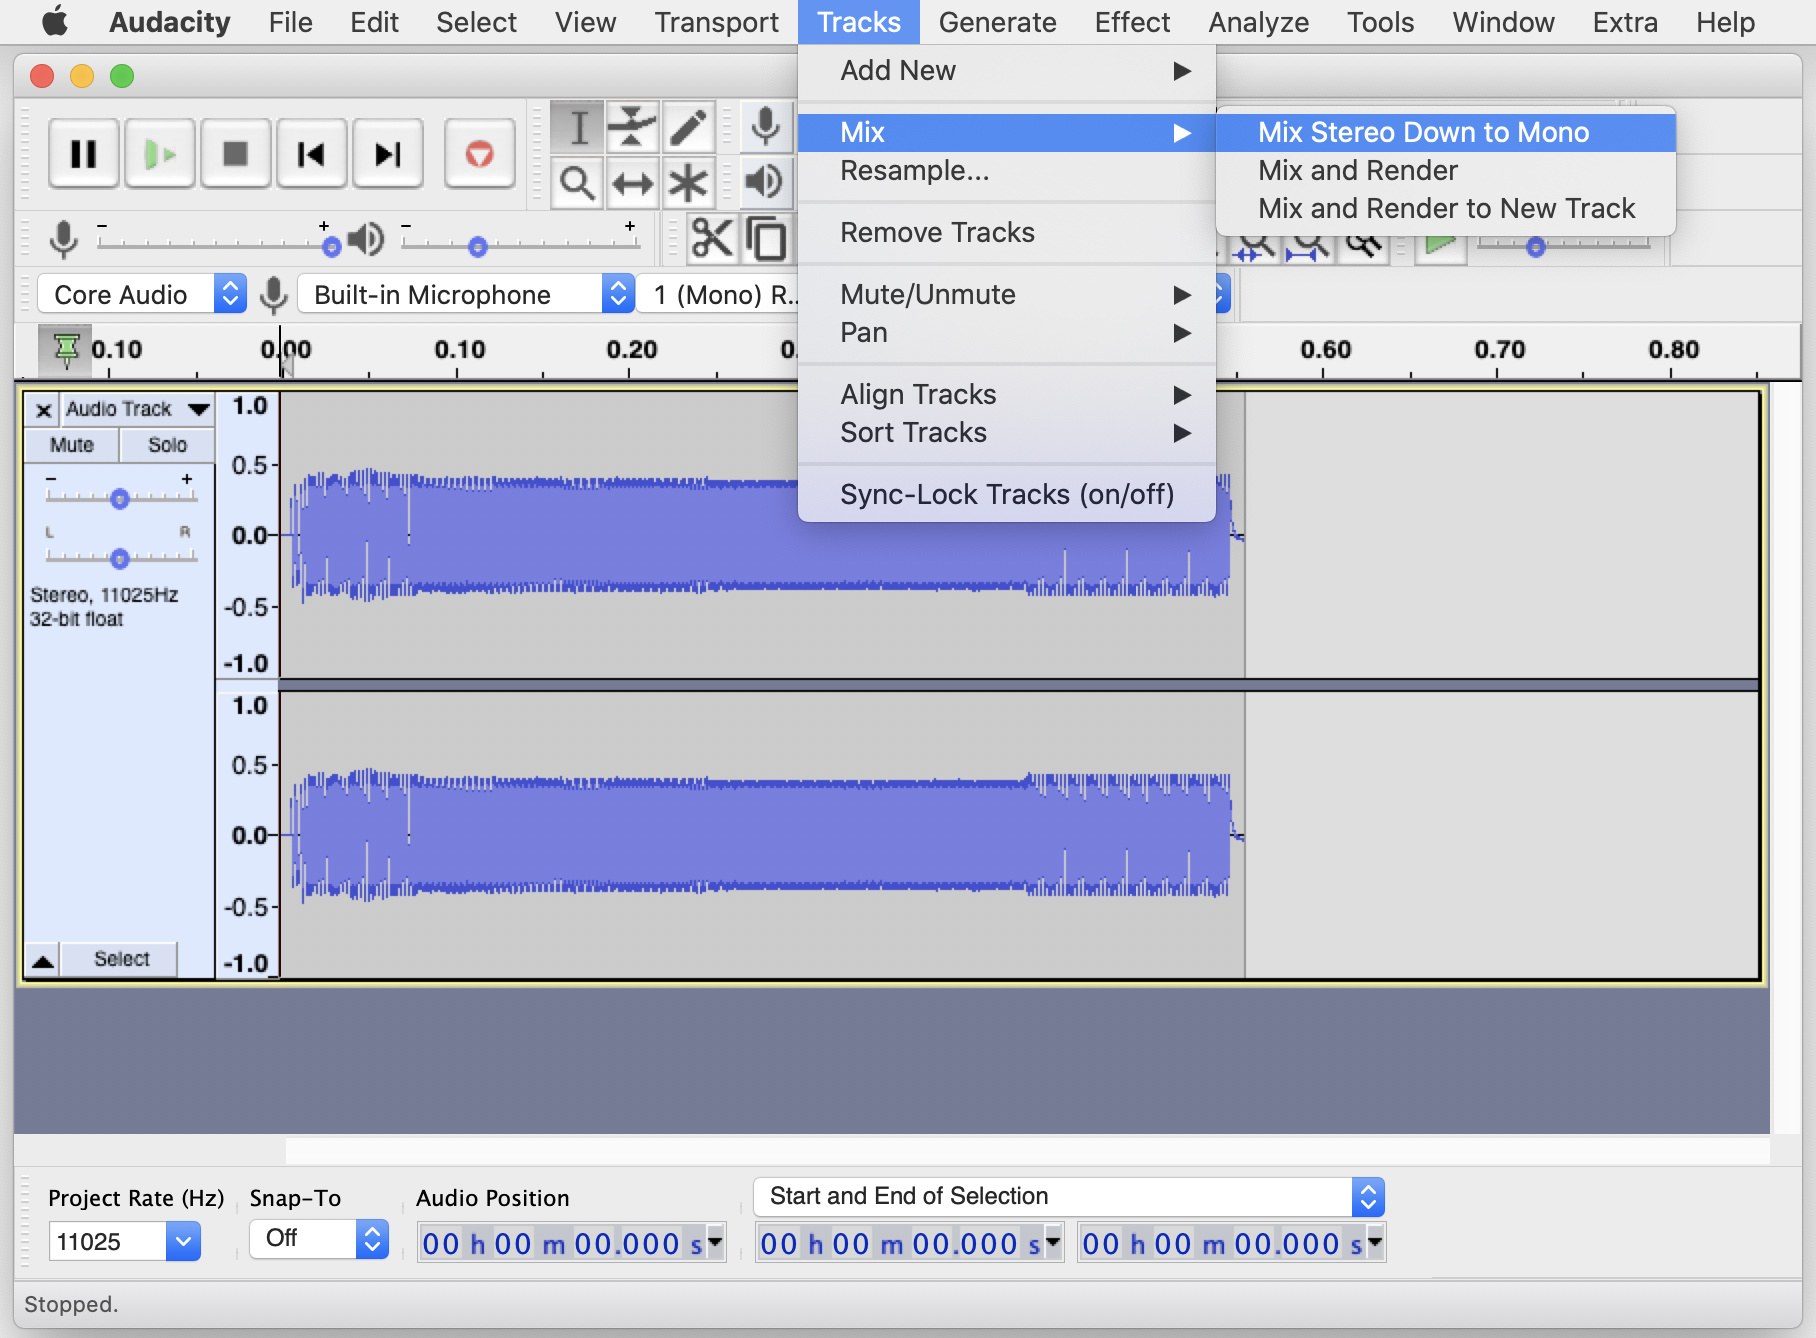
The .RAW format can only support mono sounds so compress the two tracks into a single. Mono track using the Tracks > Mix > Mix Stereo Down to Mono menu option.
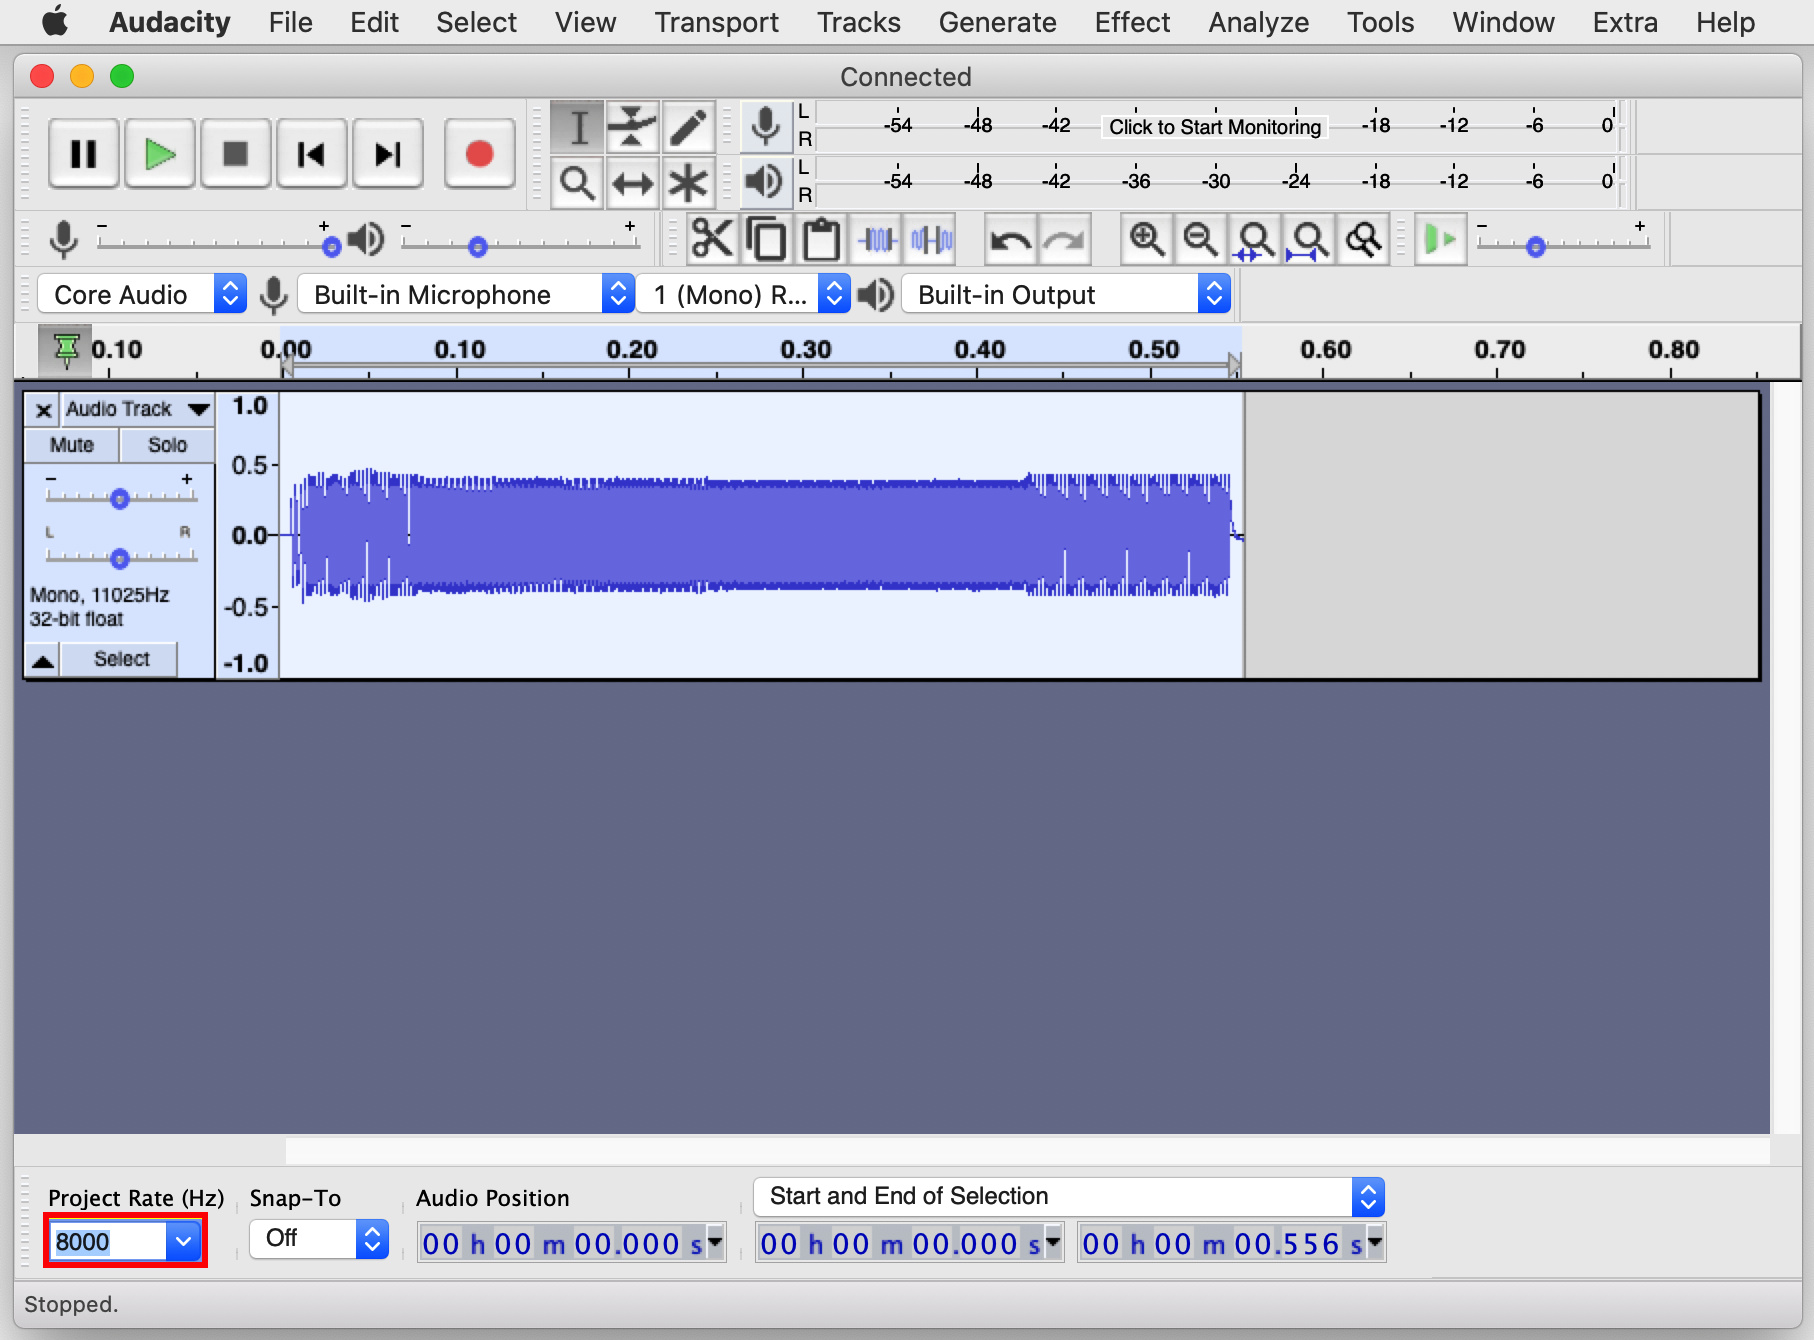
Next, set the Project Rate to 8000. This will produce the smallest file but at the cost of sound quality. You could experiment with different values to see how big the files are and if the difference in sound quality is noticeable.
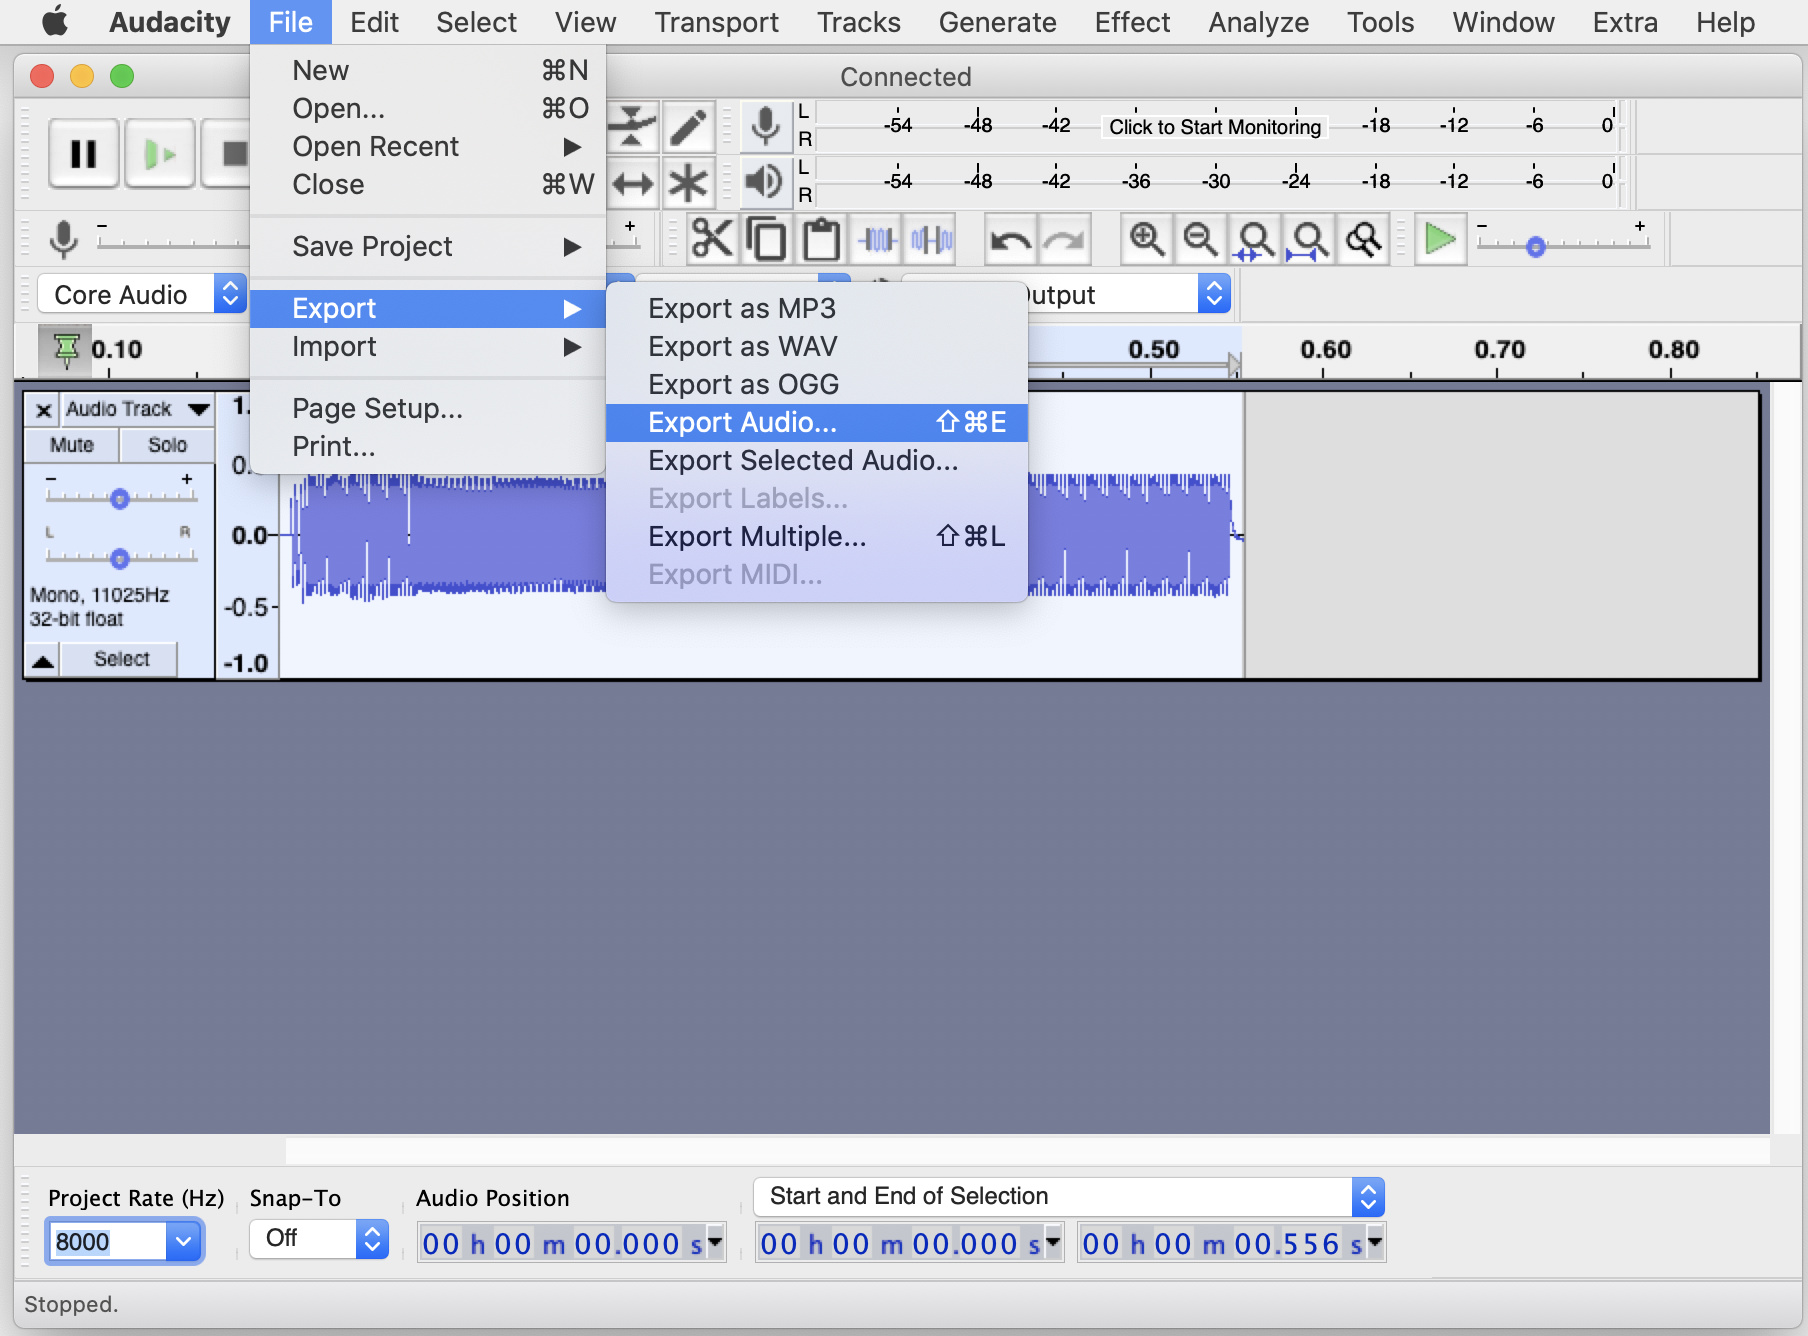
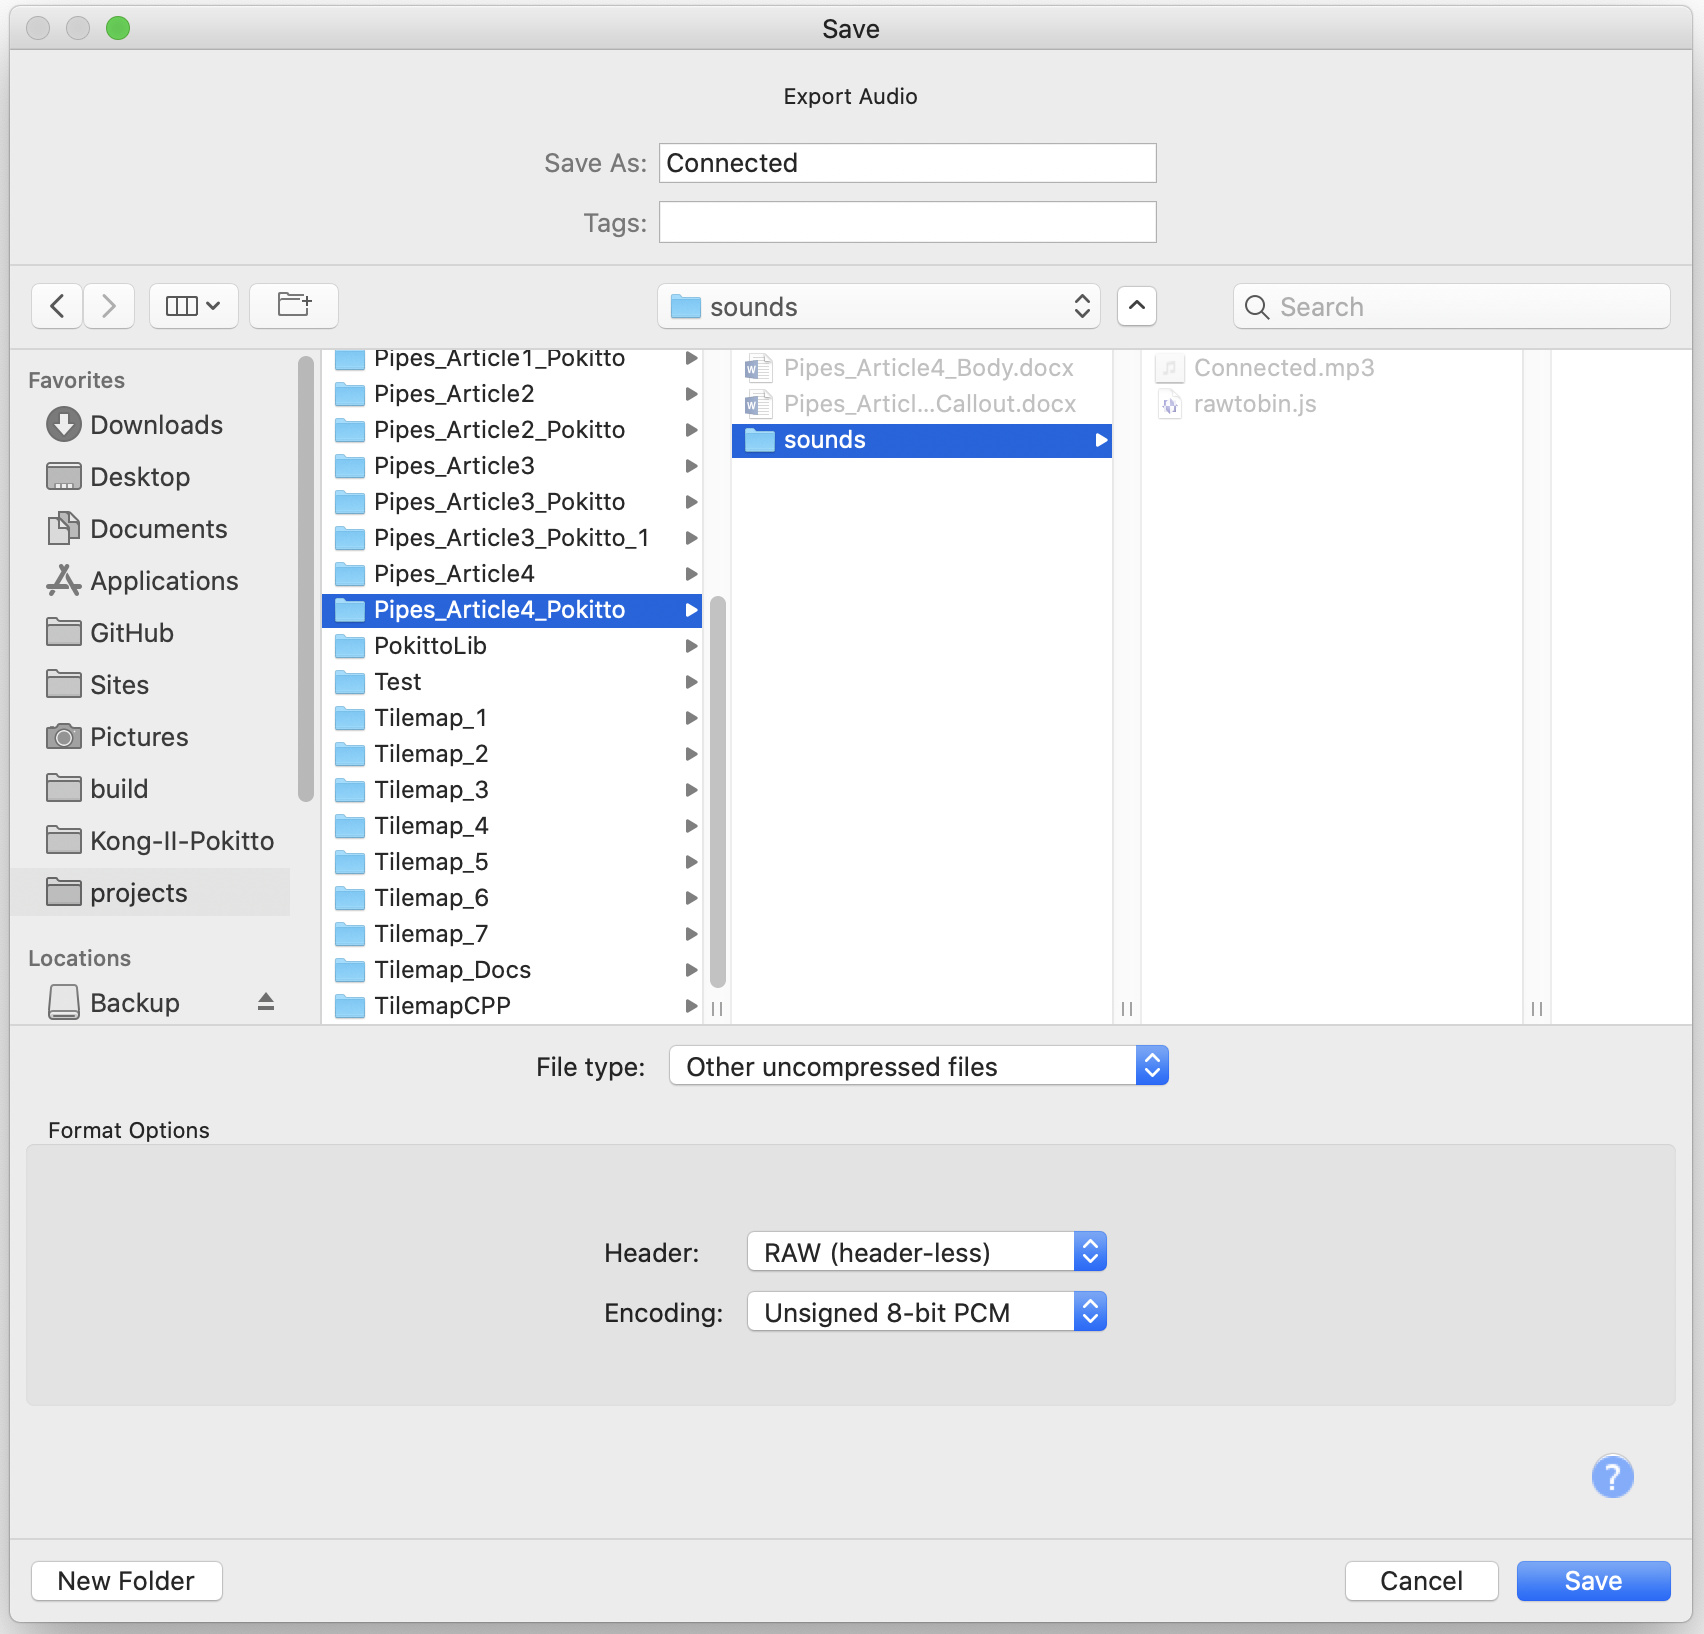
Export he final sound effect by selecting File > Export > Export Audio.
Ensure the Header option box is set to RAW and the Encoding option to Unsigned 8-bit PCM. Choose a location and filename to store the converted sound effect and then click Save.
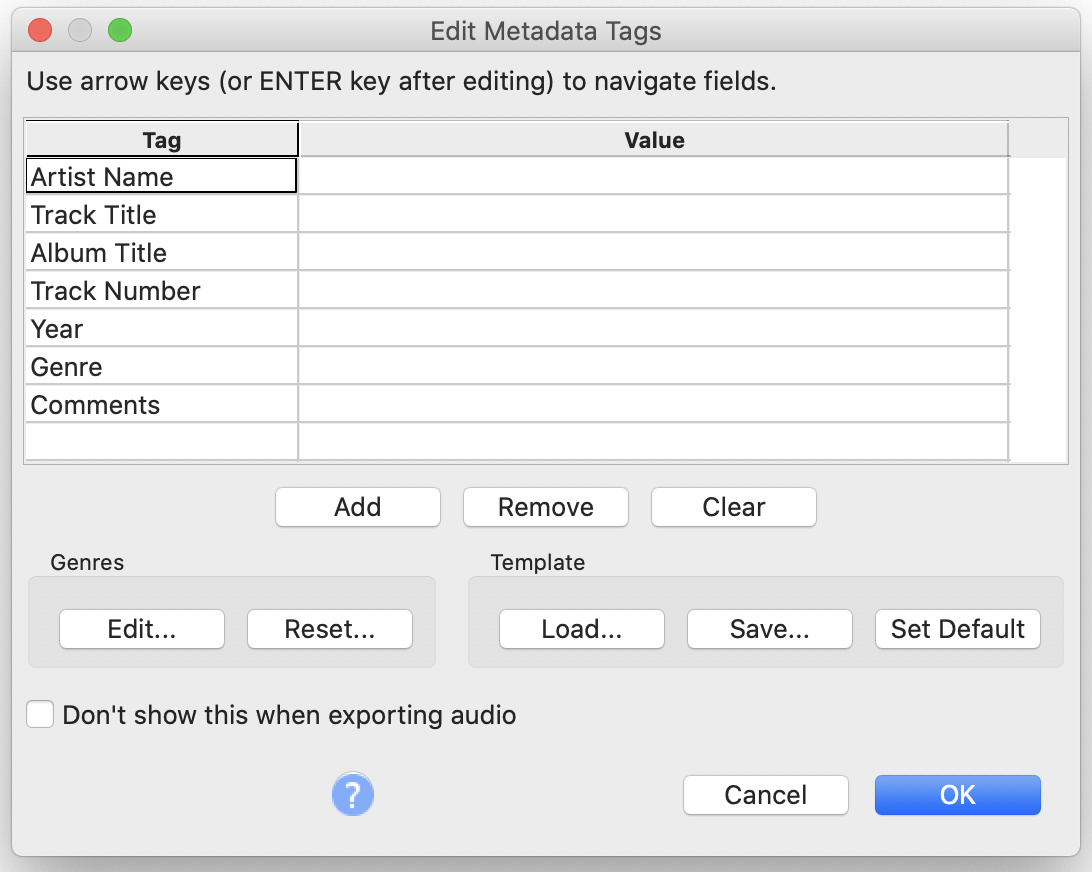
Leave the Edit Metadata Tags table empty and click OK to complete the task.
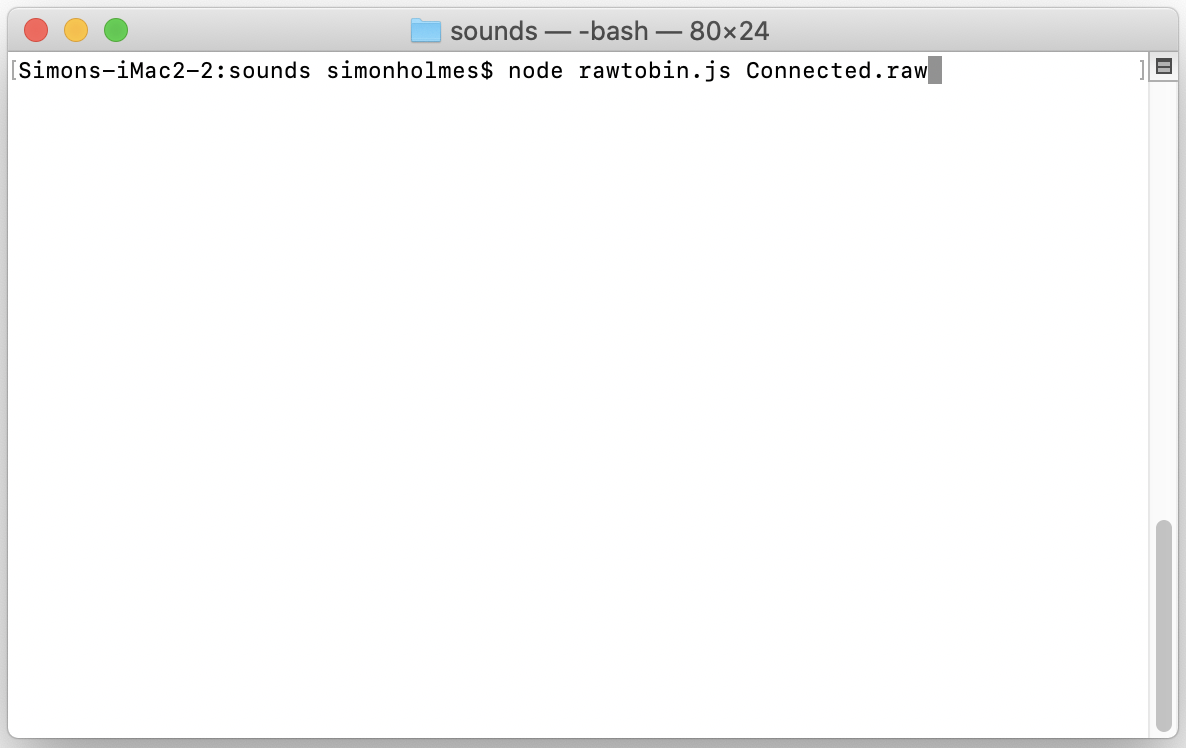
You will now have a .RAW file exported to disk. To convert it into a source file that the Pokitto can use, we can use a simple utility written by @HomineLudens. It requires a Node.js runtime which can be downloaded from Download | Node.js
Ensure the script (rawtobin.js (303 Bytes) ) and the .RAW file you wish to convert are in the same directory. Open a command window and type in the command node rawtobin.js Connected.raw (obviously you will need substitute your sound file name in place of Connected.raw).
Opening the file in a text editor will show you the results of the conversion – a sample is shown below. Note that the file contains an array of data (the actual music itself) and a second parameter that contains the sound effect’s length. These two variables will be needed when we play the tune later.
const unsigned int sfx_Connected_length = 4446;
const unsigned char sfx_Connected[] = {
89,82,84,87,91,93,97,99,101,104,105,113,159,174,171,169,
164,162,158,156,153,152,149,148,107,81,84,85,89,92,96 ..
In order to play the sounds from our application, we need to add a few settings into the MySettings.h file as shown below. The first setting is self-explanatory and instructs the Pokitto to enable sound effects. The second setting tells the Pokitto at what rate (or frequency) the sound files were sampled at. This setting should match the Project Rate chosen when exporting the file in Audacity. If you chose a higher sampling rate, such as. 11025Hz, then update this setting to match.
#define PROJ_ENABLE_SFX              1
#define PROJ_AUD_FREQ                8000
To play a tune, we simply include the converted sound effect file and then call the playSFX() function from the sound library passing the sound effect array and length as parameters.
#include "sounds/Connected.h"
PS::playSFX(sfx_Connected, sfx_Connected_length);
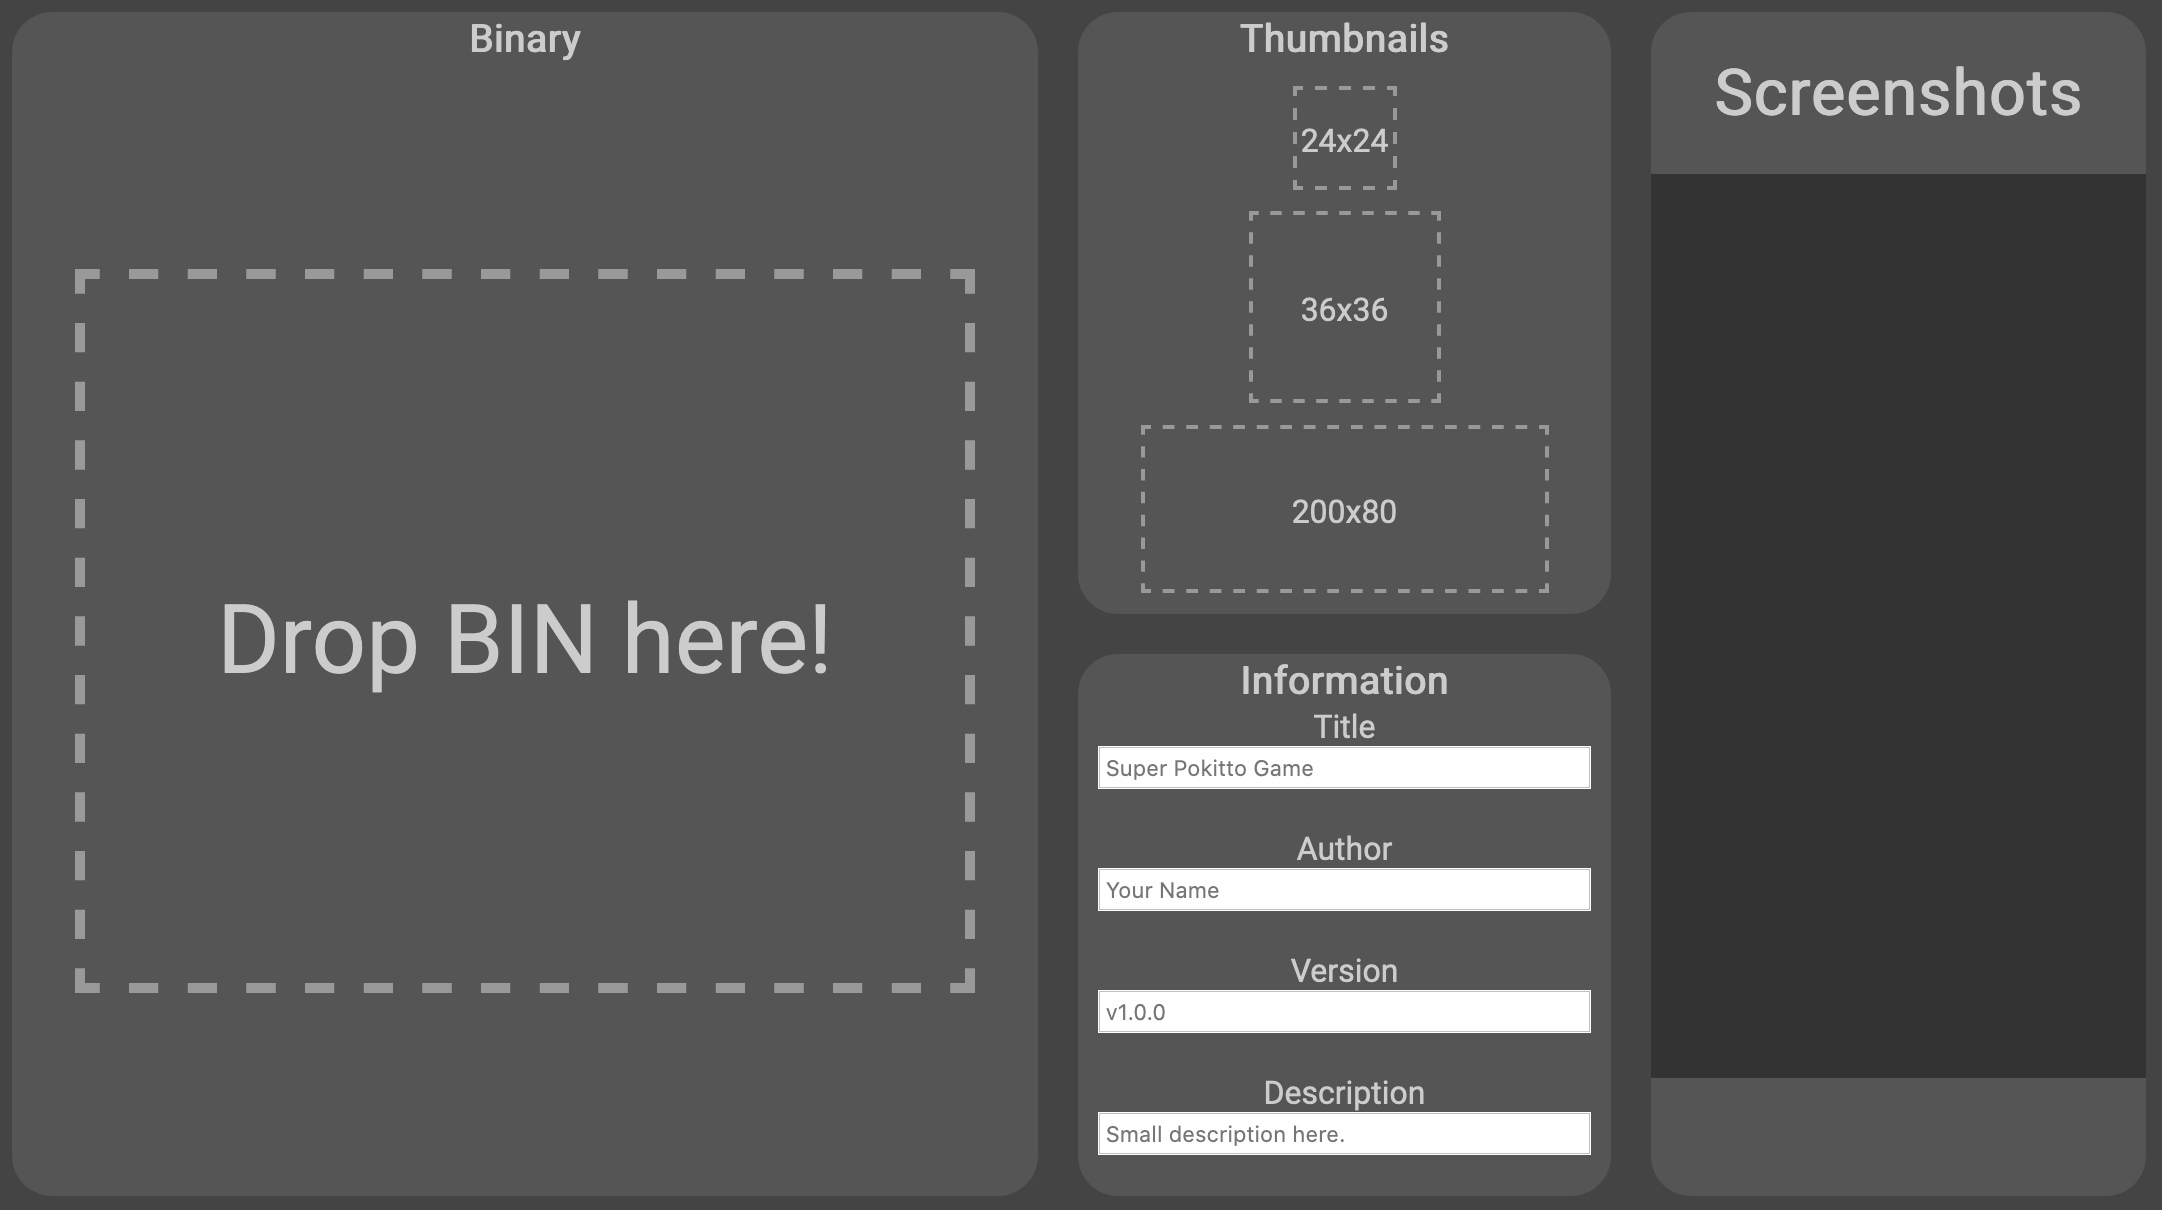
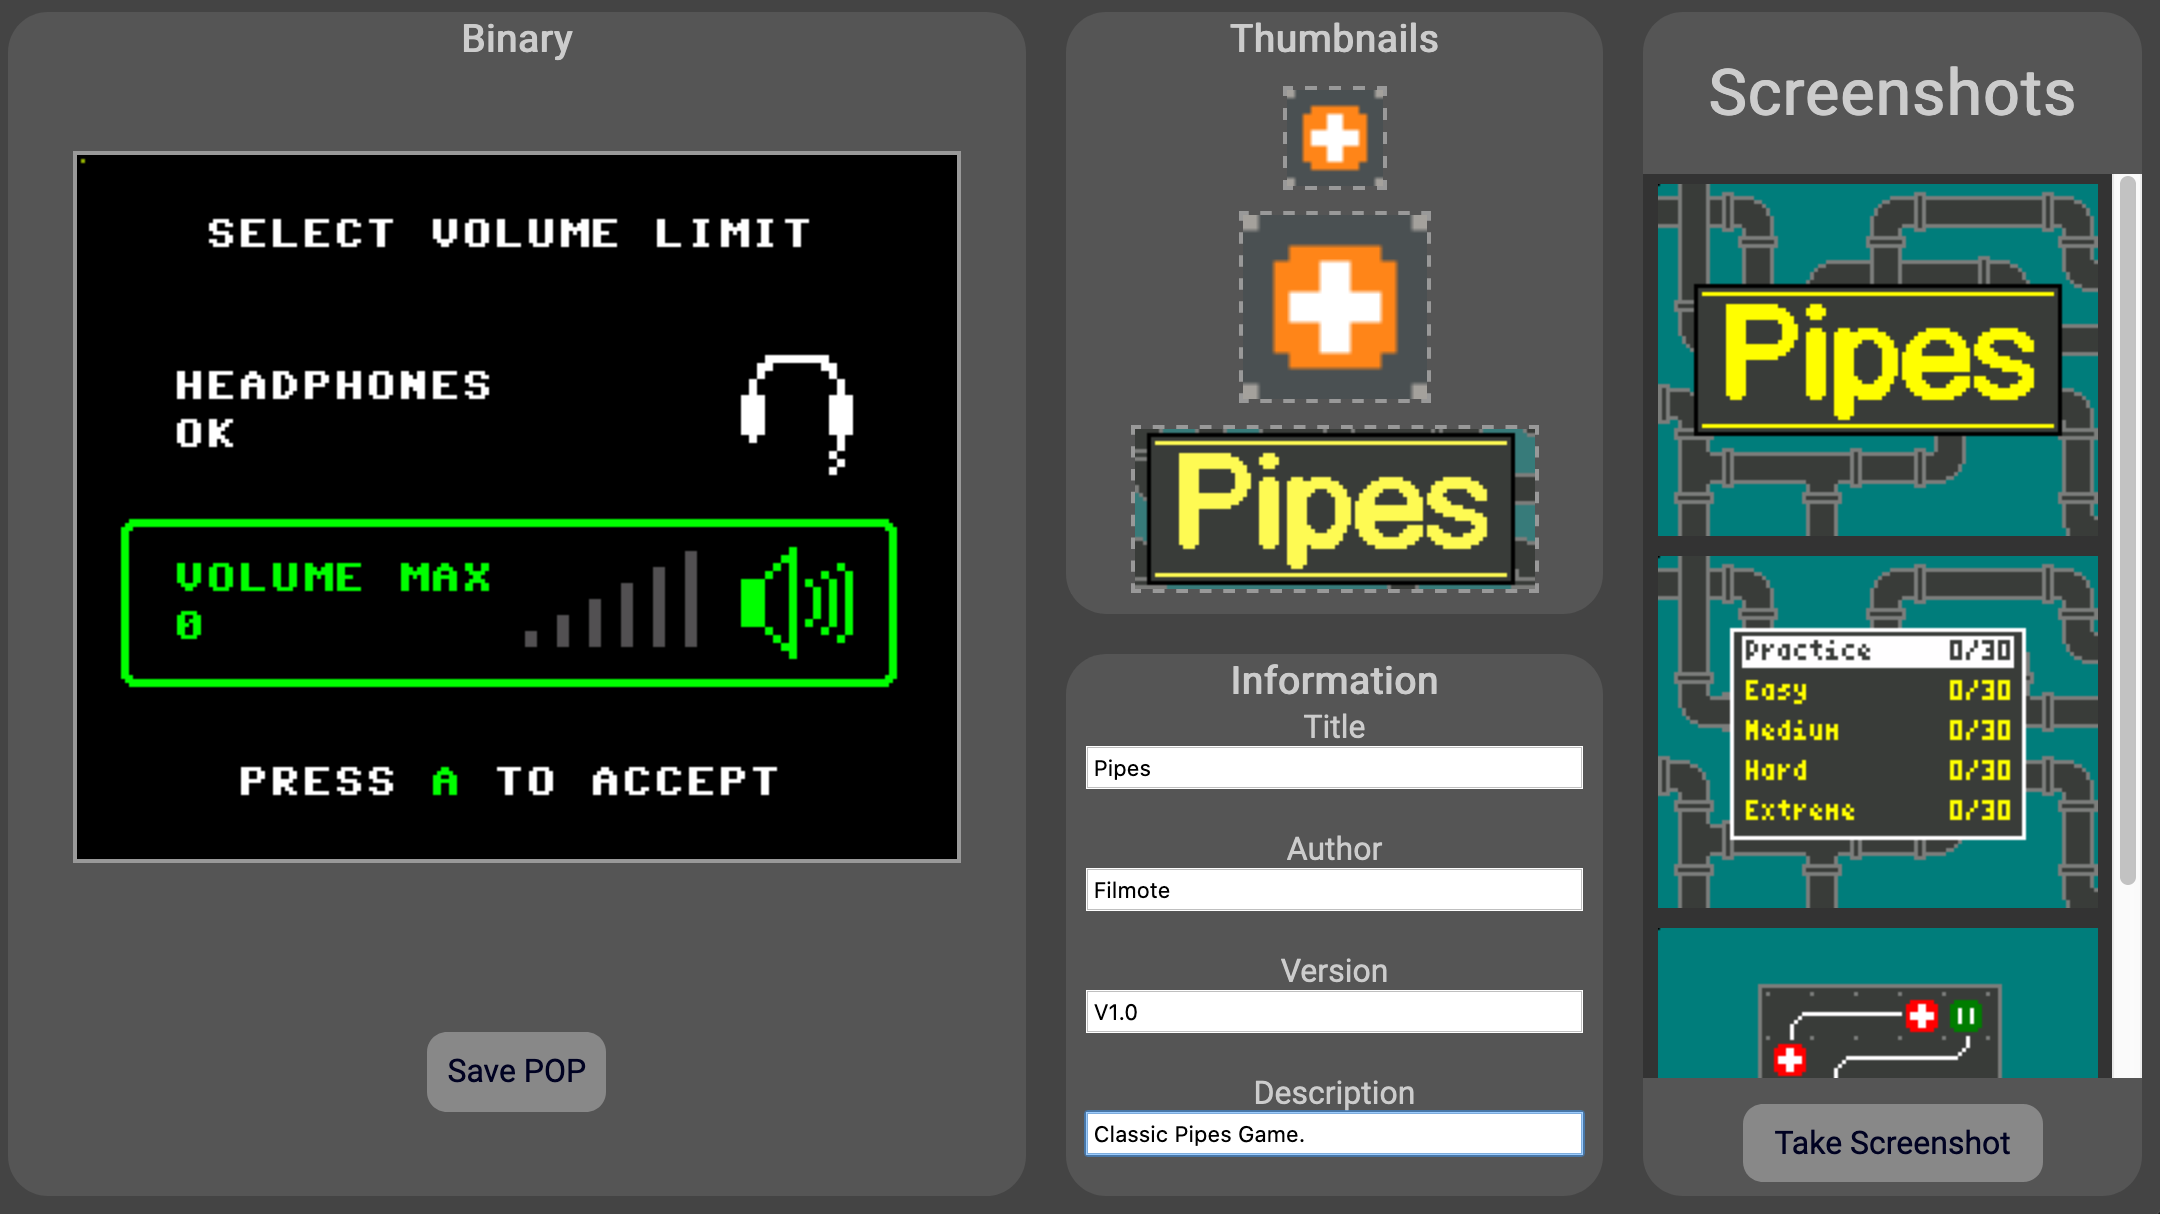
At this point, our application has a funky splash screen, sound effects and an ability for the player to turn the sounds on or off. The complete code is included in my repository at https://github.com/filmote/Pipes_Article4_Pokitto and I encourage you to download it and look at some of the other little additions I have made to make the level and puzzle selection and game over banners nicer. This complete version has 30 puzzles per level for you to try out.