OK, since the dawn of time, One thing has bugged me, even with products as fun as Pokitto, that is… clicky buttons.
So after the multiple reminders from Jonne over the past couple of years about how difficult is it to get ‘proper’ game controller style contact buttons to work properly I thought screw it, I’ll try anyway!
I mean how hard can it be, just grab the rubber contacts from an old gamepad, come up with a way to retrofit a Pokitto with a chopped up gamepad circuit board and all will be good!
Anyway, after a little while in KiCad, a ruler and a broken old Pokitto, I came up with the following layout for a button replacement board.
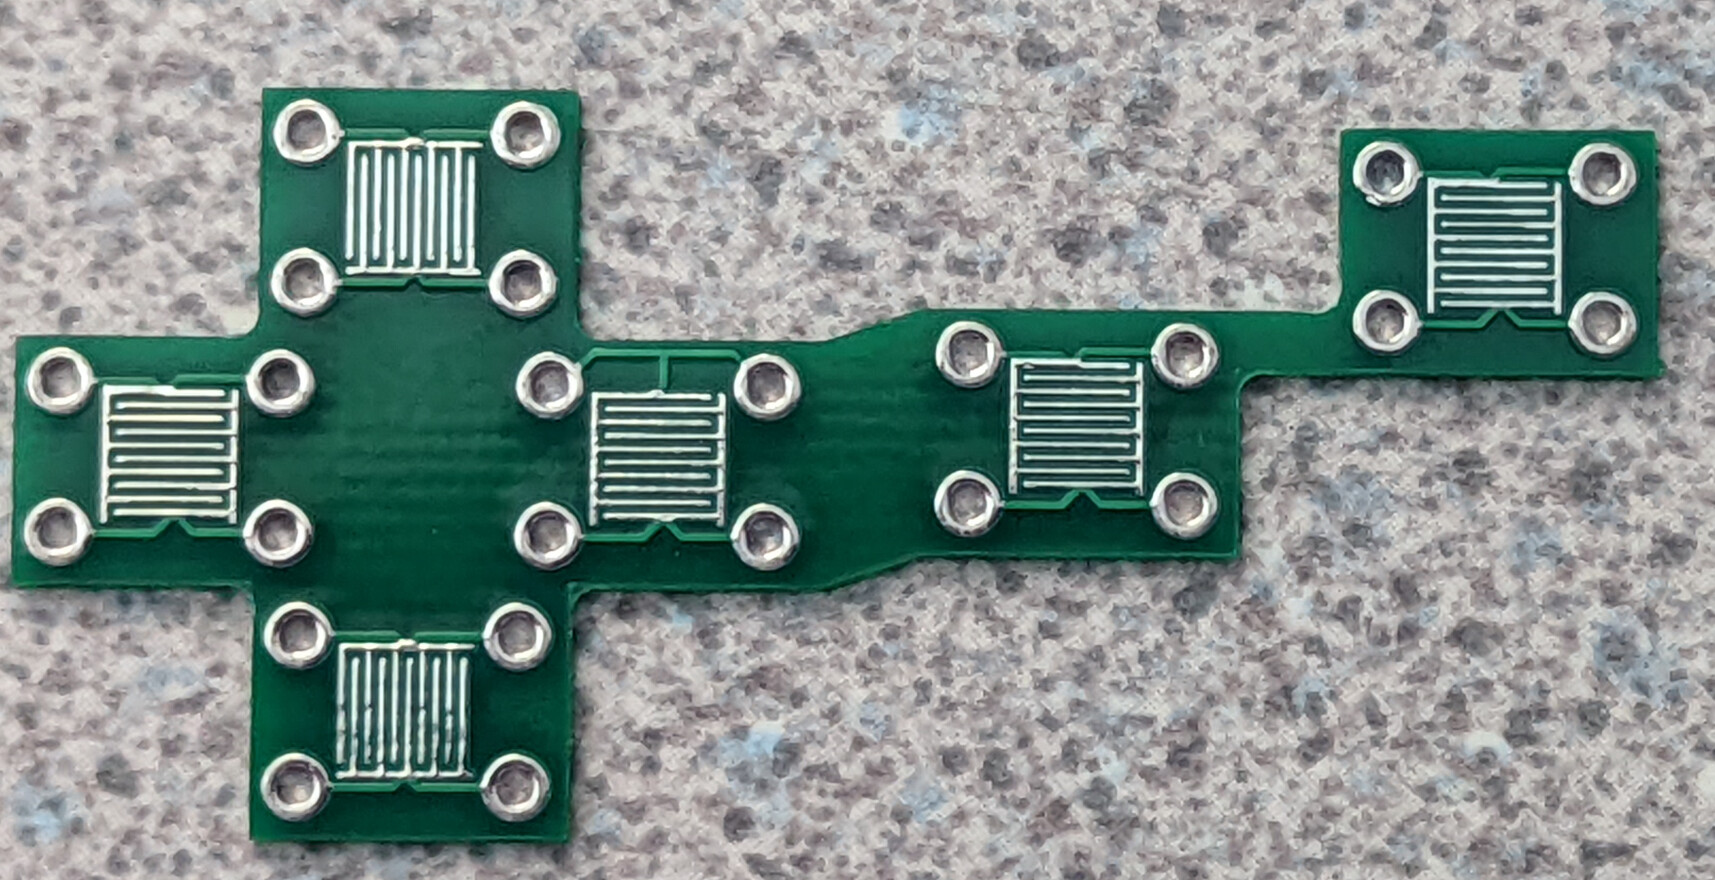
You might notice it’s missing the ‘C’ button. I’d like to say something profound about ‘C’ not being a main button and hardly ever used, or perhaps how difficult it would be to get the measurements correct, however, I simply forgot. It didn’t even cross my mind until I had paid for the boards to be made at pcbway.
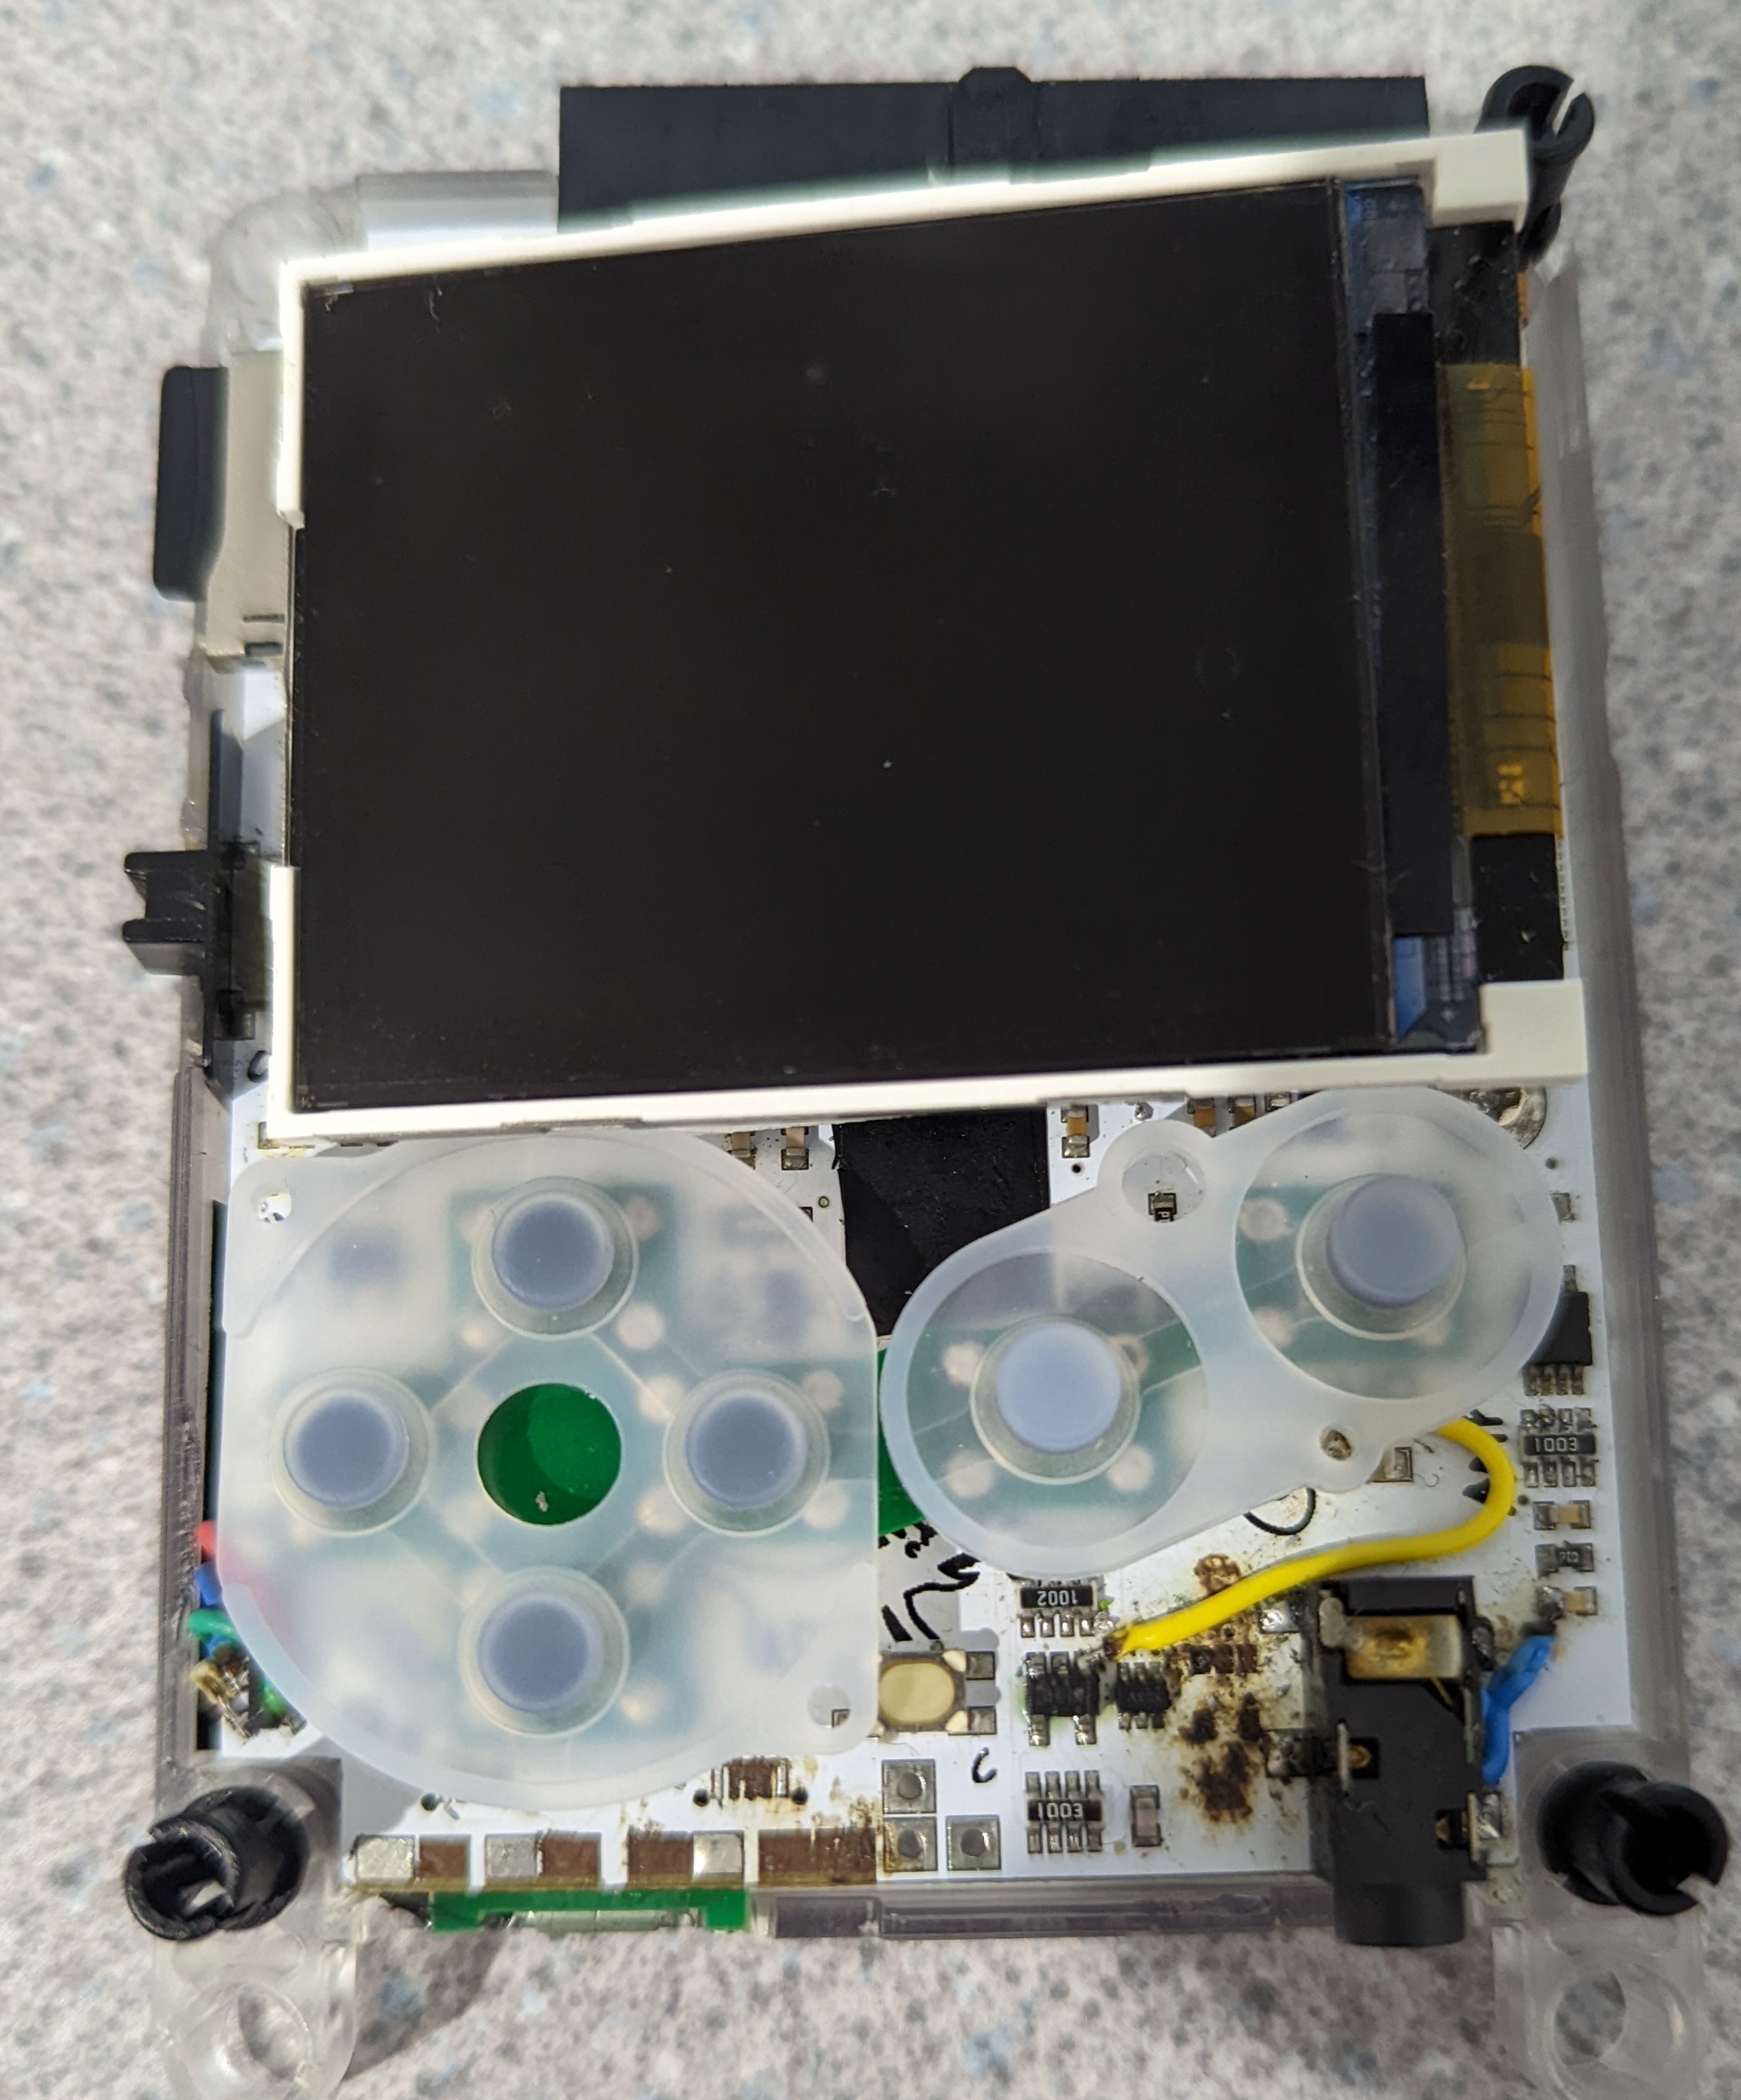
Anyway, I removed the buttons from the least working of my two Pokittos and got to soldering this on there.
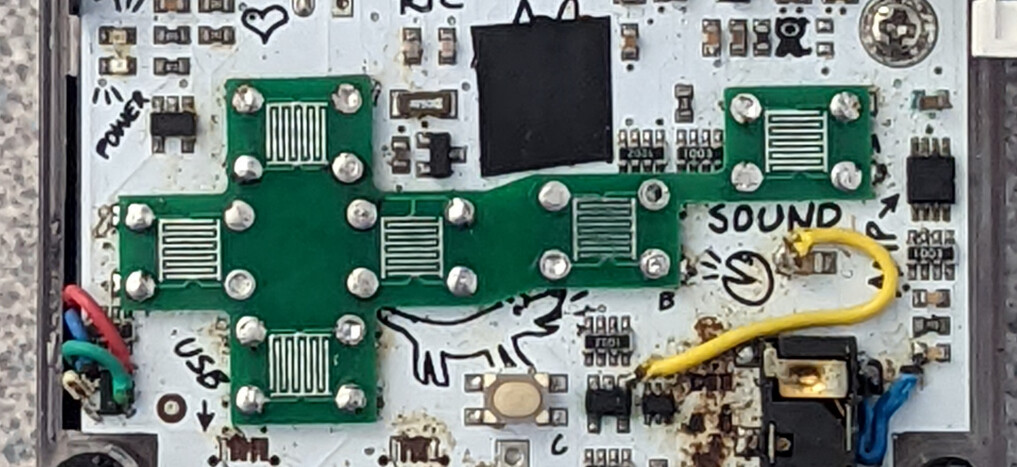
You’ll also notice that (A) It’s very tight next to the ‘A’ button, it’s scarily close to the 1003 thingy, whatever that is. In fact the ‘A+B’ buttons need to be moved right about 0.5mm as the contacts aren’t 100% correct. If I was using something better than a ruler it might have fit first time. and ‘B’ my Pokitto is in a hell of a mess, the headphone jack doesn’t work 100%, the amp is blown/gone, the USB is routed to a breakout board glued to the back of the Pokitto. The less we talk about that the better I think.
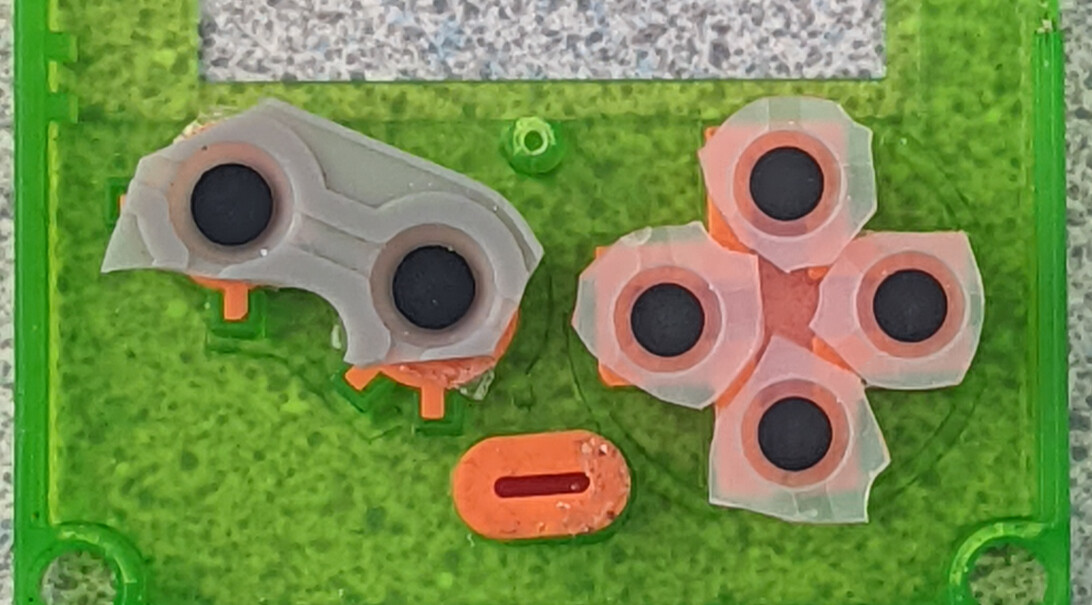
Anyway, it seems, just scavenging parts from old controllers isn’t perfect. In this example, the D-Pad on whatever controller this is out of is far bigger than the one on the Pokitto.
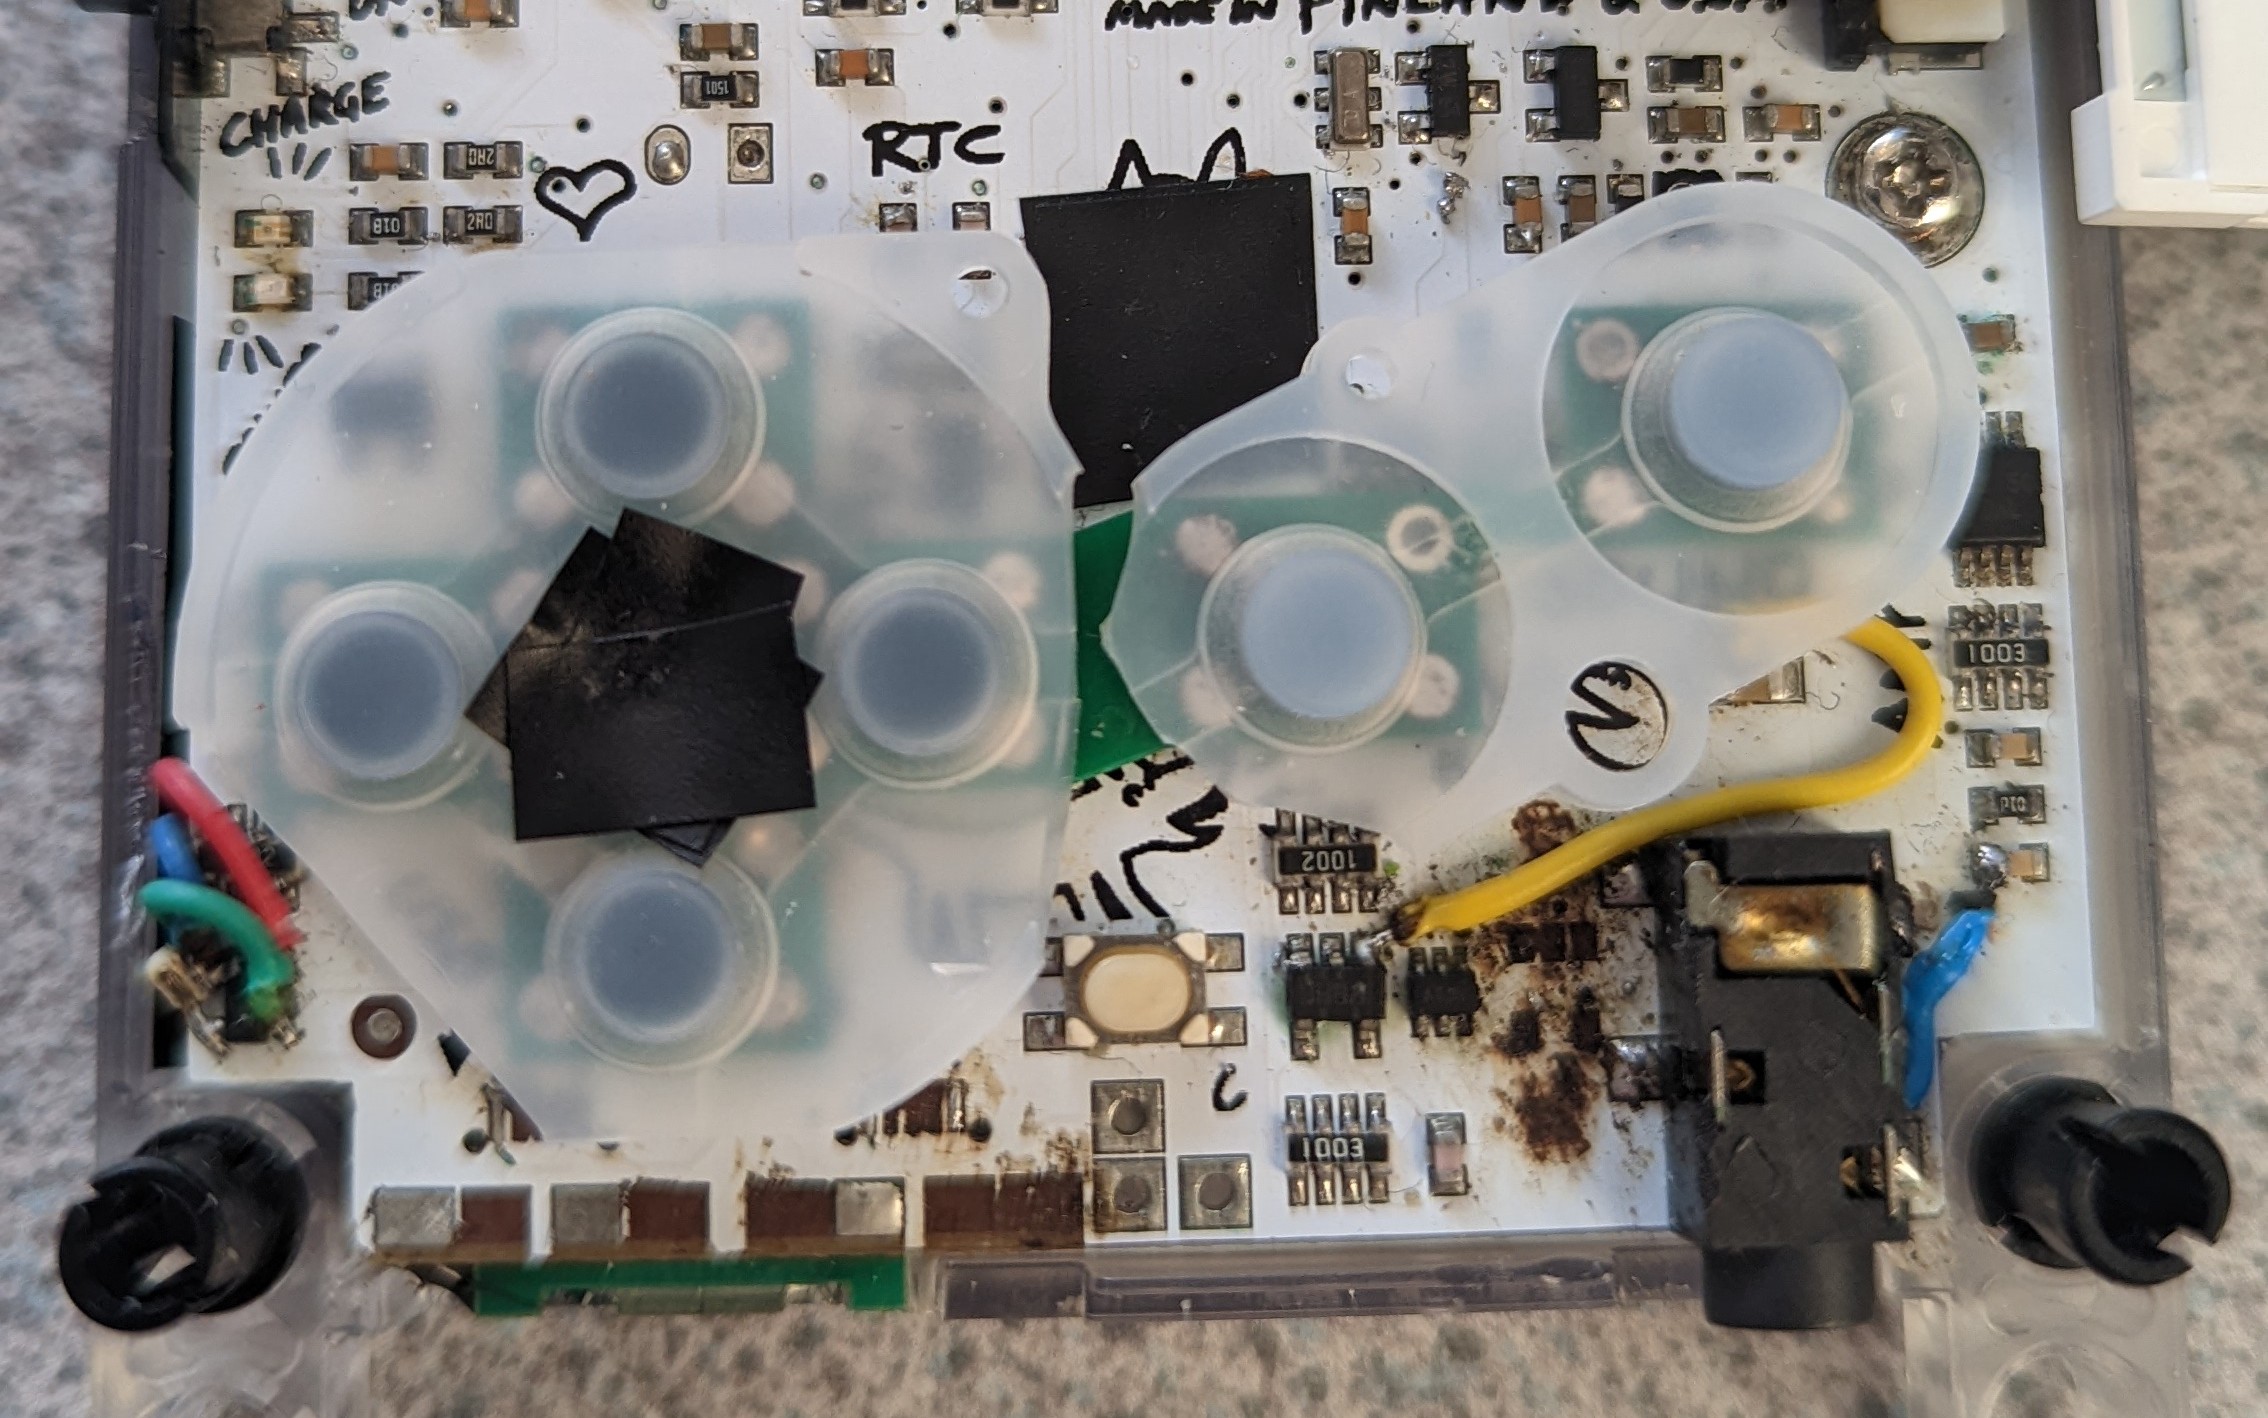
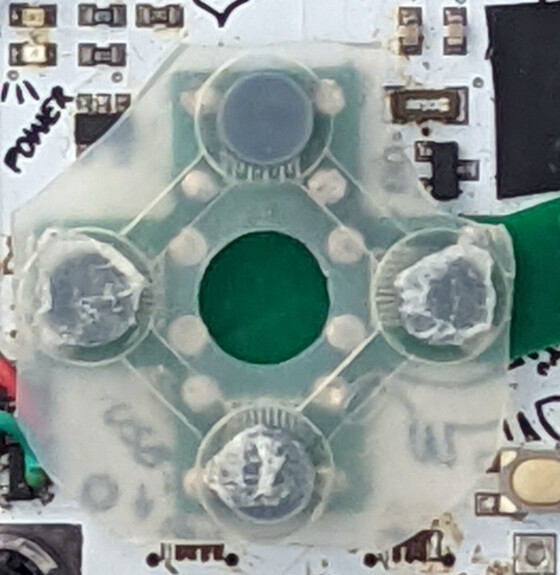
After testing a little, it seemed to work, but it kept missing presses now and then. I noticed on the times that the directions misfired or failed usually was a different direction every time I opened the pokitto to have a look. I concluded that the issue was less to do with travel distance or anything mathematically complicated, but simply how even the pressure is. I’m not 100% sure, but it seems that the d-pad is not a perfect + shape, but is ever so slightly shorted that it is wide, no problem at all when we use the stock pokitto buttons, but when we start doing dangerous experiments and taking our Pokittos life in our own hands, it looks like it causes a slight issue. Every scavenged rubber dpad contact thingy that I tried simply didn’t fit correctly, as you’d expect with the pokitto being designed with it’s own dimensions in mind.
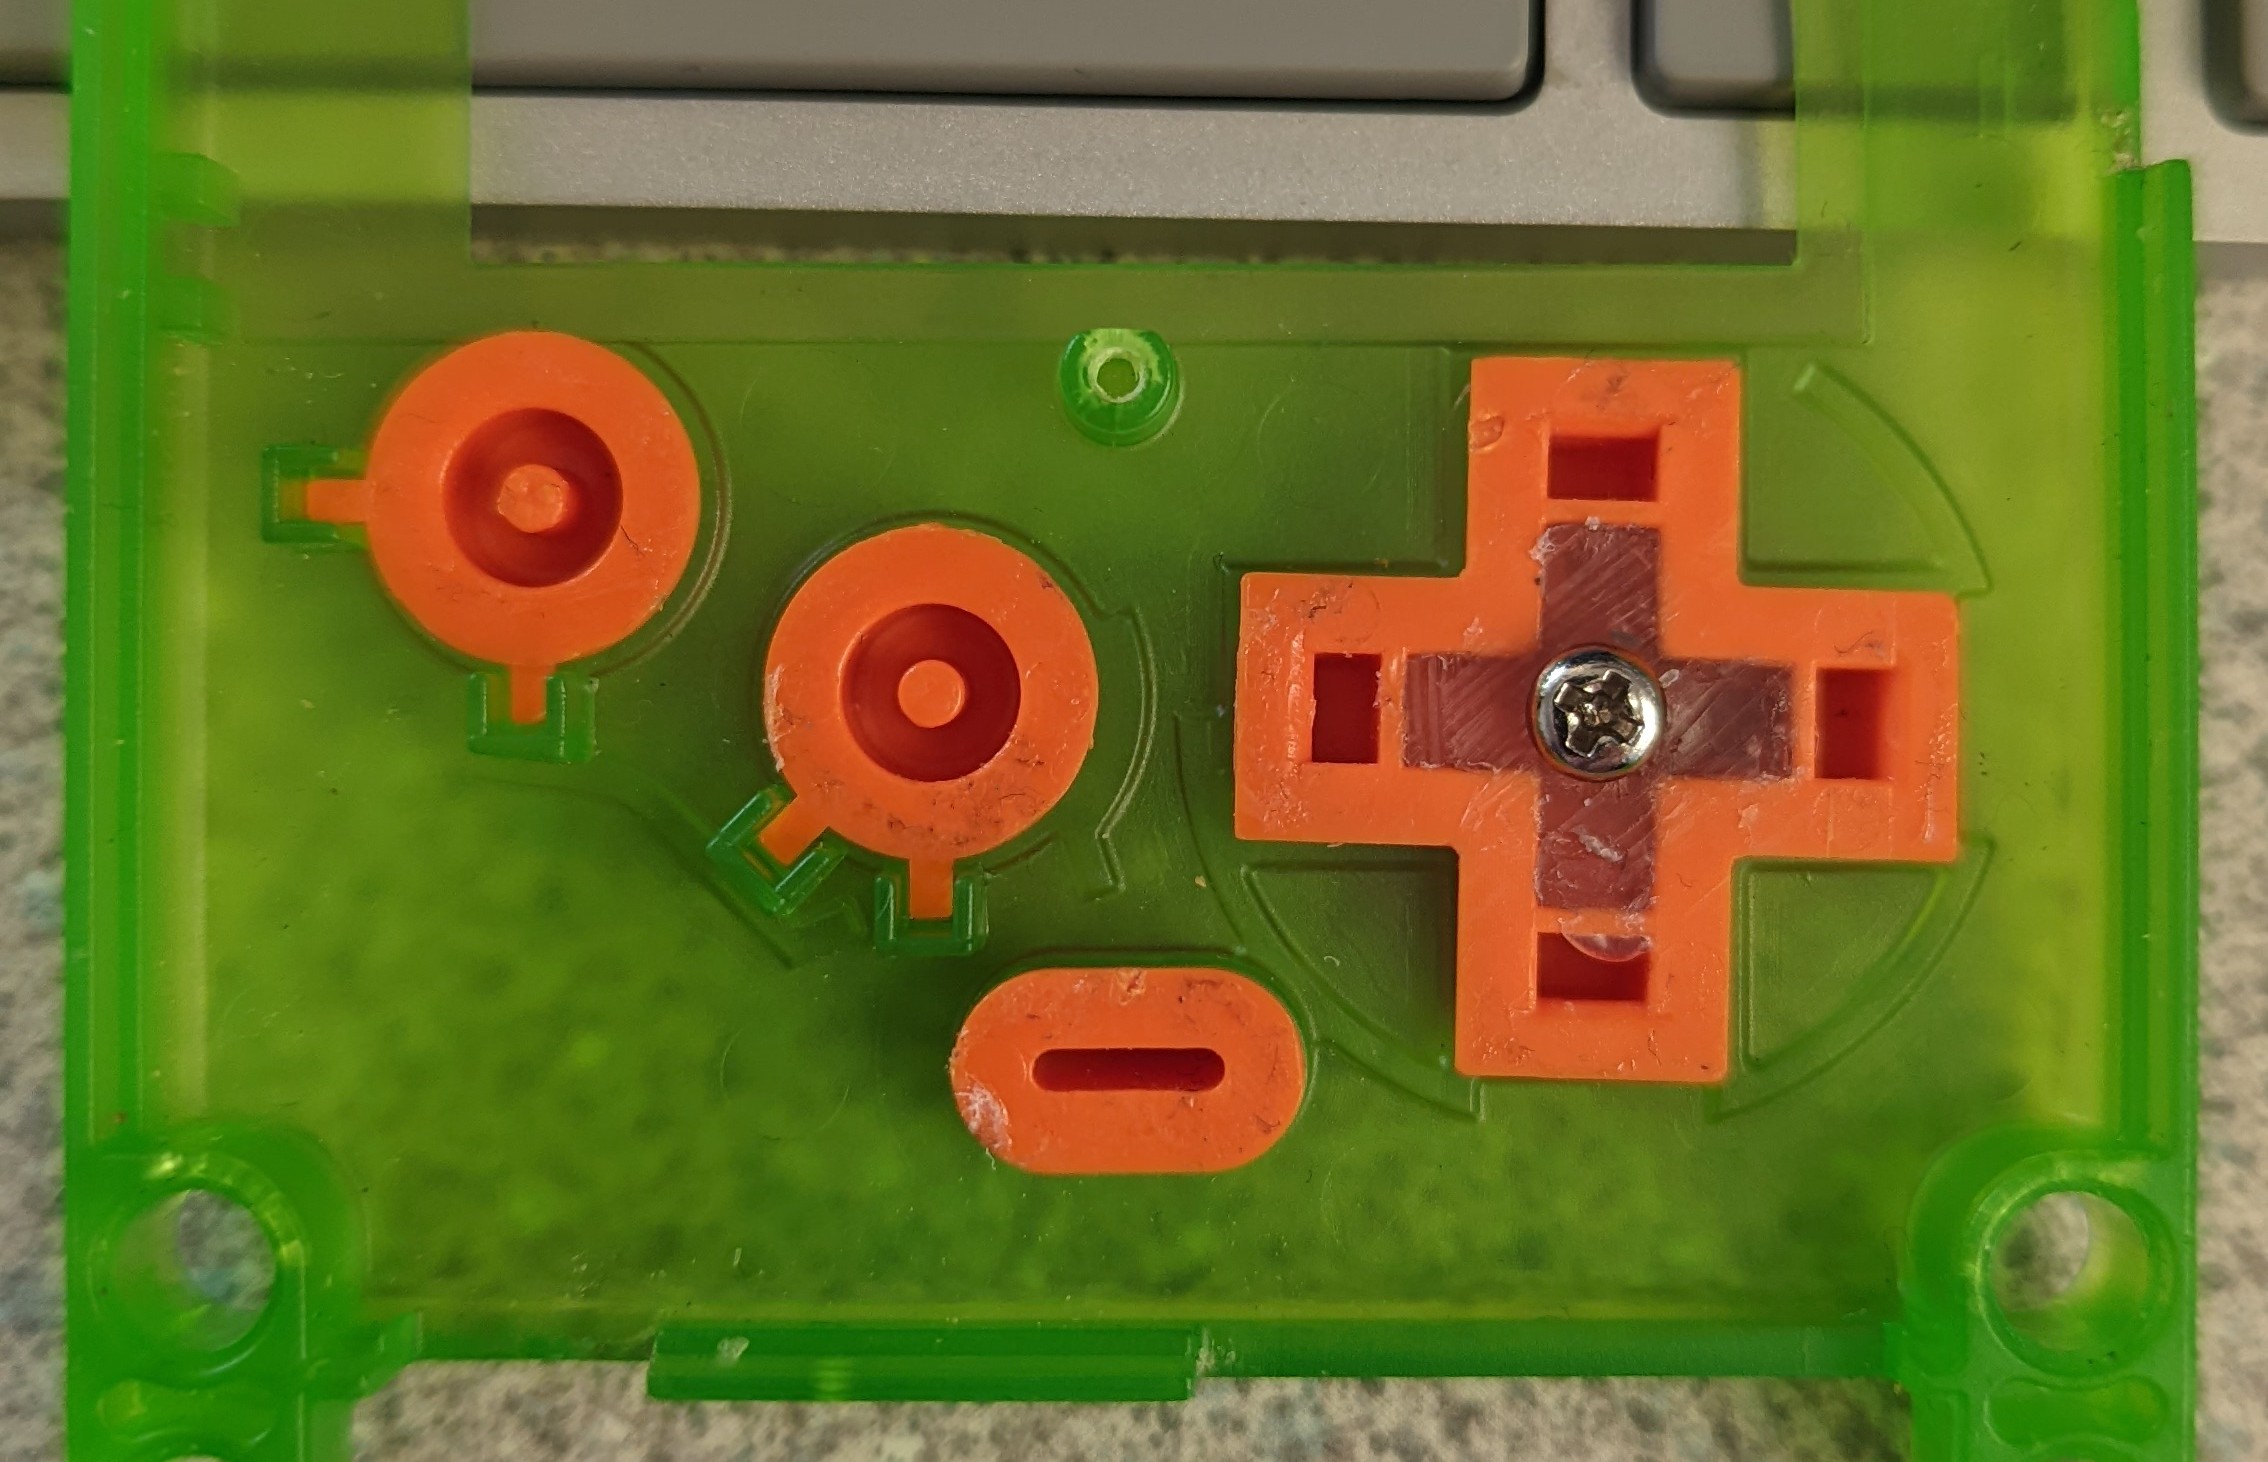
I have ordered a Bameboy Colour button replacement kit from ebay, which I think will be perfect, although I doubt the D-Pad and button plastics will be the right size. A temporary fix, was to cut up the rubber and force it to fit.
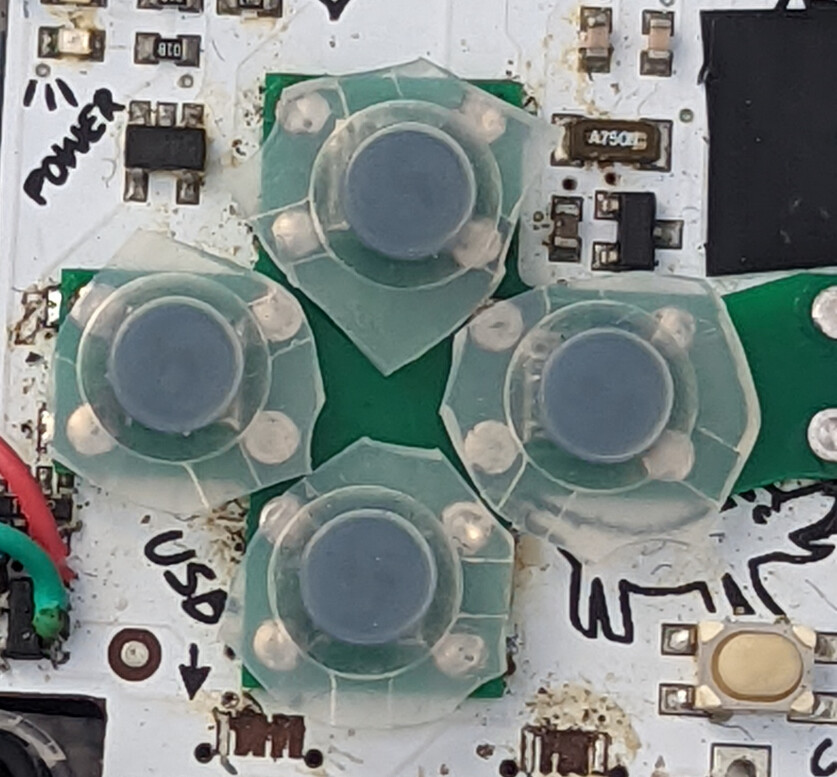
Making sure not to cut through the dome part, I placed them as close as possible to centre on each of the pads, put some double sided tape on the bottom of my D-pad and just pressed it down on the top. Same thing with the ‘A’ and ‘B’ buttons.
That should stop them from moving about for a while. Anyway, putting everything back together, I was happy to see that it actually fit. I was a little worried that it wouldn’t.
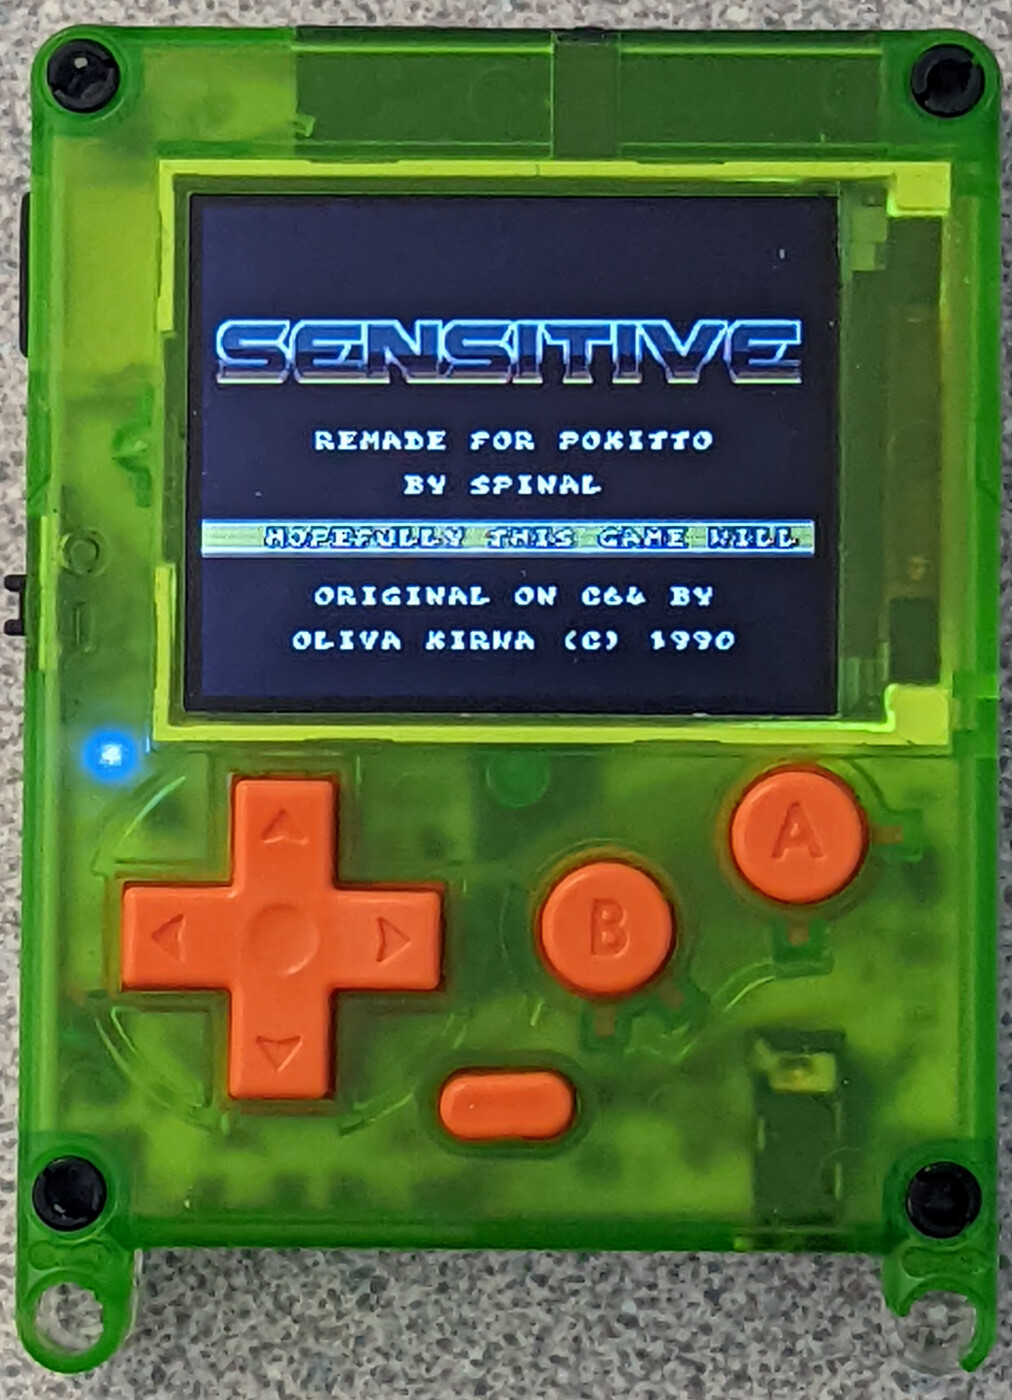
So I got to testing, and I think, with the contacts placed exactly in the right places, I seem to be getting no missed presses, or wrong directions. I would even say that this mod could be performed on any Pokitto without an issue, but I’ll wait until my GBC button kit comes to say for certain if ‘off the shelf’ contact rubbers will work properly.
Here is a little test to show that it does indeed work well. That wrong turn at the end is down to me watching both the Pokitto and my phone at the same time and nothing to do with the button mod