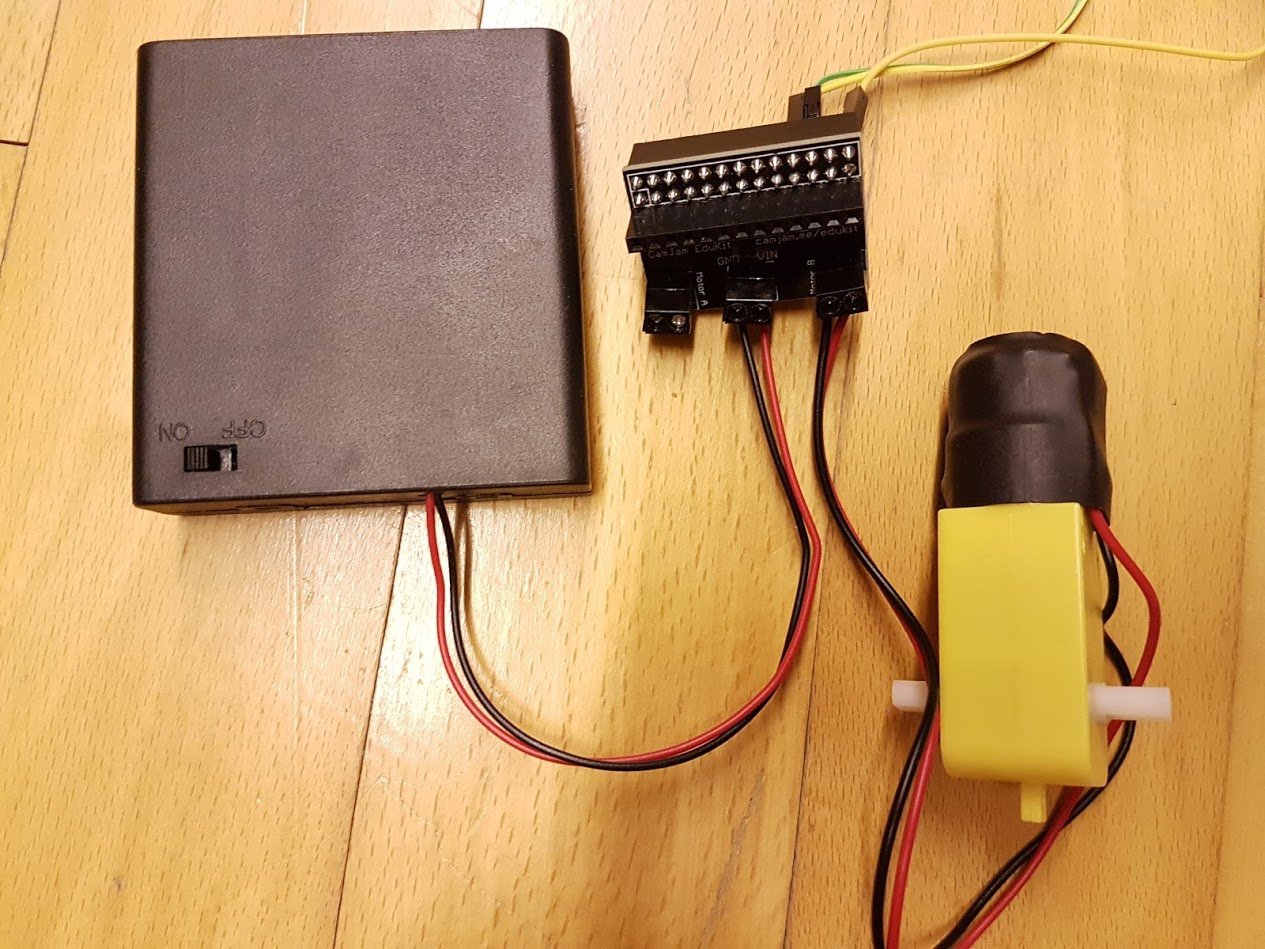
When I set ext14 to high, it should start running the motor, but nothing happens. In Pokitto PEX everything should be ok, I have measured that normally ext14 and ext15 are in 0 v, but when I set ext14 to “1”, the voltage between PEX ext14 and gnd is about 3.3v, as expected.
I have also tested that if I connect the motor directly to the battery pack, the motor runs happily. I have also tested motor A connections in both sides but it do not work either.
So, is DRV8833 board broken or what could I check more?
You could place a led where the motor is now, to see if there is any current flowing. 6V might be to much for the led so make sure to use a resistor.
From the scematics i can see something called miso/mosi this seems to be a Master output slave input, so some type of a data exchange is going on there. Could it be you need to send more pulses to the motor ? Perhaps you can try sending pulses on a few sec interval ?
I work with step motors from my 3d printer and they wil move a few degrees after 1 pulse, nothing more.
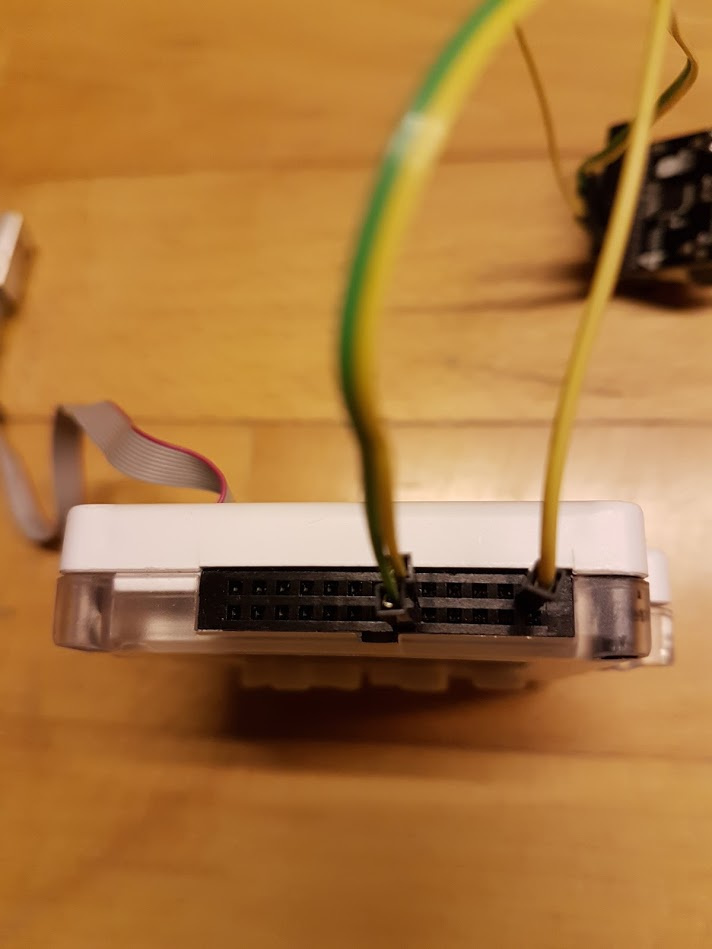
I only see logic and ground connections to the Pokitto. Power for the DRV8833 seems to come from the voltage to run the motors, so that seems OK. There is an NSLEEP (3V) input to the DRV8833 that seems to be connected to pin 17 on JP1 that could be the answer. The DRV8833 data sheet description for NSLEEP reads “Logic high to enable device”. I would run a high logic signal into this connection.
SUCCESS ! There were two problems: Firstly, NSLEEP was not connected to 3v. Many thanks to @RichardAmes for noting about it! The instructions I was following was for a different 8833 based board where NSLEEP was pulled high on the board already. Another problem was that the motor control pins for motor A are actually running the motor output B(!).
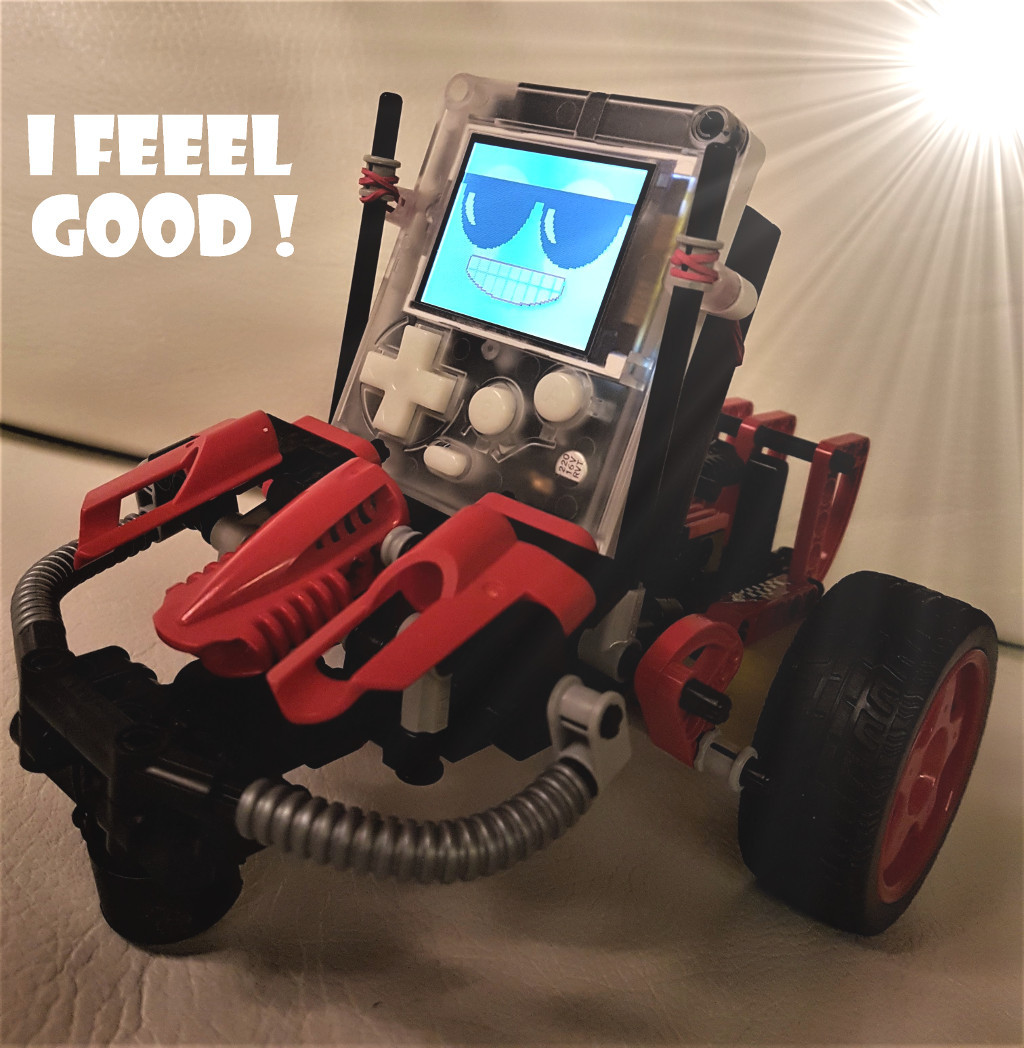
Actually, it is not moving yet, that comes in the part 2 of the course. The biggest parts are now connected to the old Lego car chassis. Made by my kids.
Very nice and attractive design! I like the symmetry and the consistent look. Will it be easy to pop the Pokitto in and out? How did you mount the motors?
I really appreciate the sunglasses - the image wouldn’t look half as cool without them.
I suddenly feel the urge to buy some Technic parts.
(Also, has that glare on the top right been added artificially?)
From the looks of it the Pokitto is being held in with elastic bands wrapped around the little grey pieces of lego technic which have been slid onto the plus-shaped black pole-like pieces.
Well, it is semi-easy to pop in and out. It is something we might have to address in the future.
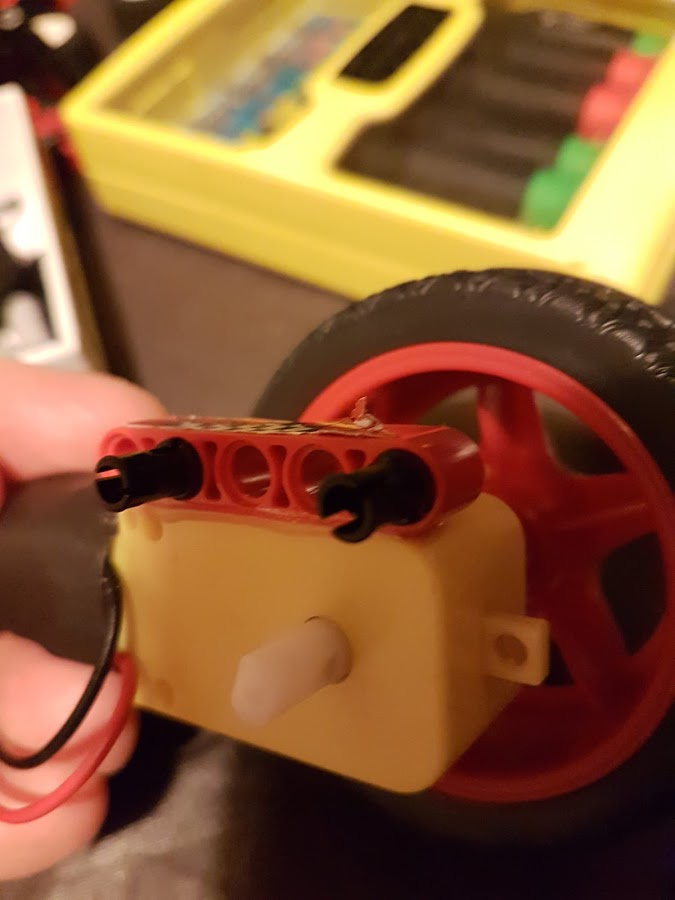
I first tried to use the iron wire (or whatever it is in english) to bind the motors but it was always too loose. Then I used the super glue and glued a lego part directly to the motor. Feels quite sturdy, but time will tell if it lasts. I was using the sand paper on both surfaces before gluing.
To avoid these things (glue and Lego) I use original Lego L motors and wheels.
For connecting motors to H-bridge I use extension Lego cord (8871 lego number) that I cut.


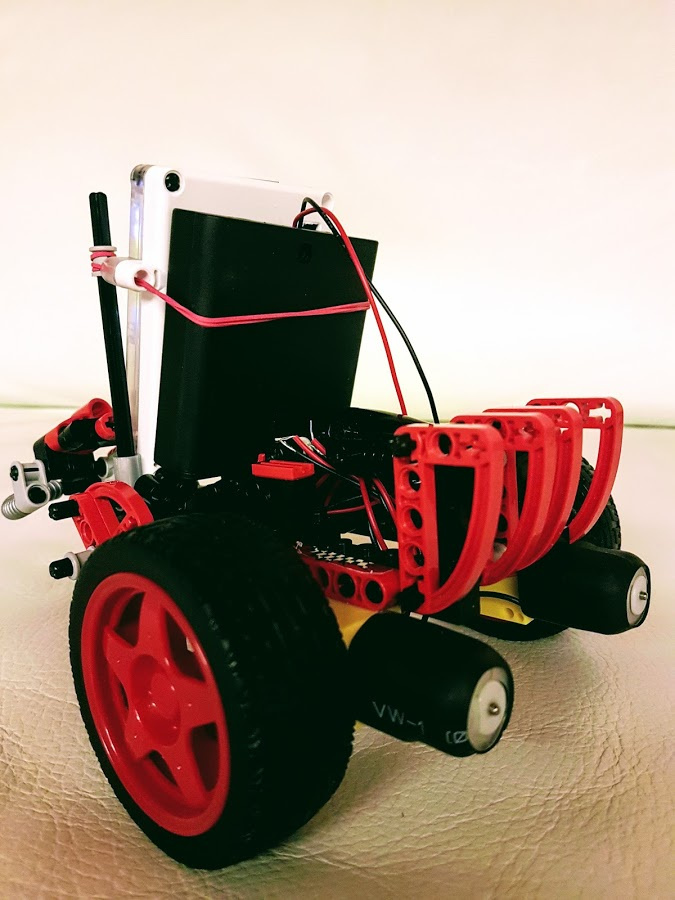
 I target to test it with my kids next weekend.