Hey everybody! I just created a script that may be useful, and thought I’d share with the community in the hopes that maybe you will find it useful as well. I’d like to make this a general thread of other useful snippets, so feel free to post any others here. (I’m aware of a previously existing thread, but it was suggested I make a new one instead of performing necromancy).
Much of this code is borrowed from @FManga’s existing conversion scripts in femtoIDE. It takes any *.pal files in the project’s root folder and converts them to header files usable with TAS (and, likely, PokittoLib in general).
//!MENU-ENTRY:Convert Palettes
//!MENU-SHORTCUT:C-M-p

// This script looks in the root project folder and converts any palette files (JASC format) into palettename.h.
// Press Ctrl+Enter to run this script or use the menu.

let palettes = dir(".")
    .filter( (file) => file.endsWith('.pal') )
    .forEach( (file) => {
        let filename = path.basename(file).split('.')[0];
        let filetext = read(`${file}`);
        let lines = filetext.split('\n');

        if (lines[0].replace(/\s+/g, '').trim() != 'JASC-PAL') { return; }
        if (parseInt(lines[2]) > 256) { return; }

        let output = '#pragma once\n\n';
        output += `inline const uint8_t ${filename}[] = {\n`;

        for (let i=3; i<parseInt(lines[2])+3; i++) {
            let color = lines[i].replace(/\r|\n/g, '').trim().split(' ');
            output += `    ${color[0]},${color[1]},${color[2]},\n`
        }

        output += '};'
        write(`${filename}.h`, output);
        log(`Palette conversion to ${filename}.h complete!`);
    });
Save the above script to your project’s scripts folder as PaletteConverter.js and use it just like the other converters. You can either use the hotkey provided (C-M-p) or run it from the Scripts menu.
The palette file must be in JASC format and have the extension .pal. Any palette on Lospec will contain a JASC format download link, and femtoIDE itself contains (I think) every palette that’s bundled with Aseprite in [femtoIDE folder]/javacompiler/femto/palette/ if you need some.
Once you convert the palette to a .h file, you’ll still need to do a few things:
- Update
project.jsonwith the path to your palette. To point at the project path, under “PNGFlags” edit the palette entry to saypalette=${projectPath}/palettename.h. - Include the new palette. This is as simple as adding
#include "palettename.h"in yourmain.cpp. - Load the palette. If you’re using the TAS template, replace
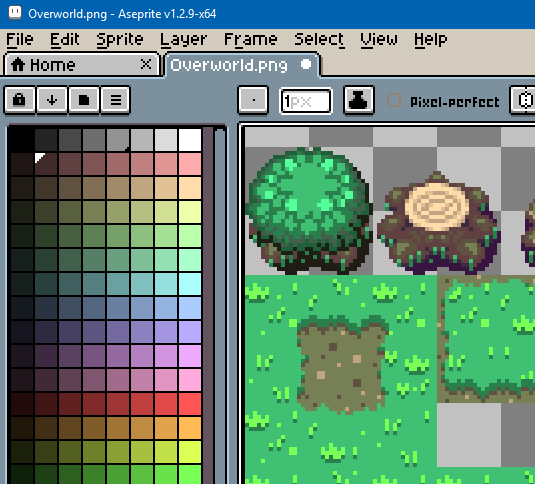
PD::loadRGBPalette(miloslav);withPD::loadRGBPalette(palettename);. - Make sure your graphics conform to your palette. If you’ve already been using your palette to create your sprites/tiles in the first place, you’re good to go! Otherwise, you can load a palette in Aseprite thusly:
The steps above are:
- Make sure your image is in RGB color mode. If you go directly from indexed->indexed, the colors will map according to index and probably look whacked out.
- Load your palette.
- Switch to Indexed mode. Colors will be matched as closely as possible to your palette automatically.
- Save!
I meant this to be a quick snippet, but now it’s a small tutorial on loading custom palettes. Happy coding! 