While it’s true that some Arduboy games use the serial connection to do screen mirroring, debugging and to act as a crude keyboard or controller,
most actual games don’t need the serial functionality to work so not having the USB would only be a hindrance in a few special cases (at a guess, somewhere between 1-3% of games).
Perhaps it would be best to leave it off for now and work on adding it in a version 2.0 or something.
To be honest the only one of the three I would miss is debugging,
but the question is: how many people would actually be trying to develop Arduboy games using it?
If the point is for the hat to just act as a way to play Arduboy games on the Pokitto,
then it doesn’t really need the USB port to fulfill that purpose.
Well, there’s also been occasional talk of using USB for multi-player games by plugging multiple Arduboys into a PC (or other multi-port host device) and using the PC to coordinate communications.
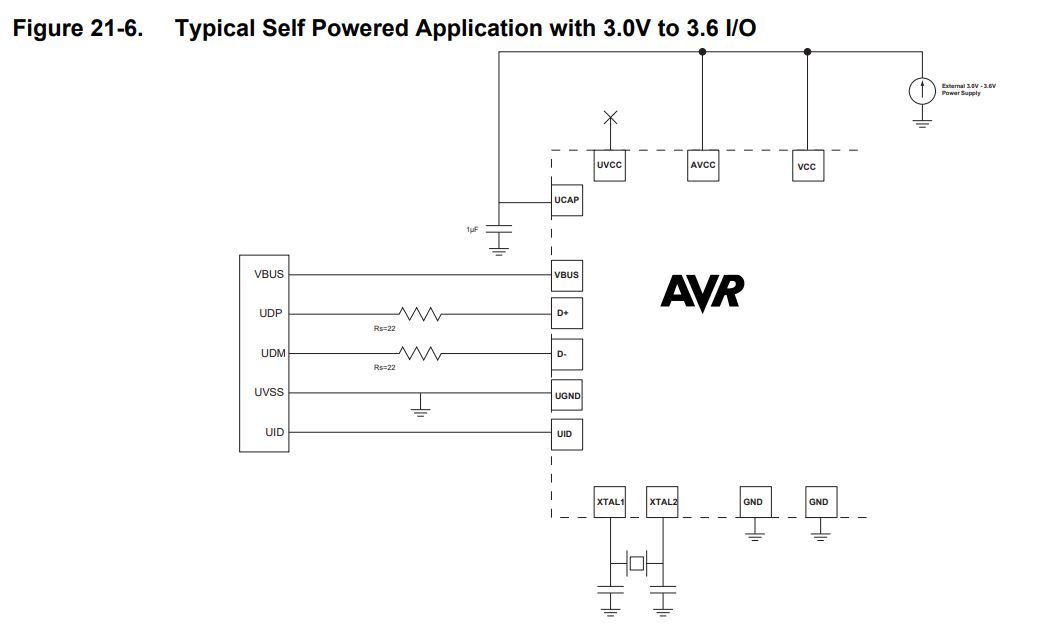
Make sure you wire the 32u4 appropriately for this. I think you want to follow Figure 21-6 Typical Self Powered Application with 3.0V to 3.6 I/O in the datasheet.
@Pharap Cutting USB power line from atmega is really simple and USB peripherals are still usable. Just you must power atmega through PEX connector. Also you’re right about protector but it can be done with 3d printable case. @MLXXXp yes. Here is picture of the scheme for who want to see.
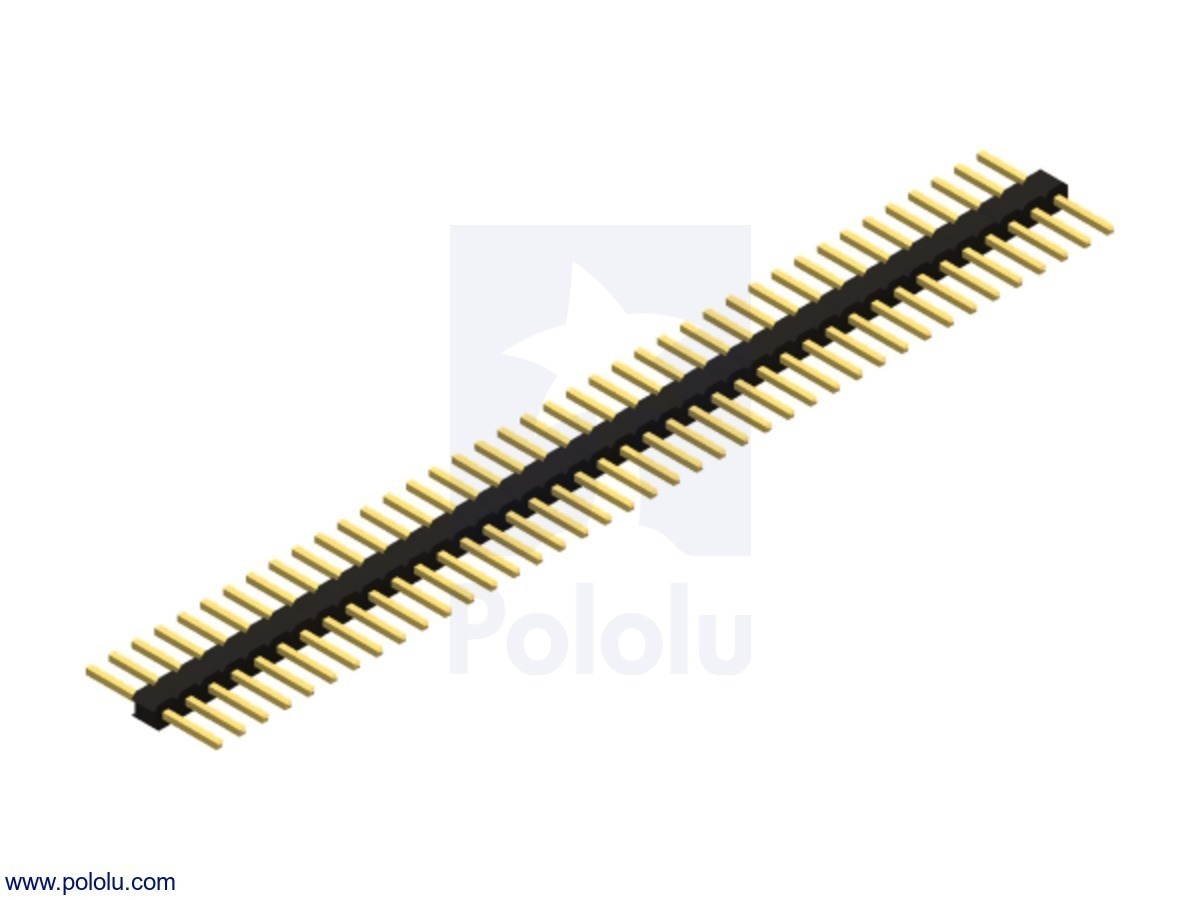
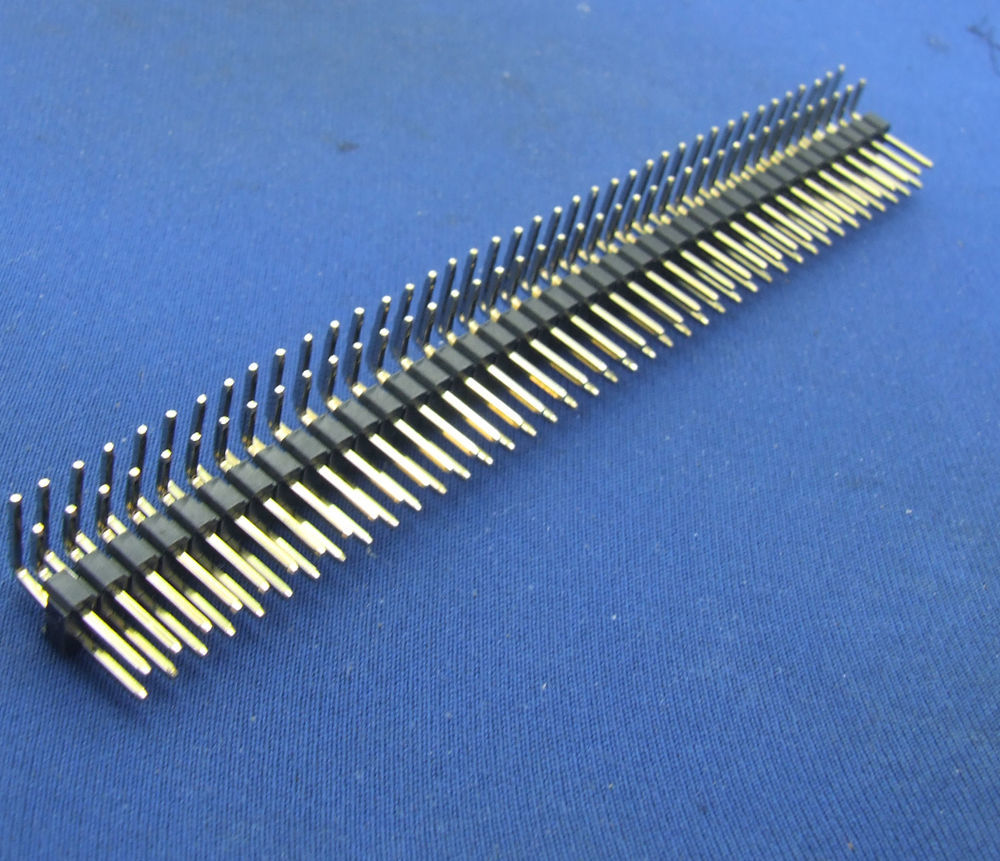
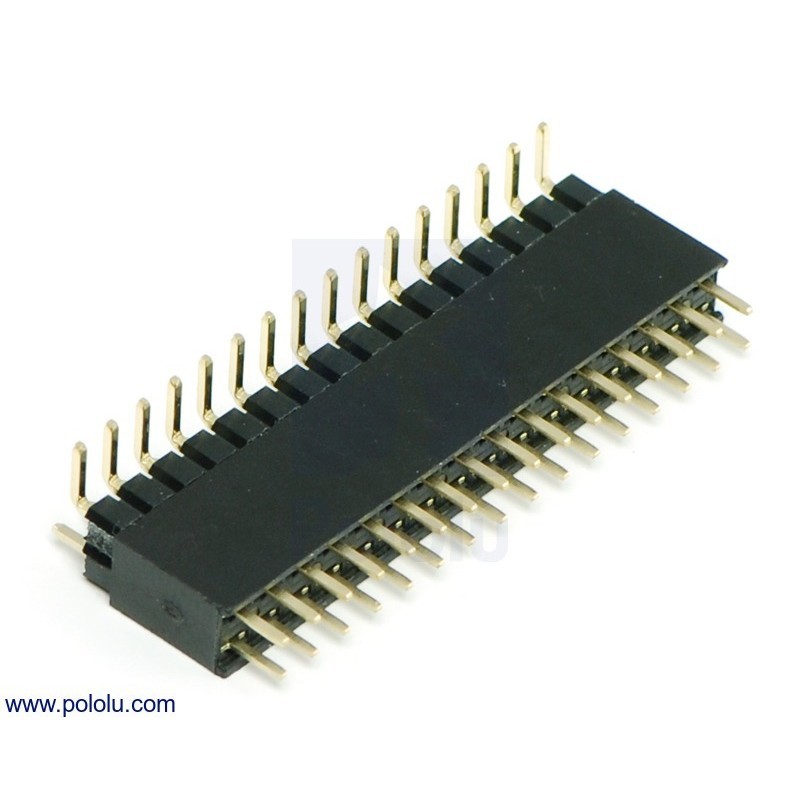
Edit: Here is digikey cart. 2x13 right angled male header, buzzer and 6x6mm tactile switch is missing. I can’t find them on digikey. Anyone can find them in local electronic shops for a 1-2 bucks. OSHPark want 11.20 dollar for 3 boards. ~$4 for each board. One populated boards cost is ~$15.
~$15 is most expensive case. We can buy PCB and electronics from China. I mostly prefer lcsc.com and jlcpcb.com because they are shipping together. In this case we cannot buy parts for just one PCB but final price for each populated board can be ~$8.
Edit 2: Here is lcsc parts list and costs. Only RGB led is missing. Total cost of these parts are $53. $2 PCB + $53 Parts + $13 shipping = $68. Total cost for 10 boards with RGB led is ~$75. Each populated board is ~$7.5.
IMO 7.5 - 8 $ is not bad at all as the original Arduboy costs 49$. Of course, you cannot compare PCB and parts to the finalized product. But you can put the whole Arduboy game library in the Pokitto SD card
fair point
what about something like these 2 where the hat becoms more of a backpack and then we could use the existing pokito pegs corner as mounting pin (using the 3 length lego peg)
I don’t think you should have a power switch on the hat. If you power down the hat and then set a Pokitto pin, that connects to a 32u4 input, as a high output, then you will be feeding voltage into a 32u4 I/O pin without the chip being powered up. I don’t know if this would damage the 32u4 but it’s not a good general practice.
It’s better to always have the hat powered on whenever the Pokitto is on.
I would try to move C1, C4, C5 and C10 to the other side of the board, so all surface mount components are on the same side. A single sided load is always easier (and usually cheaper) to manufacture than a double sided load.
Has anyone attempted anything on the software side of things yet? Like manually burning an Arduboy game to an Arduino and attempting to emulate the screen using the Pokitto? a proof of concept would be really nice to see.
As a side note, this idea could be used to emulate a specific 128x128 lcd and use a raspberry pi zero running a pico-8 game for example.
@MLXXXp thanks for your advices. I will move all parts into one side and remove power switch ASAP. @spinal I don’t have atmega32u4 based Arduino yet @adekto@Pharap I don’t have an idea about pin protector mechanism. I think 3D printed case will work