Introduction
I’m going to be showing you how to add a new build target on EmBitz via the PokittoLib.
For demonstration purposes I will be using my noughts and crosses game because it is relatively small.
Prerequisites
Firstly, make sure you have a copy of the PokittoLib downloaded and set up.
Secondly, make sure you have a copy of my Noughts And Crosses game.
Walkthrough
Step 1 - Load the .ebp
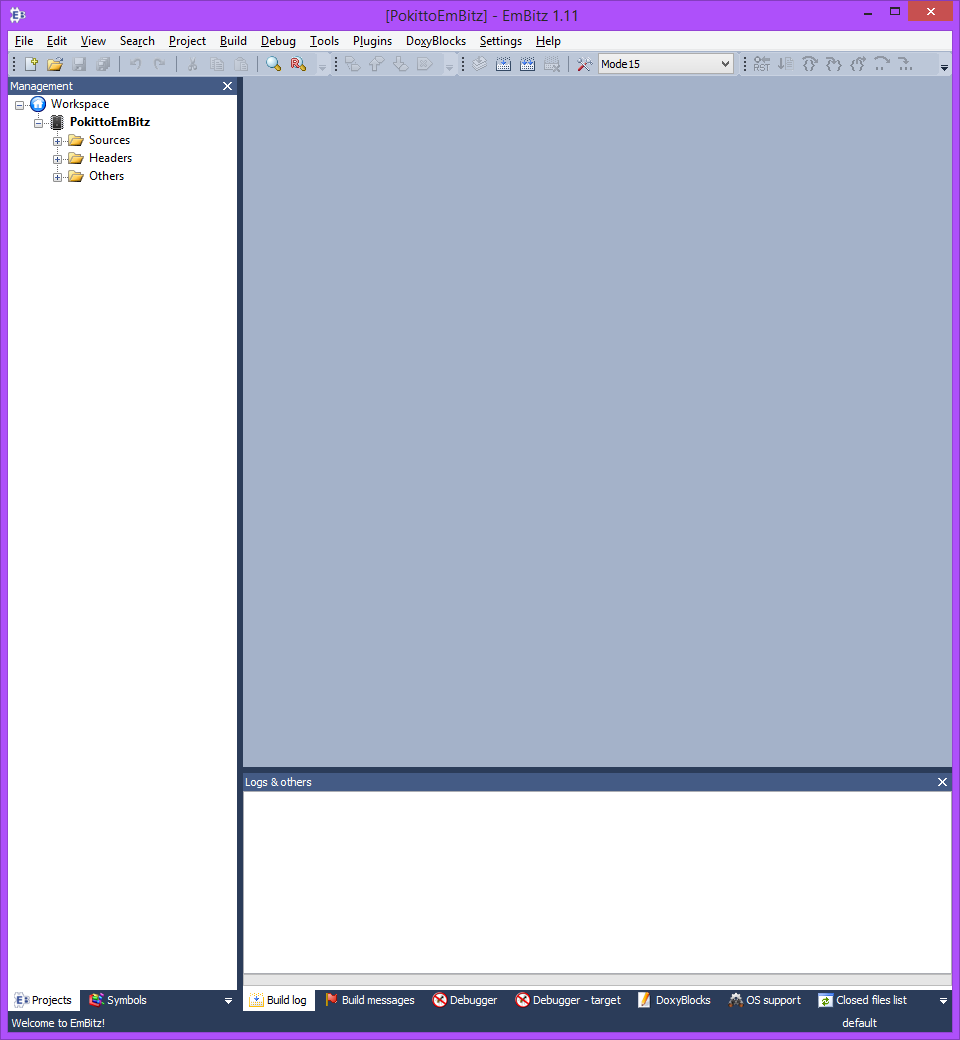
First, open up PokittoEmBitz.ebp. This can be done in one of two ways:
- Drag PokittoEmBitz.ebp onto EmBitz.exe (or a shortcut to EmBitz.exe)
- Run EmBitz and then open it manually through the EmBitz UI
Step 2 - Create the build target
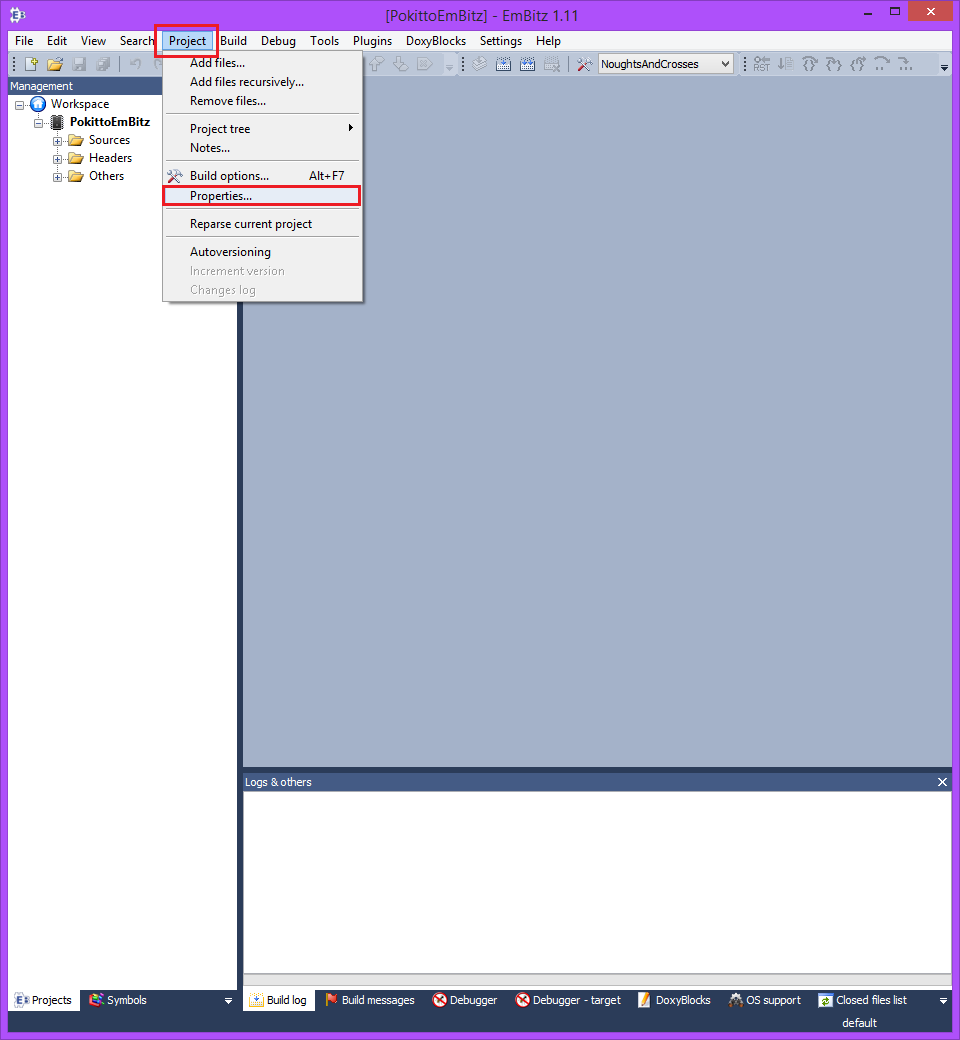
Open Project > Properties...
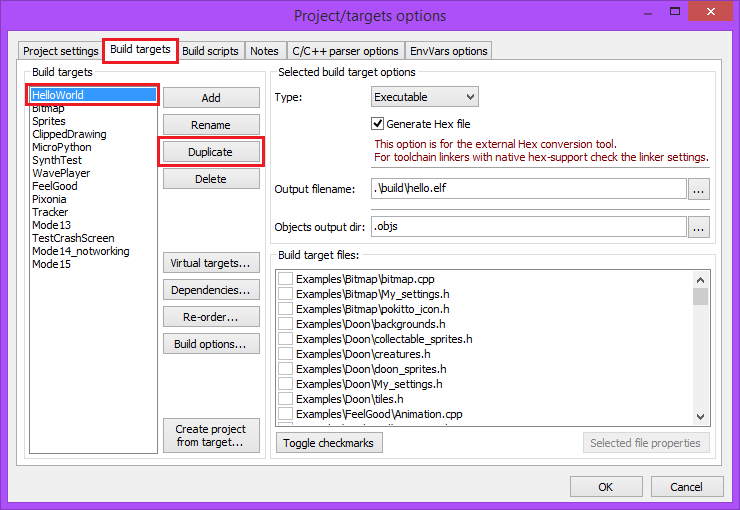
Go to the Build targets tab. You will see a list of build targets and various options.
Rather than setting up a new build target from scratch, it is easiest to duplicate the HelloWorld target.
Select the HelloWorld target and click Duplicate.
You will be prompted to chose a name for the new target. In this case we’ll be using NoughtsAndCrosses.
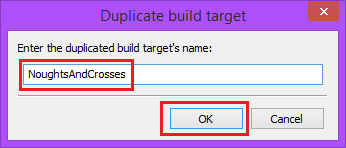
The new target should then be appended to the target list.
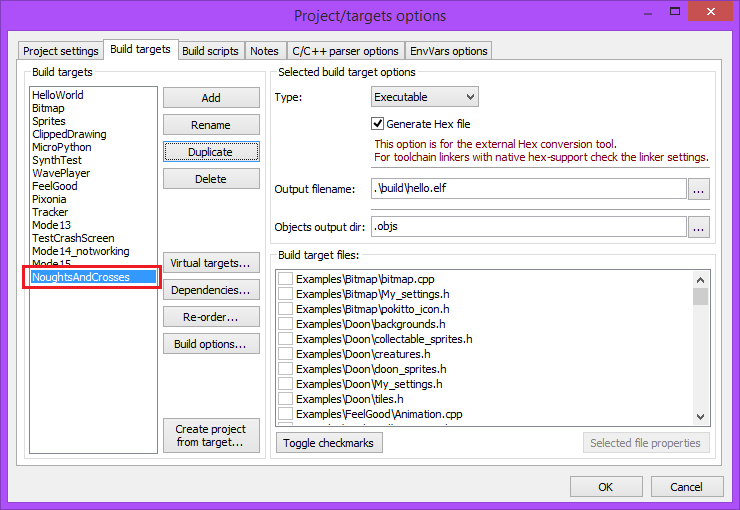
The target will be created with the same settings as the HelloWorld target.
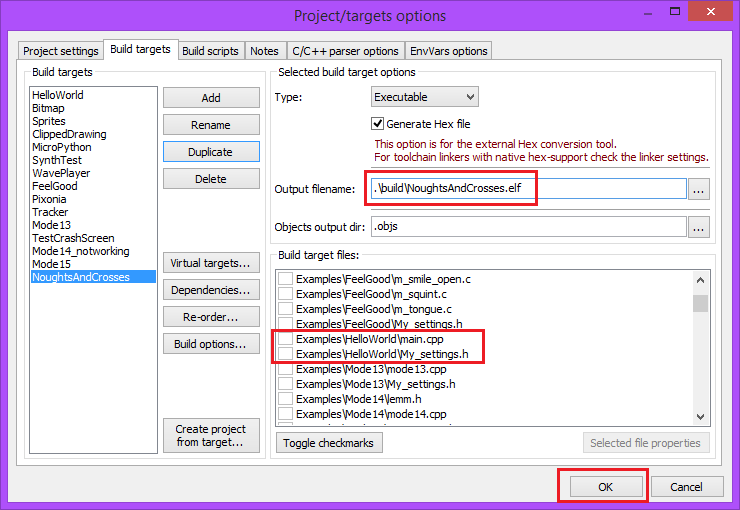
To avoid conflicts, those settings will have to be changed.
Change the Output filename: from .\build\hello.elf to .\build\NoughtsAndCrosses.elf, and then make sure that Examples\HelloWorld\main.cpp and Examples\HelloWorld\My_settings.h are unticked in the Build target files: area.
If you forget to untick those files, you will get errors when trying to compile because main will be defined twice, once in Examples\NoughtsAndCrosses\main.cpp and again in Examples\HelloWorld\main.cpp.
Step 3 - Set the build options
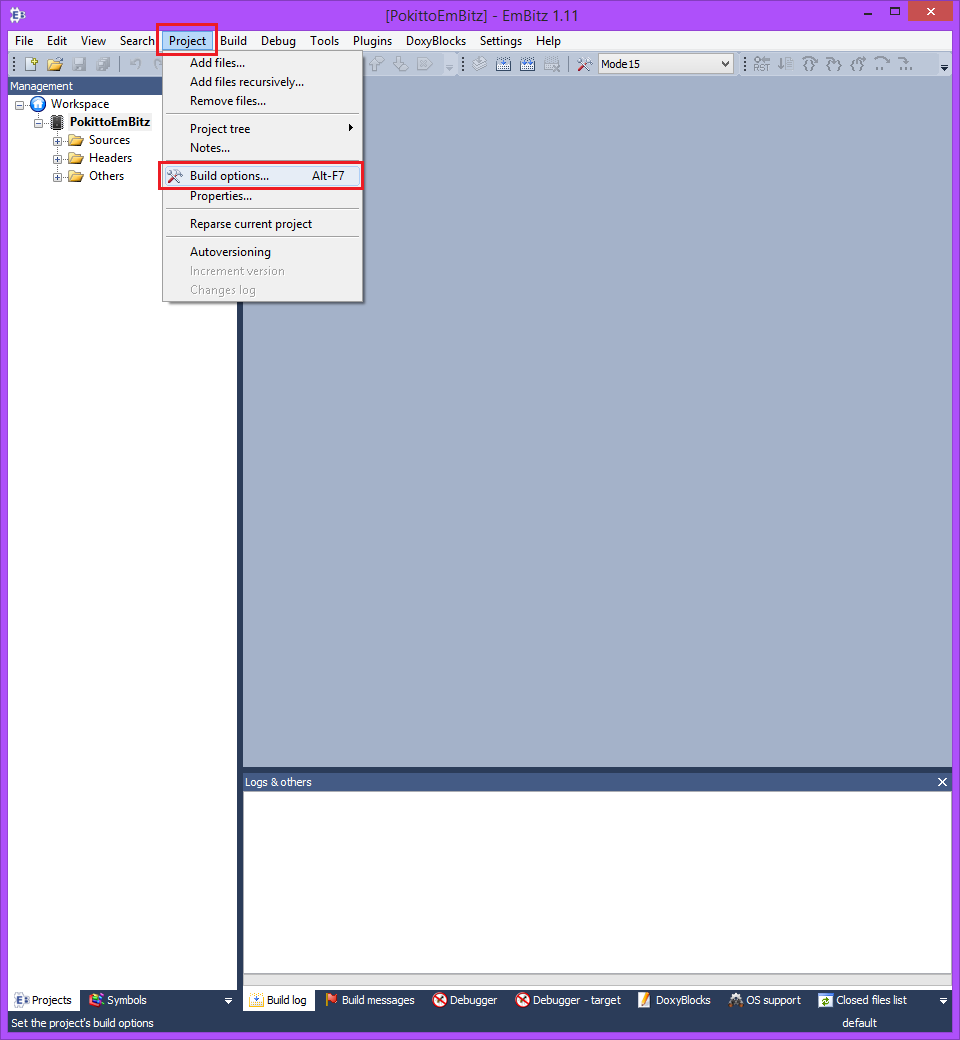
Open Project > Build options... (or alternatively press Alt+F7).
Search directories
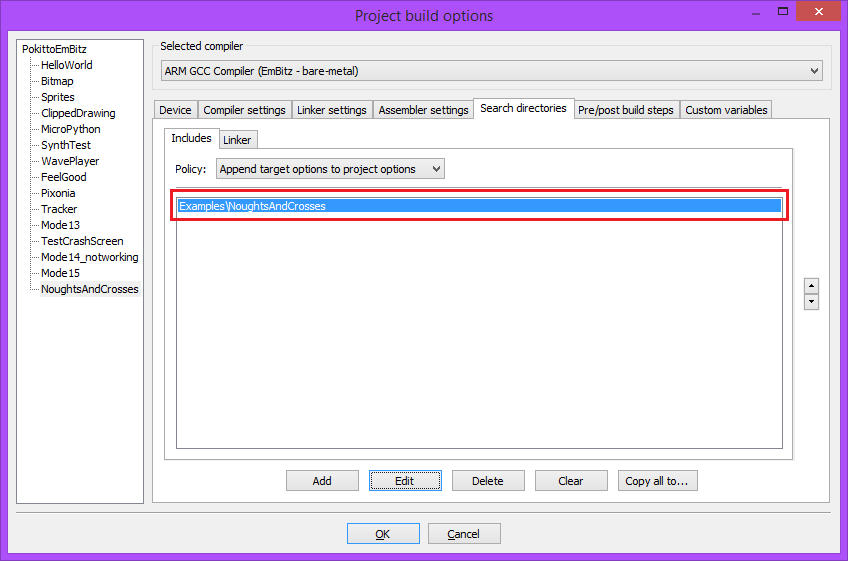
Select the NoughtsAndCrosses build target.
Then select the Search directories tab.
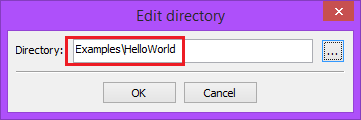
You will see that the directory is set to Examples\HelloWorld.
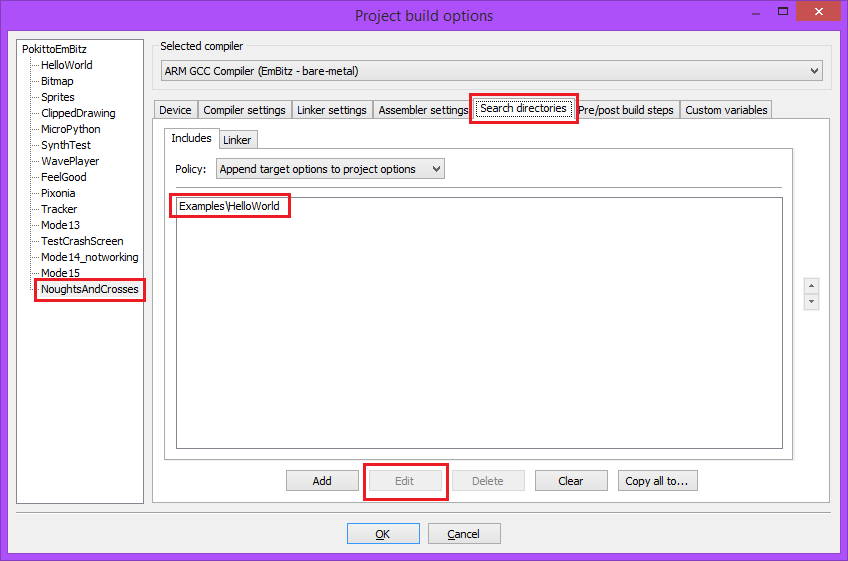
Select the Examples\HelloWorld entry and click Edit.
You will be prompted to edit the directory.
You can simply manually rename it to Examples\NoughtsAndCrosses.
(If you’ve already unpacked your files into the appropriate directory (as described later in the tutorial) you can select that directory by clicking on the ... button.)
When the directory is correct, press the Ok button.
(If you selected the directory manually then you may be asked if you would like to keep the path relative, in which case you should choose Yes.)
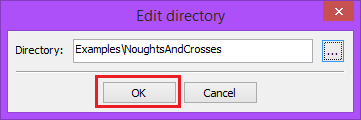
Double check that the directory is correct before moving on.
Post-build steps
Now select the Pre/post build steps tab.
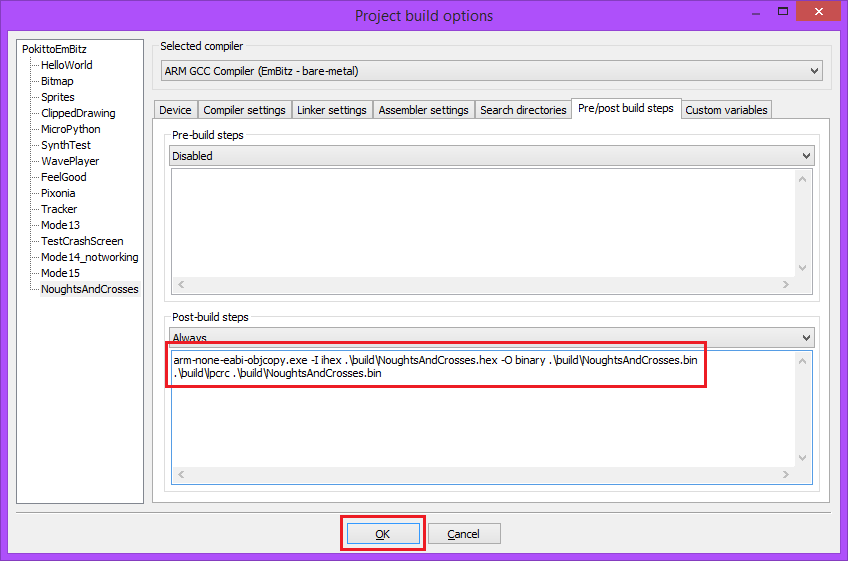
There shouldn’t be any Pre-build steps, but the Post-build steps should have two lines.
The first is the command for doing an object copy to turn the generated machine code into a .bin file.
The second is the command for creating the cyclic redundancy check (CRC) checksum that certain ARM units need to verify the integrity of the code.
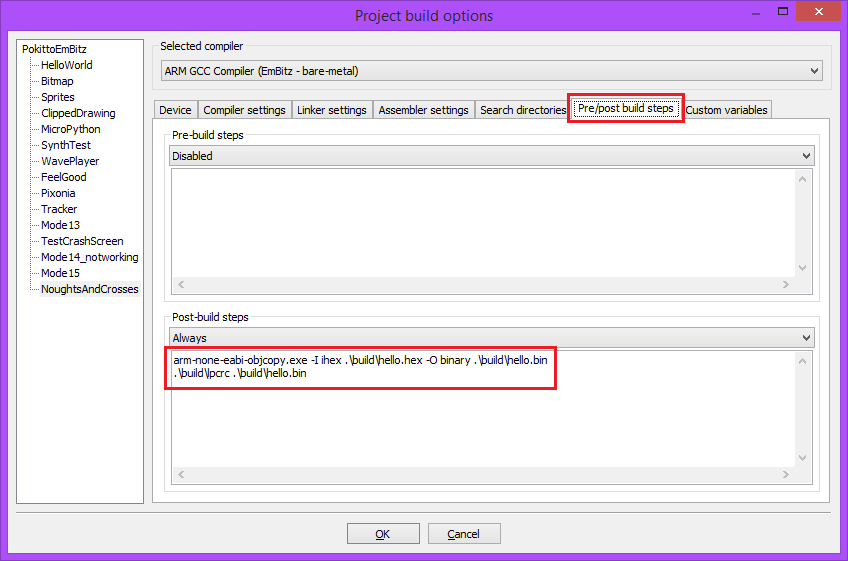
If you look carefully, you’ll notice that the post-build commands mention ‘hello’ three times.
One case of.\build\hello.hex and two cases of .\build\hello.bin.
The hello parts of these names matches up with the hello.elf mentioned in the project properties.
(Note that none of these files (the .elf, the .hex or the .bin) have to match up with the build target name, hence the HelloWorld target uses hello.elf, hello.hex and hello.bin rather than HelloWorld.elf, HelloWorld.hex and HelloWorld.bin.)
In this case, for the .hex and .bin files to match up with the .elf file name,
these need to be changed to .\build\NoughtsAndCrosses.hex and .\build\NoughtsAndCrosses.bin.
However, there is in fact a way to make the .hex and .bin files match the .elf file exactly, so that if you change the .elf name, you don’t need to edit the post-build step again.
Simply set the build event as:
arm-none-eabi-objcopy.exe -I ihex .\build\$(TARGET_OUTPUT_BASENAME).hex -O binary .\build\$(TARGET_OUTPUT_BASENAME).bin
.\build\lpcrc .\build\$(TARGET_OUTPUT_BASENAME).bin
Like so:
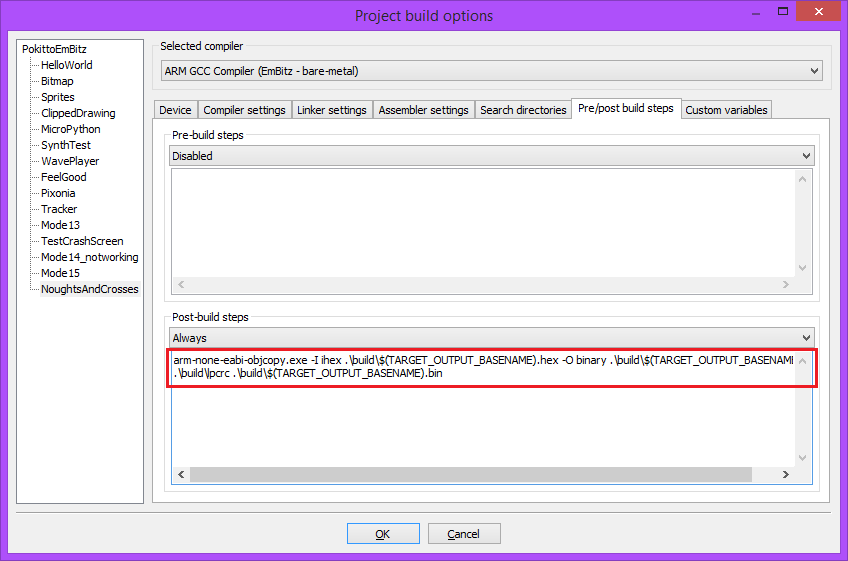
The $(TARGET_OUTPUT_BASENAME) part is what’s known as a (expandable) compiler macro, or an (expandable) compiler variable.
It essentially acts as a stand in for a project-specific or target-specific value, similarly to a C++ macro, hence why the build event updates automatically to reflect the specified .elf name.
(For a list of other compiler variables see here.)
Additionally, if you want to make the output files match the name of the target, you can change .\build\NoughtsAndCrosses.elf to .\build\$(TARGET_NAME).elf.
Combining this with the aforementioned $(TARGET_OUTPUT_BASENAME) in the build event means you can then use that target as a base for duplication for creating new build targets and then you will only have to change the target name and the target includes, you won’t have to touch the .elf file or build events.
Step 4 - Add the source files
Next you need to put all the source files into a subdirectory in Examples.
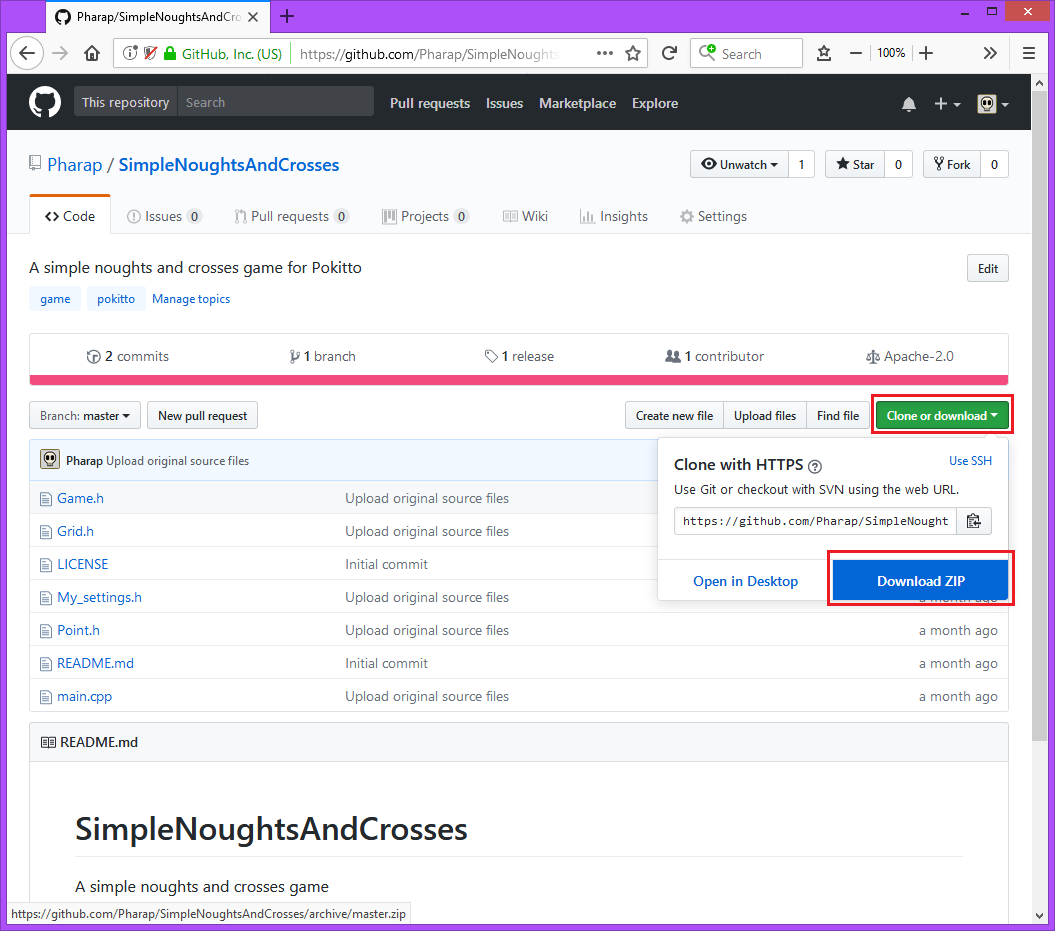
If you didn’t get the source files earlier, get them now by downloading them from Github by clicking Clone or download followed by Download ZIP.
(In case you didn’t see it earlier, Noughts And Crosses can be found here.)
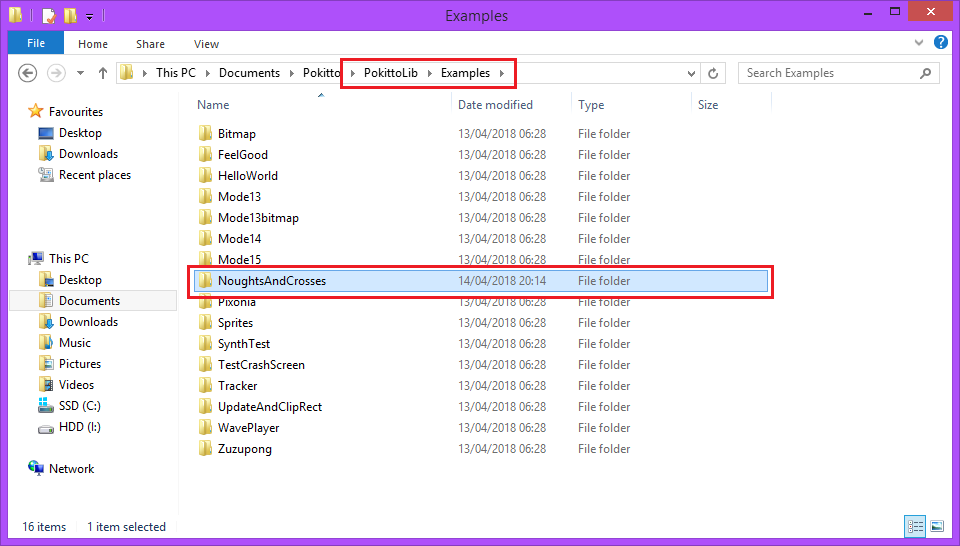
Following that, you need to make the subdirectory that you’re going to put your files in. That subdirectory should have the same name that you supplied as the search directory in step 3.
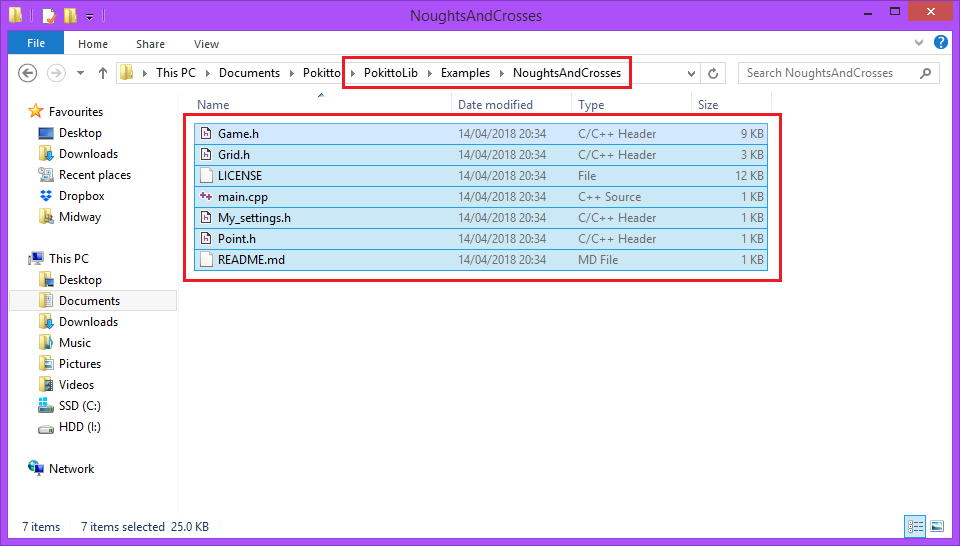
In this case that’s PokittoLib\Examples\NoughtsAndCrosses.
So navigate to PokittoLib\Examples and then create the folder NoughtsAndCrosses.
Then you need to open the zip file you downloaded earlier and copy the source files across to the newly created folder.
You don’t have to include non-source if you don’t want to, but it’s good practice to keep the licence around.
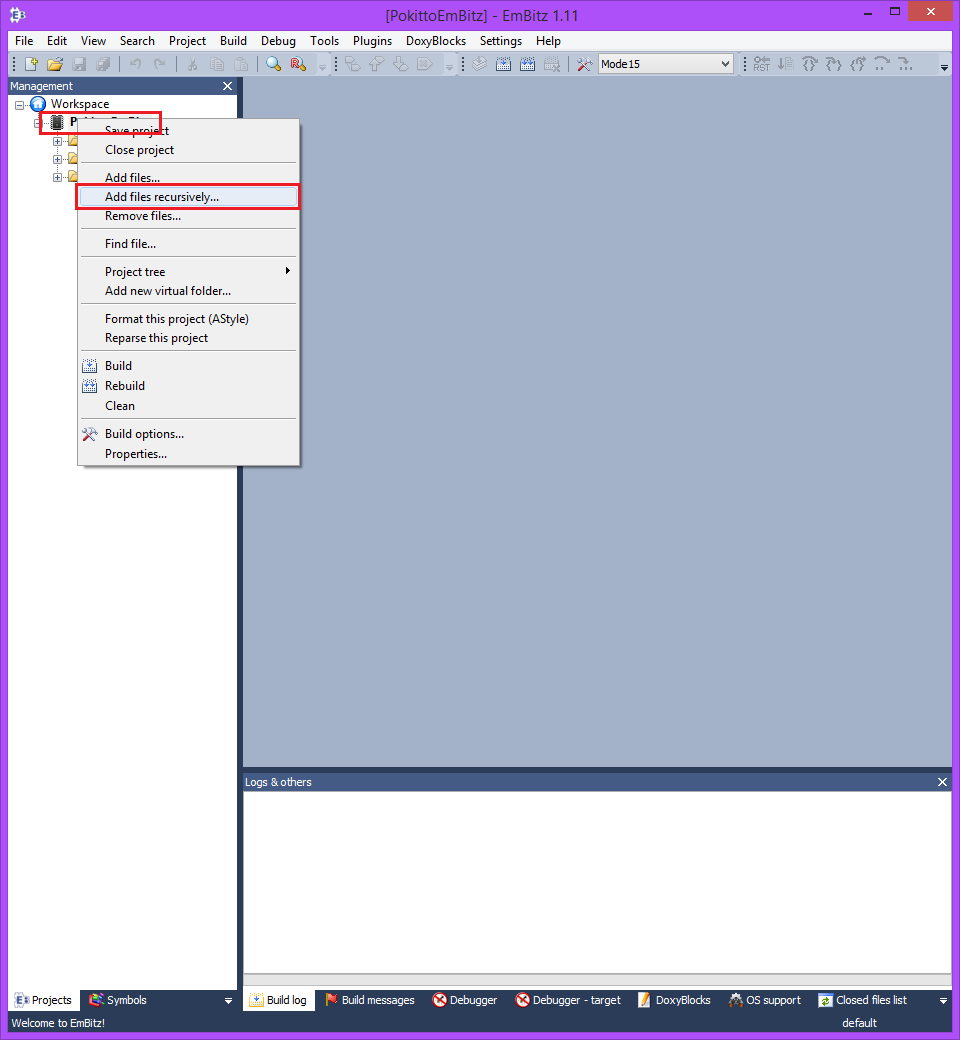
Go to the Management pane on the left, right click on the PokittoEmBitz project, and select Add files recursively....
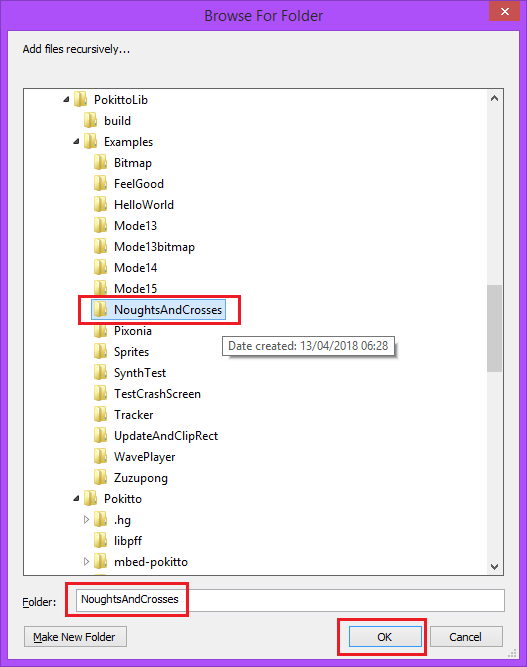
When the directory navigator appears, select the directory that you have put the source files in.
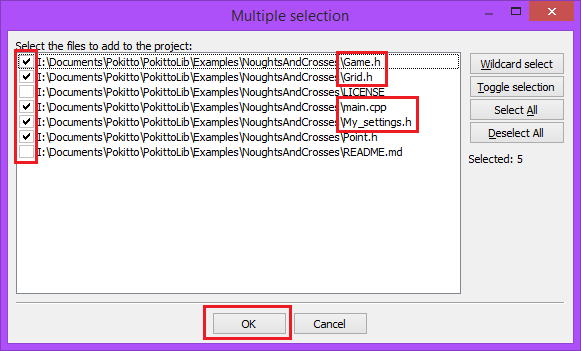
A box will pop up showing all the files in that directory.
Only ticked files will be included in the project.
EmBitz should automatically select all the .h and .cpp files for you,
which in most cases are the only files that you want to include in the project.
If you are happy with all the files that have been ticked, press OK.
Next another box will appear, asking which build target you want to associate the files with.
By default all build targets are selected.
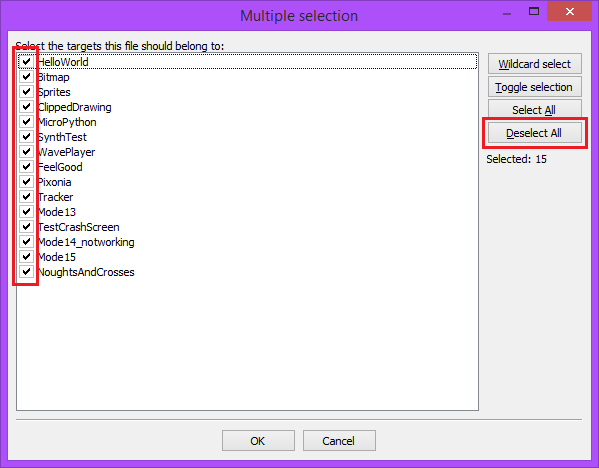
Choose Deselect All and then select the build target you recently created.
In this case that’s NoughtsAndCrosses.

Step 5 - Building
(Most people should already know this, but I’m including this step for the sake of completeness.)
Now to confirm that everything works.
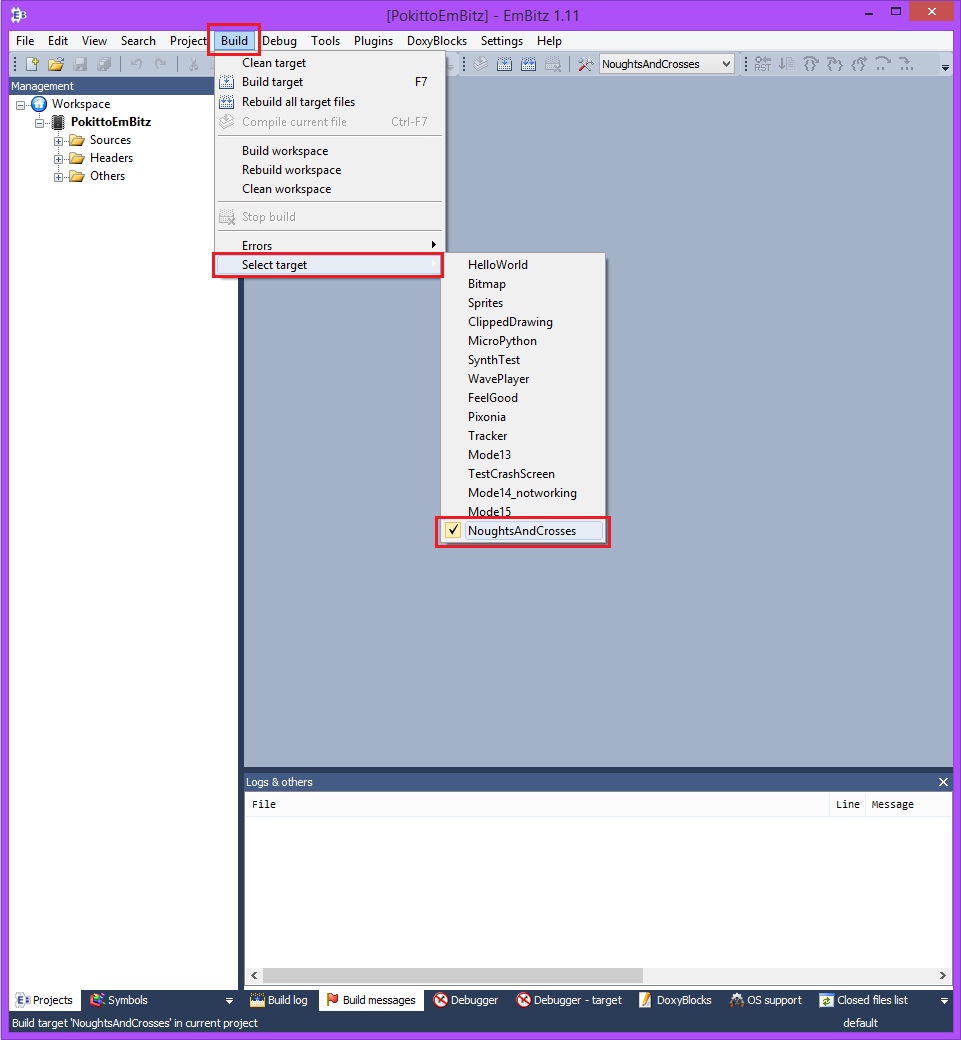
First, make sure your new build target is the selected build target.
In this case that means go to Build > Select target > NoughtsAndCrosses
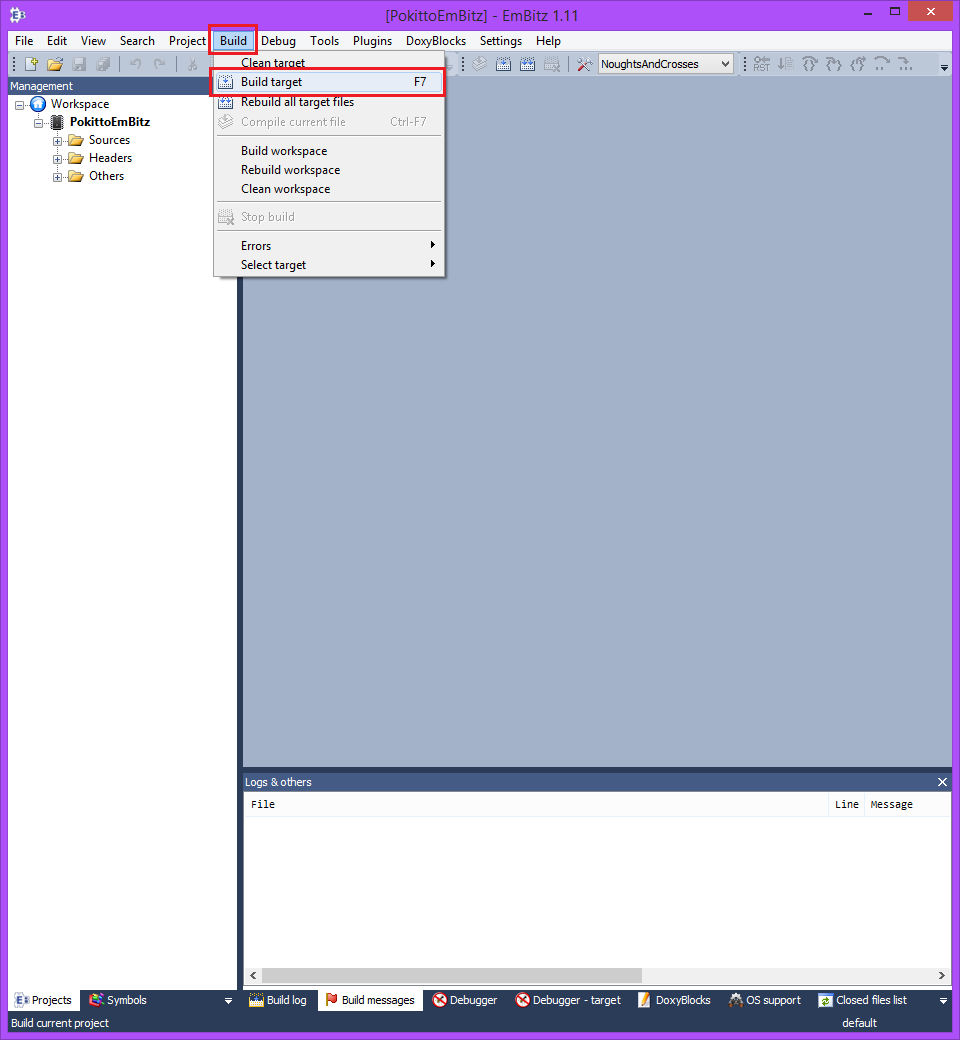
Then build the target by going to Build > Build target or pressing F7.
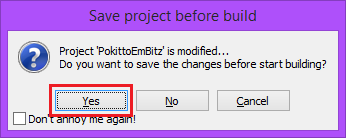
You may be prompted with a box asking if you’d like to save changes before you start building. Choose Yes.
Wait for the build to finish.
(If there is a “multiple declaration of ‘main’” error, see step 2 and recheck the project properties, if there is a different error, handle it.)
Then check the PokittoLib\build directory and you should see the appropriate files have been generated, including a NoughtsAndCrosses.bin.

Simply upload the .bin file as you would any other .bin file.
