Hello @spinal ! This is for you. But published here for refrence
If your Pokitto USB port breaks, you CAN use the other next to it as follows (warning! requires soldering skills):
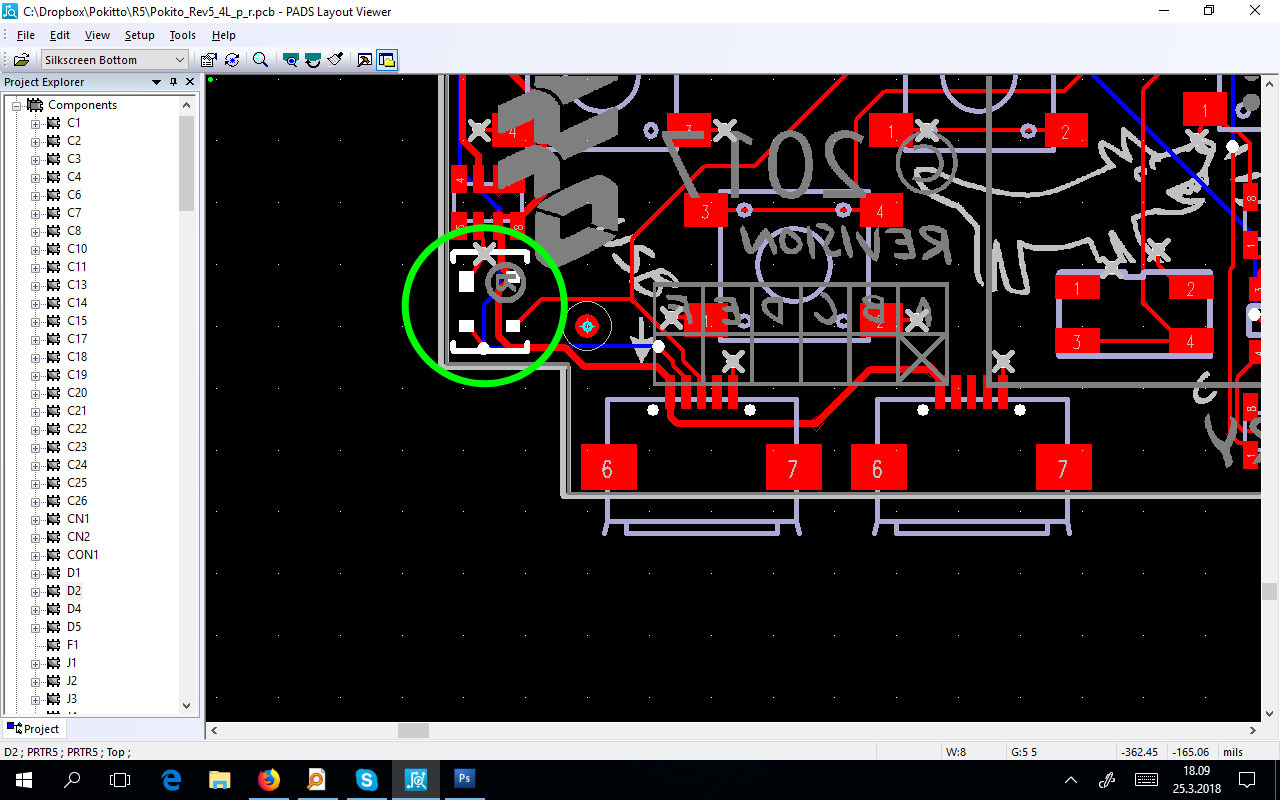
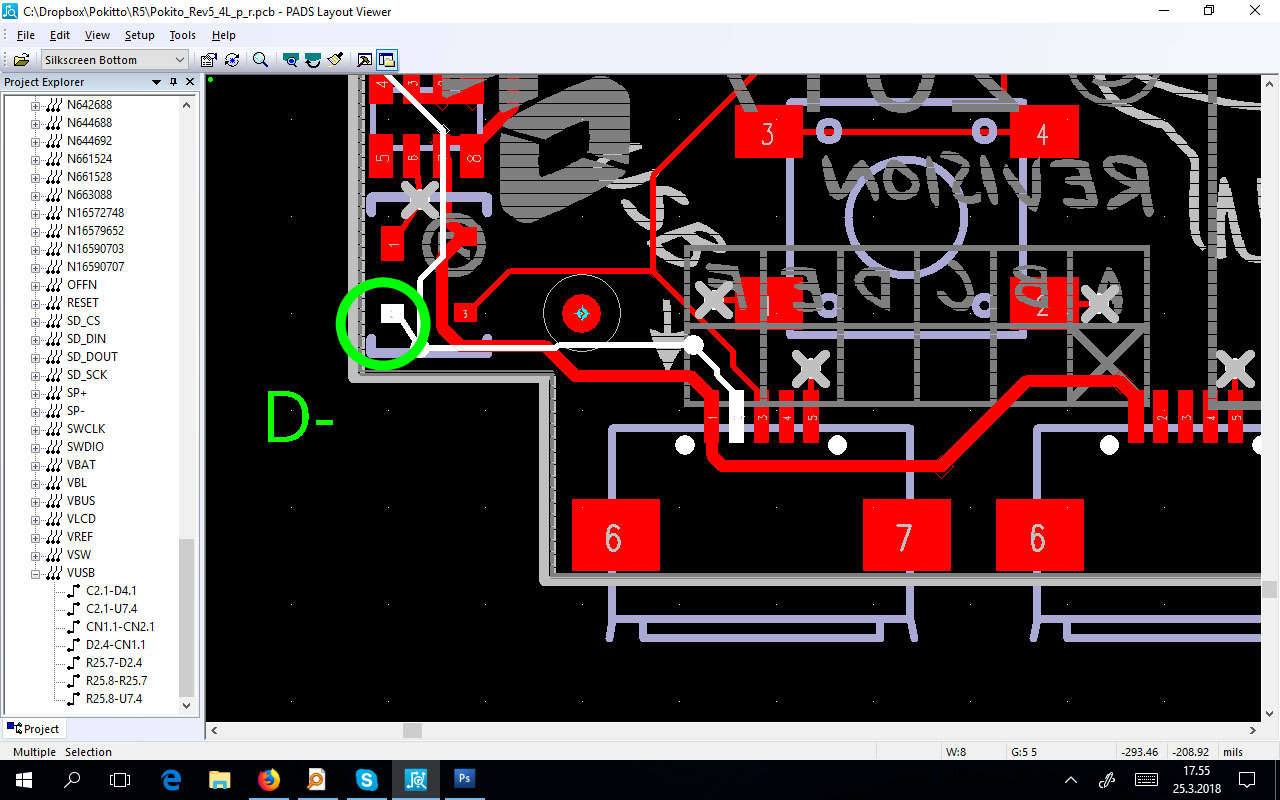
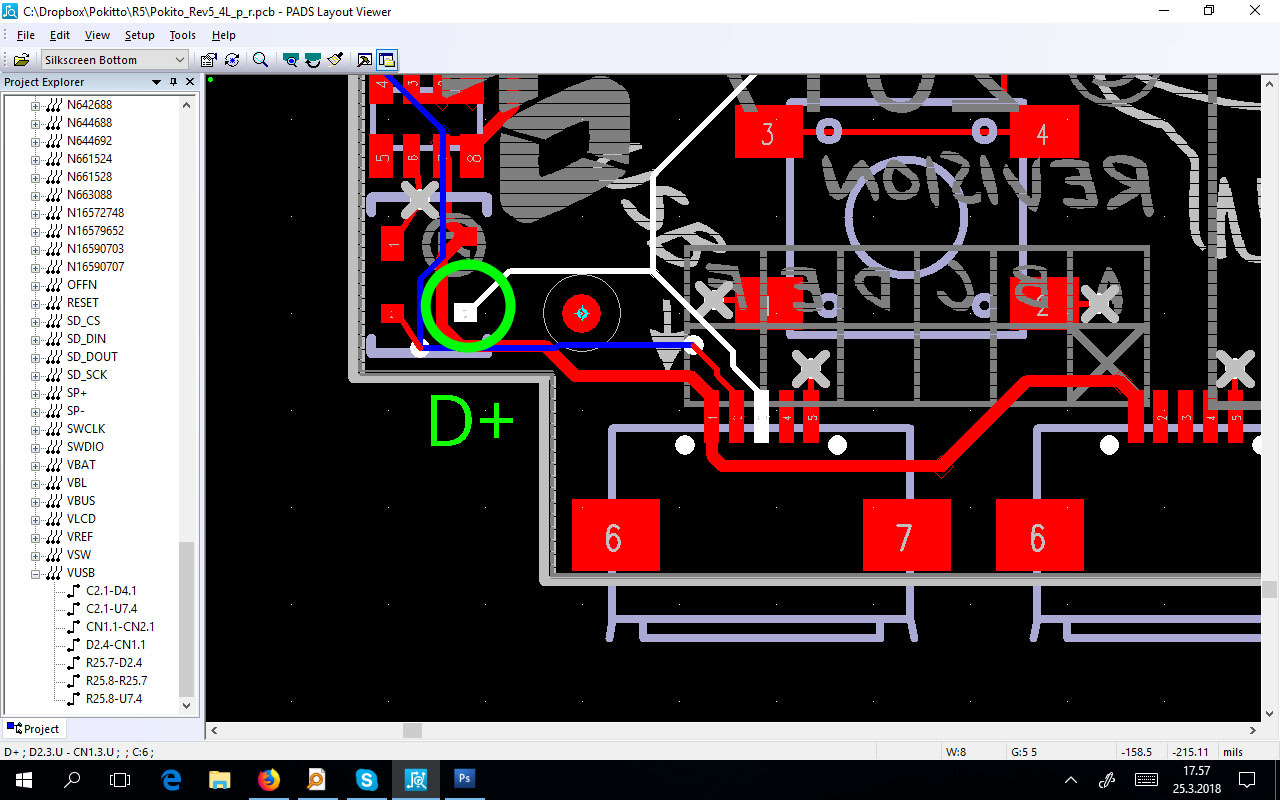
If the MicroUSB connector breaks off, you can use it to fix the pokitto by soldering it to the other unpopulated pads OR by making your own connection from a USB breakout etc.
There is also a component PRTR5 (USB voltage protection IC) in the lower left corner, to which you can connect wires relatively easily.
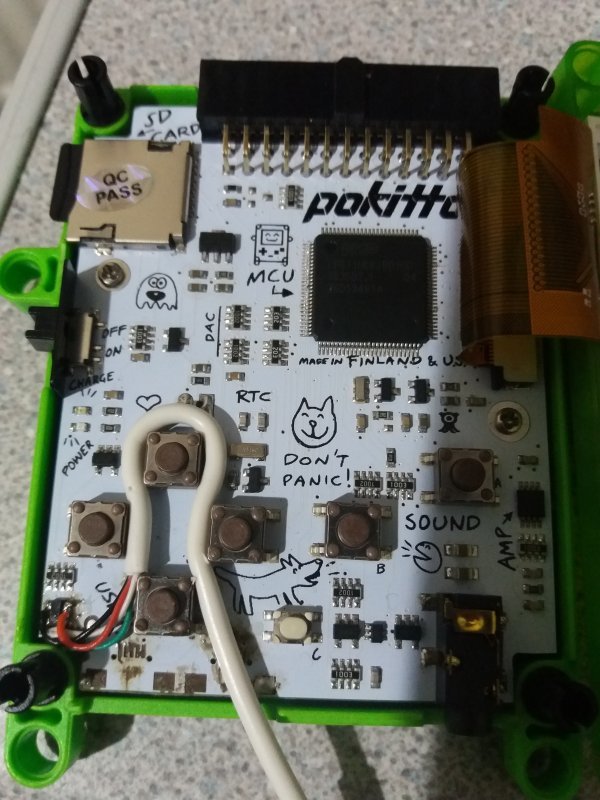
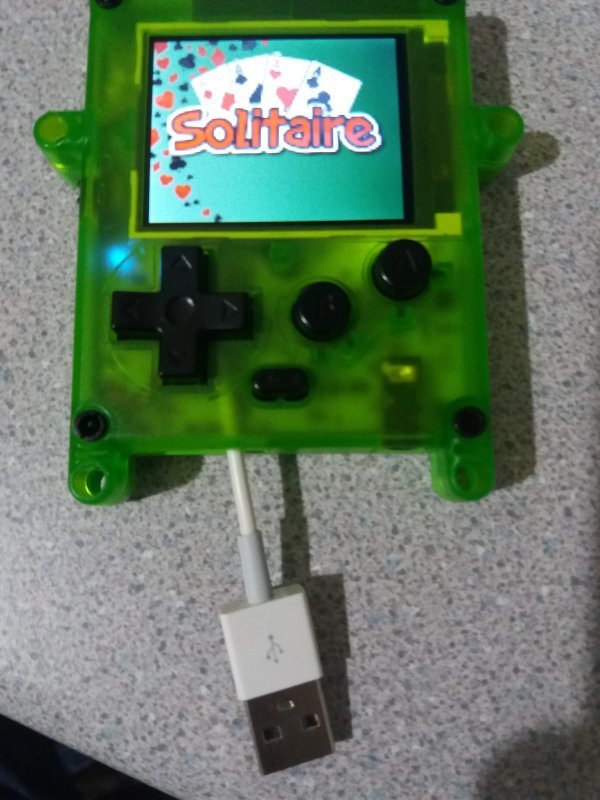
OK, well, first I tried reusing the original USB port, but I made the whole situation worse. My soldering skills and eye sight are not good enough for that. So I just soldered a USB cable directly. Now my poor little Pokitto has a tail!
Don’t worry about it, it was the old broken one anyway.
[Edit] I think I’ve damaged the bottom left pin, (d-).
[edit 2] Nope, worse than that, I broke the voltage protection thingy off. I suppose that means I can’t charge it now?
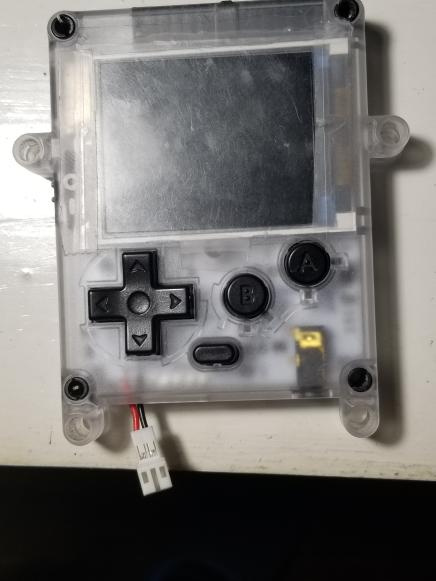
Bit of a necropost, but my Pokitto is also rocking a tail now. USB port broke so I soldered a female JST connector to it and a male one to a severed USB cable.
Yes I should mention that my USB cable got snagged on some other cables when I went to grab it and pulled sideways which broke the pins on the USB port (they’re very small after all and not well suited to be yanked sideways ). This was entirely my own fault, but I was at least able to solder a female JST receptacle in place for the time being and then severed a USB cable and spliced a male JST connector to it.


 ). This was entirely my own fault, but I was at least able to solder a female JST receptacle in place for the time being and then severed a USB cable and spliced a male JST connector to it.