I have too much camera gear as it is. I was more wondering how inspired you were on this theme and whether it was a actually possible to wire something into the PEX that could connect a GB game cart.
Good News!!!
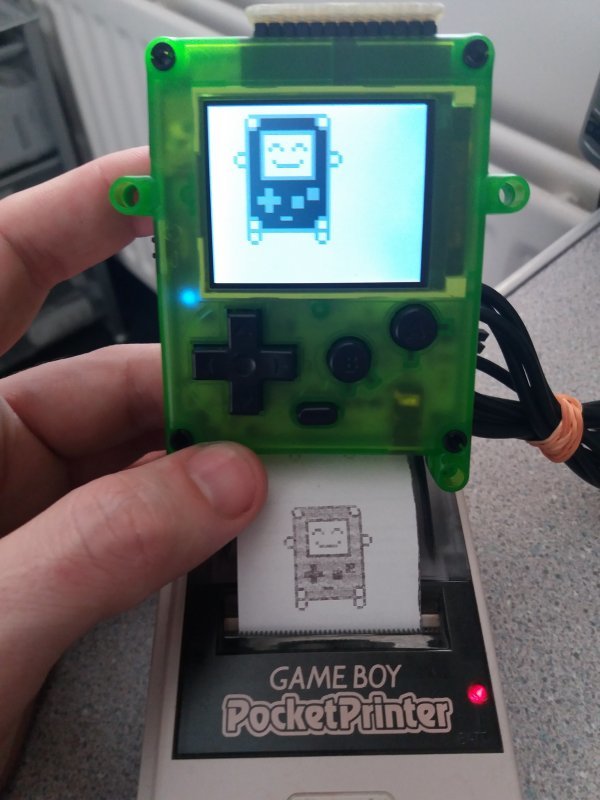
Look my face, it comes to my GB photo.
My friend just give me a GB printer from Japan. But I don’t have papers using it.
Maybe I can buy some commeral paper and cut it suitable size.
You can buy the correct size from eBay etc. However I just asked at a local store for some left over receipt paper, as there is usually a little left on the roll, then I just cut it to size.
# Welcome to Python on Pokitto!
from umachine import *
import upygame as upg
import umachine as pok

upg.display.set_palette_16bit([
63519,57545,60340,31666,
04266,48664,19770,01065,
24009,63301,23209,62723,
63060,65404,41606,00000,
])

# Set the pins, I chose these because they were next to each other
datClk = Pin( Pin.EXT1, Pin.OUT );
datOut = Pin( Pin.EXT3, Pin.OUT );
datIn =  Pin( Pin.EXT5, Pin.IN ); # needs to be pullup


# Global variables
checksum = 0;
respond = [0 for x in range(2)]

#Receive data from the printer
def getResponse():

    respond[0] = 0;
    respond[1] = 0;
    # read 2 bytes
    for numBytes in range(2):
        # 8 bits per byte
        for numBits in range(8):
            respond[numBytes] <<=1; # shift the data left
            datClk = 0;
            wait(55);
            if( datIn ):
                respond[numBytes] |= 1;
            wait(55);
        wait(200);
    wait(500);


#Send a byte to the printer
def sendByte( byteToSend ):
    global checksum
    # Update checksum
    checksum += byteToSend;
    # Loop through the 8 bits in the byte
    for t in range(8):
        datOut = byteToSend & 128;
        datCLk = 0;
        wait(55);
        datClk = 1;
        byteToSend <<=1;
        wait(55);
    datOut = 0;
    wait(300);

def sendChecksum():
    # grab the checksum value
    lineChecksum = checksum;
    # Send low Byte of checksum
    sendByte(lineChecksum & 0xFF);
    # Send high Byte of checksum
    sendByte(lineChecksum >> 8);

def sendHeader():
    # Send magic header
    sendByte(0x88);
    sendByte(0x33);
    # reset checksum value
    checksum = 0;

def initPrinter():
    # Send the header bytes
    sendHeader();
    sendByte(0x01); # 0x01 = init printer
    sendByte(0x00); # 0x00 = No compression, 0x01 = run-length compression
    sendByte(0x00); # 16bit number = length of data being sent
    sendByte(0x00); #
    sendChecksum(); # send checksum for verification

def printLine():
    sendHeader();
    sendByte(0x04); # 0x04 = Data to print
    sendByte(0x00); # 0x00 = No compression, 0x01 = run-length compression
    sendByte(0x80); # 16bit number = length of data being sent
    sendByte(0x02); # in this case 0x0280 = 640 bytes, the maximum.

    # send the print data
    for t in range(640):
        sendByte(0xFF);

    sendChecksum();
    getResponse(); # We don't need to check the response, just allow it to be sent

    sendHeader();
    sendByte(0x04); # 0x04 = Data to print
    sendByte(0x00); # 0x00 = No compression, 0x01 = run-length compression
    sendByte(0x00); # 16bit number = length of data being sent
    sendByte(0x00); # in this case 0 for no data.
    sendChecksum();
    getResponse(); # We don't need to check the response, just allow it to be sent

    sendHeader();
    sendByte(0x02); # 0x02 = Print current buffer
    sendByte(0x00); #
    sendByte(0x04); # 0x04 = Lenth of data being sent
    sendByte(0x00); #
    sendByte(0x01); # 0x01 = Print, 0x00 = line feed
    sendByte(0x00); # amount of margin to leave
    sendByte(0xE4); # Palette data 0xE4 =  11 10 01 00 black grey1 grey2 white
    sendByte(0x40); # 0x40 Can't remember what this was :-(

    sendChecksum();
    getResponse(); # We don't need to check the response, just allow it to be sent


# Main
datClk = 1; # Start with clock high
datOut = 0; # Data low

pok.draw_text(0,0,"Init Printer", 1)
upg.display.flip();
initPrinter();
if( respond[0]==0x81 and respond[1]==0x00 ):
    pok.draw_text(0,8,"Printer responded!", 1)
    upg.display.flip();

    t=0;
    # print 9 lines of data
    while(t <9):
        sendHeader();
        sendByte(0x0F); #
        sendByte(0x00); #
        sendByte(0x00); #
        sendChecksum();
        getResponse(); # We don't need to check the response, just allow it to be sent
        if(respond[1]&0x0B):
            printLine();
            t=t+1;
Doesn’t seem to work. Using my analyser, all 3 pins are brought low and nothing else happens. Anyone know why? I would expect at least the clock pin should flip